Manual de Instalación del Ventilador de Techo
P2594
93099650_A
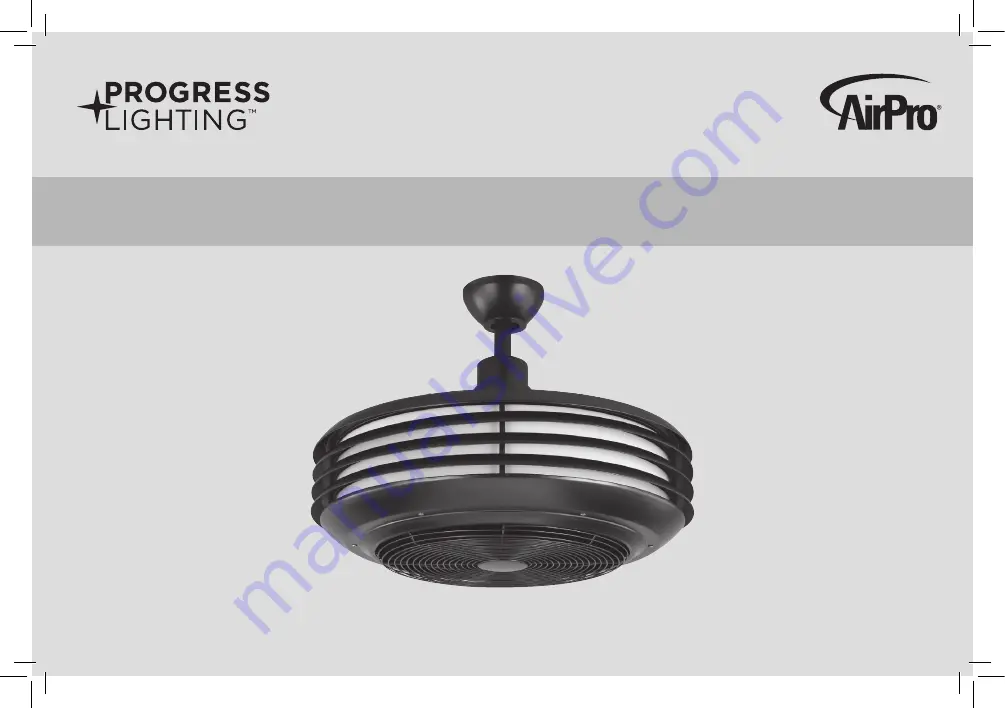
Страница 1: ...Ceiling Fan Installation Manual P2594 93099650_A...
Страница 2: ...e first 30 days for replacement After 30 days the original purchaser MUST contact Progress Lighting at 864 678 1000 for repair or replacement which shall be determined in Progress Lighting s sole disc...
Страница 3: ...Table of Contents Safety Rules Unpacking Your Fan Installing Your Fan Operating Your Transmitter Care of Your Fan Troubleshooting Specifications 1 2 3 7 9 10 11...
Страница 4: ...e of reliably supporting a minimum of 35 lbs 15 9 kg or less Use only cUL listed outlet boxes marked FOR FAN SUPPORT 6 The fan must be mounted with a minimum of 7 ft 2 1m clearance from the bottom of...
Страница 5: ...2 8 Loose parts bag containing a Mounting hardware Wire nuts 3 b Blade attachment hardware Allen wrench 1 Canopy assembly 2 Ball downrod assembly 3 Coupling cover 4 Fan motor assembly 5 Receiver with...
Страница 6: ...LECTRIC SHOCK OR OTHER PERSONAL INJURY MOUNT FAN ONLY TO AN OUTLET BOX MARKED ACCEPTABLE FOR FAN SUPPORT AND USE THE MOUNTING SCREWS PROVIDED WITH THE OUTLET BOX OUTLET BOXES COMMONLY USED FOR THE SUP...
Страница 7: ...ver canopy and then through the ball downrod Fig 7 Step 7 Align the holes at the bottom of the downrod with the holes in the collar on top of the motor housing Fig 7 Carefully insert the hanger pin th...
Страница 8: ...he blue light wire to the blue wire from the Receiver Secure wire connections with the plastic wire nuts provided Step 3 Fig 10 Receiver to House Supply Wires Electrical Connections Connect the black...
Страница 9: ...hole on the mounting bracket secure by tightening the two set screws Note Adjust the canopy screws as necessary until the canopy and canopy cover are snug WARNING Make sure the notch on the hanging b...
Страница 10: ...in Figure 14 This allows you to set your air conditioner on a higher setting without affecting your comfort Cool weather Reverse An upward airflow moves warm air off the ceiling area as shown in Figu...
Страница 11: ...ight and securely in place If you need to disassemble the fan for any reason such as cleaning please take off the four guard setscrews and to secure the screws after cleaning the blades Fig 16 Use a l...
Страница 12: ...o avoid scratching the finish The plating is sealed with a lacquer to minimize discoloration or tarnishing Do not use water when cleaning This could damage the motor or the wood or possibly cause an e...
Страница 13: ...housing CAUTION Make sure main power is off 4 Allow a 24 hour breaking in period Most noise associated with a new fan disappear during this time 5 If using an optional light kit make sure the screws s...
Страница 14: ...enville SC 29607 All Rights Reserved c 28 66 lbs 37 04 lbs 6 08 Fan Size Speed Volts Amps Watts RPM CFM N W G W C F 23 Low High 120 120 These are approximate measures They do not include Amps and Watt...
Страница 15: ...Manuel d installation du ventilateur de plafond P2594 93099650_A...
Страница 16: ...qu il soit remplac Apr s 30 jours l acheteur initial DOIT communiquer avec Progress Lighting au 864 678 1000 pour la r paration ou le remplacement du ventilateur ce qui sera d termin exclusivement par...
Страница 17: ...s mati res R gles de s curit D ballage de votre ventilateur Installation de votre ventilateur Utilisation de votre metteur Entretien de votre ventilateur D pannage Caract ristiques techniques 1 2 3 7...
Страница 18: ...ue des bo tes de sortie homologu es FUL et portant l indication POUR SUPPORT DE VENTILATEUR 6 Le ventilateur doit tre install en pr voyant un d gagement minimal de 2 1 m 7 pi entre OH EDV GX YHQWLODWH...
Страница 19: ...pavillon 2 Ensemble tige boule 3 Couvercle de couplage 4 Moteur du ventilateur 5 R cepteur avec six capuchons de connexion 6 metteur avec deux vis de fixation 7 Pile MN21 A23 de 12 V 2 1 5 6 3 4 7 8...
Страница 20: ...EULEMENT UNE BO TE DE SORTIE INDIQU E ACCEPTABLE POUR SUPPORT DE VENTILATEUR ET UTILISER LES VIS DE MONTAGE FOURNIES AVEC LA BO TE DE SORTIE LA PLUPART DES BO TES DE SORTIE COURAMMENT UTILIS ES POUR L...
Страница 21: ...les trous dans le bas de la tige avec les trous dans le collet sur le dessus du bo tier du moteur Fig 7 Ins rez d licatement la cheville de suspension travers les trous dans le collet et la tige Pren...
Страница 22: ...HX OpJHU DX ILO EOHX GX UpFHSWHXU Consolidez les branchements l aide des capuchons de connexion en plastique fournis tape 3 Fig 10 Du r cepteur aux branchements lectriques des fils de l alimentation d...
Страница 23: ...rt de fixation et fixez en serrant les deux vis de serrage Remarque R glez les vis du pavillon au besoin jusqu ce que le pavillon et le couvercle du pavillon soient bien serr s AVERTISSEMENT Vous assu...
Страница 24: ...illustr la Figure 14 Cela vous permet de r gler votre climatiseur une temp rature plus lev e sans perte de confort Temp rature froide sens inverse Une circulation d air vers le haut pousse l air chaud...
Страница 25: ...s Si pour quelque raison que ce soit vous devez d sassembler le ventilateur par exemple pour le nettoyer veuillez retirer les quatre vis de serrage et replacer les vis apr s le nettoyage des pales Fig...
Страница 26: ...on non pelucheux Le placage est scell avec de la laque afin de minimiser la d coloration et le ternissement Ne pas utiliser d eau lorsque vous nettoyez le ventilateur Vous pourriez ainsi endommager le...
Страница 27: ...urez vous que l alimentation principale est coup e 4 Pr voyez une p riode de rodage de 24 h La plupart des bruits associ s un ventilateur neuf disparaissent pendant cette p riode 5 Si vous utilisez un...
Страница 28: ...28 66 lb 37 04 lb 6 08 Taille du ventilateur Vitesse Volts Amp res Watts Tr min PCM P N P B P C 23 po Basse lev e 120 120 0 31 37 1475 1008 99 Ces mesures sont approximatives Elles ne comprennent pas...
Страница 29: ...Manual de Instalaci n del Ventilador de Techo P2594 93099650_A...
Страница 30: ...l ventilador defectuoso al lugar de compra durante los primeros 30 d as para su reemplazo Pasados los 30 d as el comprador original DEBE contactarse con Progress Lighting al 864 678 1000 para la repar...
Страница 31: ...bla de Contenido Normas de seguridad C mo desembalar el ventilador C mo instalar el ventilador Operando su transmisor C mo cuidar del ventilador Resoluci n de problemas Especificaciones 1 2 3 7 9 10 1...
Страница 32: ...e 35 libras 15 9 kilogramos Usar solamente cajas de distribuci n listadas por cUL marcadas PARA SOPORTEDE VENTILADORES 6 EL ventilador debe estar montado con un m nimo de 7 pies 2 1m de desde la parte...
Страница 33: ...n 3 Cubridor del motor 4 Conjunto de motor del ventilador 5 Receptor 6 tuercas de cable 6 Transmisor soporte 2 tornillos de montaje 7 12V MN21 A23 bateria C mo desembalar el ventilador 2 8 Dos bolsas...
Страница 34: ...distribuci n pl sticas Caja de distribuci n Caja de distribuci n Caja de distribuci n Nota Ud Puede necesitar una barra de extension para mantener la distancia apropiada de cuando la instalaci n se ef...
Страница 35: ...ontaje a la caja del techo con los tornillos y arandelas suministradas en la caja Paso 5 Retire el pasador de suspensi n el pasador de bloqueo y el conjunto de tornillos y de la parte superior del ens...
Страница 36: ...e el alambre Azul del ventilador al alambre Azul marcado For l mpara de fondo del receptor Conecte el cable azul luz al cable azuldel receptor Asegure las conexiones con los conectores de pl stico pro...
Страница 37: ...ta hasta que la cubierta y la tapa de la cubierta queden ajustadas ADVERTENCIA ASEGURARSE DE QUE LA LENGUETA LOCALIZADA EN LA PARTE INFERIOR DEL SOPORTE DE SUSPENSI N EST ASENTADA CORRECTAMENTE EN LA...
Страница 38: ...tra en la Fig 14 Esto permite fijar el aire acondicionado en un valor m s alto sin afectar la comodidad del usuario Clima fr o Retroceso Un flujo de aire ascendente mueve el aire caliente alej ndolo d...
Страница 39: ...ilador para cualquier prop sito como limpiarlo quite los dos tornillos de fijaci n y asegure los tornillos despu s de limpiar las cuchillas Fig 16 Usa solamente un cepillo suave o un trapo que no suel...
Страница 40: ...el acadado El recubrimiento met lico se sella con una laca para minimizar la decoloraci n o manchado No usar agua al limpiarlo madera o posiblemente causar choque el ctrico 3 Se puede aplicar una capa...
Страница 41: ...ncipal de electricidad est desactivada 4 Permitir un per odo de desgaste de 24 horas La moyar a de los ruidos asociados con un ventilador nuevo desaparecen durante este tirmpo 5 Si se est usando un ju...
Страница 42: ...08 Tama o del Ventilador Velocidad Voltios Amperios Vatios RPM CFM N W G W C F 23 58 cm Baja Alta 120 120 Estas son mediciones aproximadas No incluyen los Amperios y vatios usado por el juego de ilim...