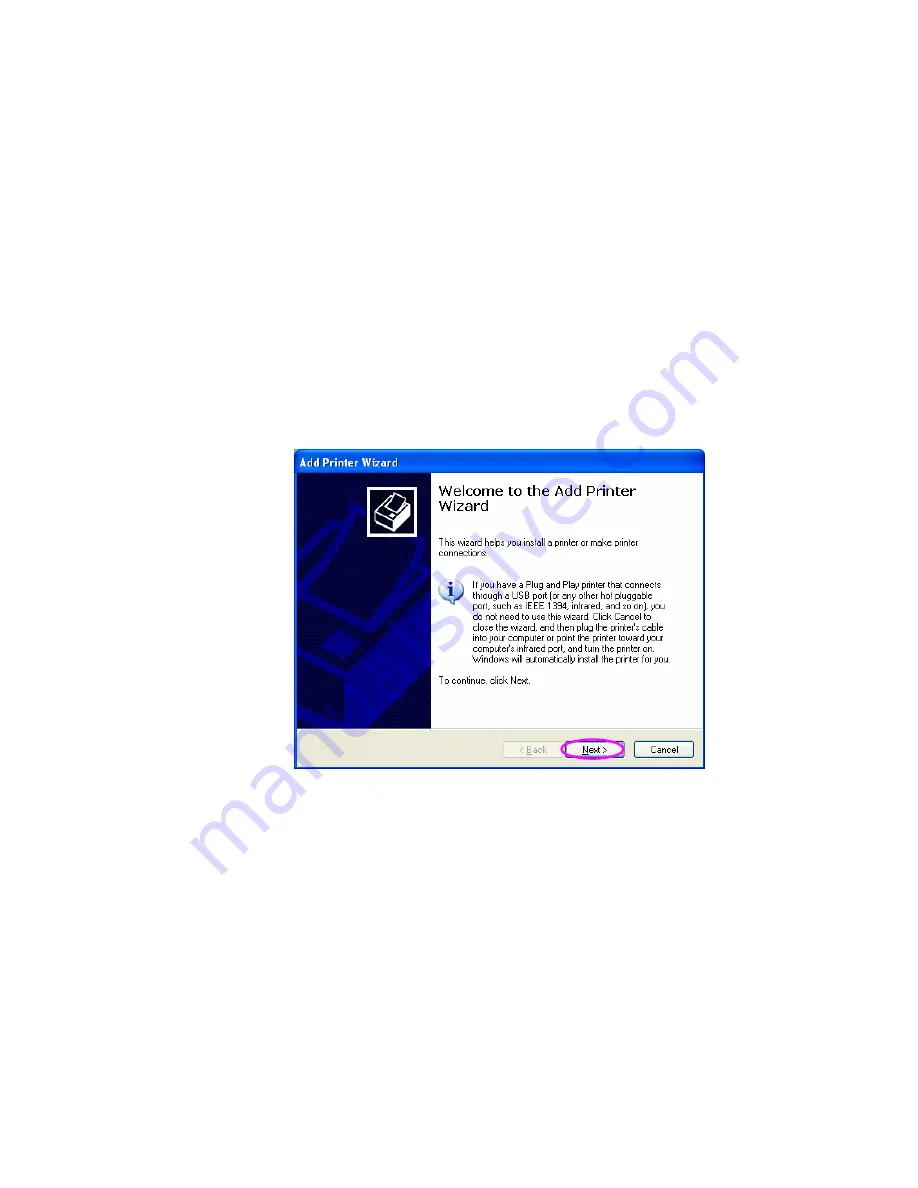
3.4 Windows Add Printer Procedure
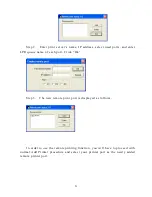
After adding a “Network Port” of the print server to your PC by
Administrator or Client Installation Program, you can follow the procedure
described below to add printer to the Windows. Note that following “Add
Printer” steps are running in Windows XP, the steps in other Operating Systems
are similar.
Step1. Click “Start”, choose “Settings” and select “Printers and Faxes”.
Step2. Click “Add a Printer”.
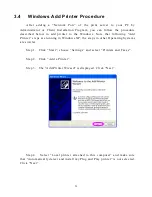
Step3. The “Add Printer Wizard” is displayed. Click “Next”.
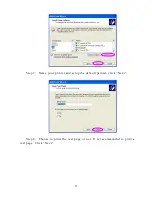
Step4. Select “Local printer attached to this computer” and make sure
that “Automatically detect and install my Plug and Play printer” is not selected.
Click “Next”.
23
Содержание P-201
Страница 1: ...P 201 P 201U Wired Printer Server User s Manual ...
Страница 13: ...NetWare Network see below 8 ...
Страница 22: ...17 ...
Страница 27: ...22 ...
Страница 32: ...4 Windows NT 2000 2003 Network 27 ...
Страница 36: ...5 NetWare Network 31 ...
Страница 42: ...6 UNIX System Network 37 ...
Страница 65: ...Step 6 Click Save to finish setting Please reboot the print server to let these settings take effect 60 ...
Страница 67: ...8 Web Management 62 ...
Страница 84: ... 8 4 7 Save Settings You can click the Save Settings to save the settings and restart the system 79 ...
Страница 94: ...get argument ipconfig reboot exit 89 ...
Страница 100: ...95 ...
Страница 104: ...Step7 You can print a file to check whether the Print Server is installed successfully 99 ...
Страница 107: ...Step3 In the Local Area Connection Properties select Advanced option menu and click Settings 102 ...
Страница 109: ...104 ...
Страница 111: ...106 ...
Страница 112: ...Step4 Select Exceptions tab and click Add Program 107 ...


