14
5.2 Schedule Function
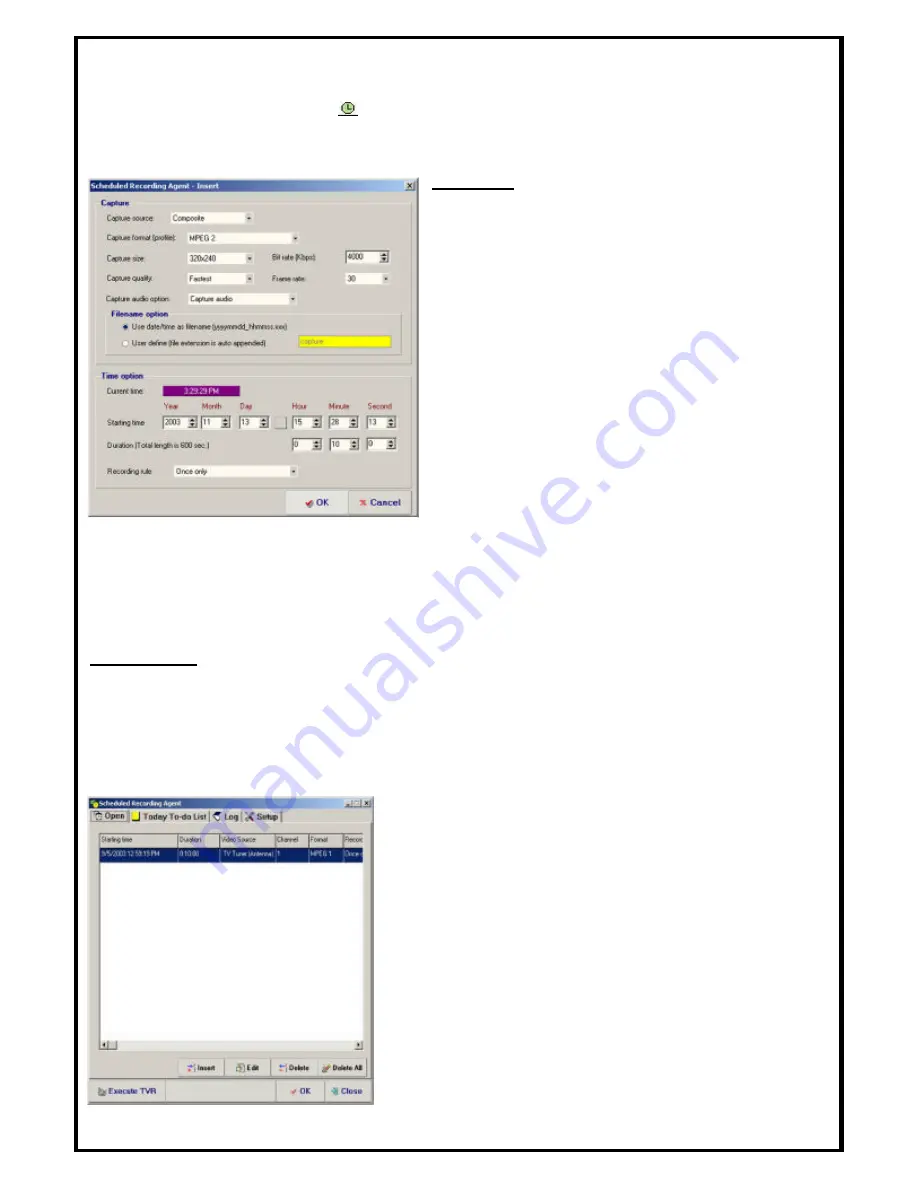
Click on the Schedule button
to configure the Scheduled Recording Agent. Click
OK
when you are done configuring.
Capture
Capture Source:
Select the video input source
(Composite or S-Video).
Capture format (profile):
Select the video
format you want to use.
Note
: If you want to burn
your captured videos to DVD, be sure to set the
capture format to
DVD (NTSC)
and not
MPEG
2
.
Capture size:
Set the video capture size.
Bit rate (Kbps):
Set the capture bit rate.
Capture quality:
Set the capture quality.
Frame rate:
Select the frame rate.
Capture audio option:
Select from “
Capture
audio”
, “
Capture audio only, No video”
, or
“
No audio”
.
File name option:
You can use the date/time as your capture file name or assign a name
yourself.
Time option
Current time:
Shows the current time.
Starting time:
Enter the date and time when you want to start recording.
Duration:
Enter the length that you want to record.
Recording rule:
Select the recording rule you want to use. The default is "Once only.”
When you enter a record schedule, it will be added to
the
Open
tab of the Scheduled Recording Agent.
Insert:
Insert a new record schedule.
Edit:
Edit the record schedule.
Delete:
Delete a record schedule.
Delete All:
Delete all record schedule s.
Execute TVR
: Starts the TVR program.
Содержание ATVUSB01
Страница 1: ...Model ATVUSB01 User s Manual...


