background image

0

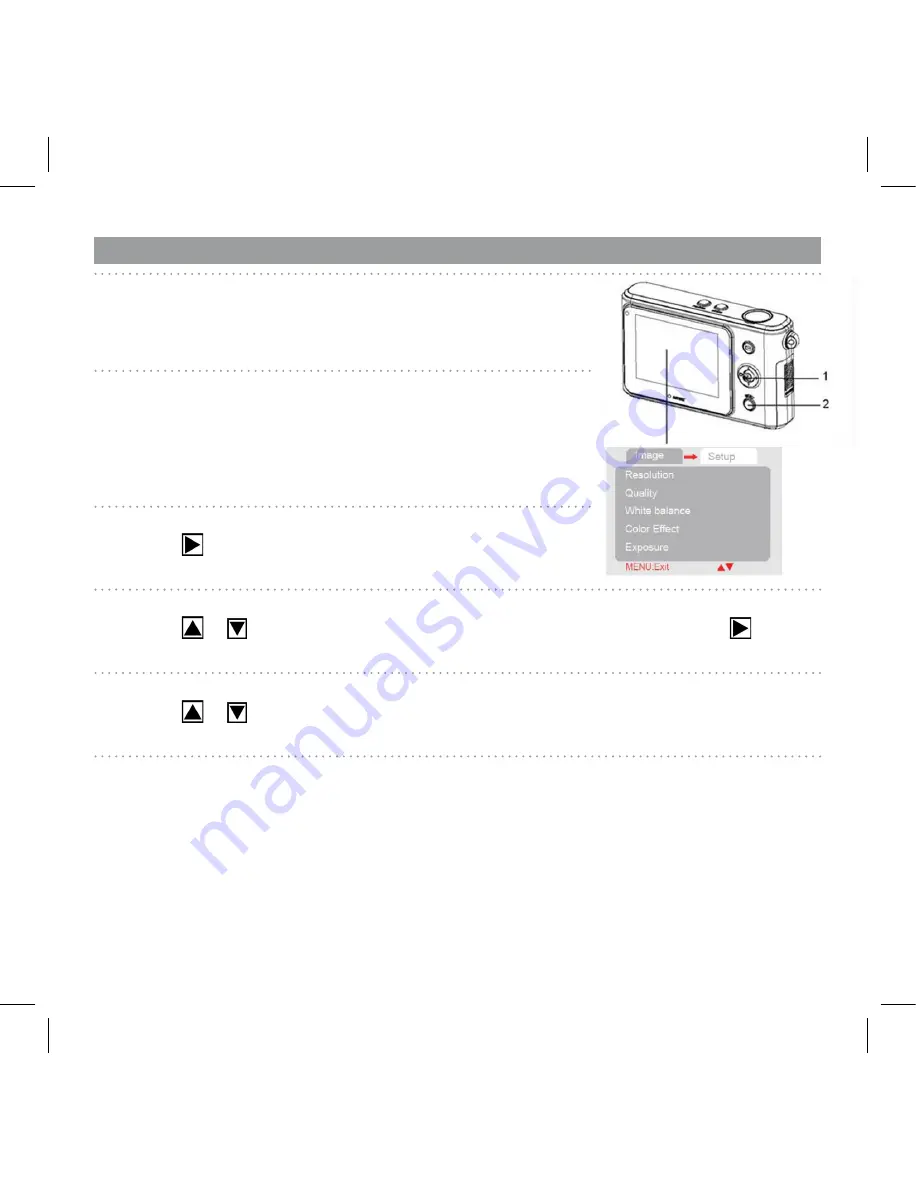
Setup Menu

1

  Turn the power on and set the camera to the REC or 

Playback mode. 


2

Press the MENU button (2) to open the REC or Playback 

menu. The menu displayed depends on whether you are in the 

REC mode or the Playback mode.  


3

  Open the Setup menu.

Press 

 on the five-way control button (1) to select 

[Setup]

 to 

display the Setup menu.


4

  Select an item.

Press 

 or 

 on the five-way control button (1) to select a menu item then press 

 on the 

five-way control button (1) to launch the submenu.

5

  Change the setting.

Press 

 or 

 on the five-way control button (1) to select an option and press OK/Enter (1) to 

apply the setting.


6

  Press the MENU button (2) to close the menu.

Содержание ensor 510-D

Страница 1: ...of electric shock when exposed Maintenance and repairs should be carried out only by authorized service providers Do not fire the flash too close to the eyes of animals or people especially young children Eye damage may result In particular keep at least one meter away from infants when using the flash Keep the camera away from water and other liquids Do not use the camera with wet hands Never use...

Страница 2: ... battery life we recommend the use of AAA sized rechargeable NiMH batteries Extending battery life The following functions use up a great deal of battery power and should therefore only be used occasionally Excessive use of flash Editing images on the camera display The battery life can be affected by soiling Please clean the contacts with a clean dry cloth before putting the batteries in the came...

Страница 3: ... the Camera 1 Flash 2 Selftimer lamp 3 Microphone 4 Lens 5 Operation lamp 6 LCD display Five way control button 7 OK Enter button vertically 8 Right u 9 Down q 10 Up p 11 Left t 12 Playback button 13 Menu button ...

Страница 4: ...n 15 Mode button 16 Power button 17 Strap mount 18 Battery cover 19 USB jack 20 Tripod socket Attaching the Strap Attach the strap to your camera as shown in the image Caution Do not swing the camera around by the strap ...

Страница 5: ...nsert the batteries Insert two AAA size batteries with the positive and negative poles matching the directions indicated inside the battery compartment 3 Close the battery cover Turning Power On Off 1 Press the Power button 1 to turn on the camera in the Capture mode The power turns on and the LED 2 lights red 2 Press the Power button 1 again to turn the power off The power turns off and the LED t...

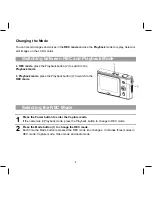
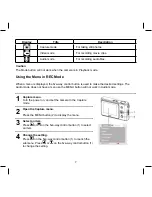
Страница 6: ... to the Playback mode In Playback mode press the Playback button 2 to switch to the REC mode Selecting the REC Mode 1 Press the Power button to enter the Capture mode If the camera is in Playback mode press the Playback button to change to REC mode 2 Press the Mode button 1 to change the REC mode Each time the Mode button is pressed the REC mode icon changes It includes three modes in REC mode Cap...

Страница 7: ...utton is used to make the desired settings The Audio mode does not have a menu so the MENU button will not work in Audio mode 1 Capture menu Turn the power on and set the camera to the Capture mode 2 Open the Capture menu Press the MENU button 2 to display the menu 3 Select an item Press or on the five way control button 1 to select an item 4 Change the setting Press on the five way control button...

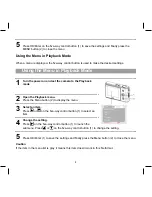
Страница 8: ...e camera to the Playback mode 2 Open the Playback menu Press the Menu button 2 to display the menu 3 Select an item Press or on the five way control button 1 to select an item 4 Change the setting Press on the five way control button 1 to launch the submenu Press or on the five way control button 1 to change the setting 5 Press OK Enter 1 to save the settings and finally press the Menu button 2 to...

Страница 9: ...before using the camera Setting Display Language 1 Turn the power on and set the camera to the Setup Menu 2 Select Language Press or to select Language then press to launch the submenu 3 Select a language Press or on the five way control button to select a language and press OK Enter button to apply the setting 4 Press the MENU button to close the menu ...

Страница 10: ...de 3 Open the Setup menu Press on the five way control button 1 to select Setup to display the Setup menu 4 Select an item Press or on the five way control button 1 to select a menu item then press on the five way control button 1 to launch the submenu 5 Change the setting Press or on the five way control button 1 to select an option and press OK Enter 1 to apply the setting 6 Press the MENU butto...

Страница 11: ...e Connecting the Camera to a TV You can display recorded images on a television with the supplied AV cable 1 Set the TV out to match the TV system that you are using 2 Turn off the camera and the TV 3 Use the supplied AV cable to connect the camera to the TV set Then turn on the camera and the TV 4 Set the TV input signal to Video In Refer to the documentation included with your TV for more inform...

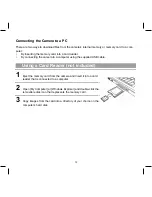
Страница 12: ...ng the camera to a computer using the supplied USB cable Using a Card Reader not included 1 Eject the memory card from the camera and insert it into a card reader that is connected to a computer 2 Open My Computer or Windows Explorer and double click the removable disk icon that represents the memory card 3 Copy images from the card into a directory of your choice on the computer s hard disk ...

Страница 13: ...ction to the computer has been successfully completed Press the playback button to switch the camera mode between mass storage and PC camera To download photos please select Mass Storage mode 2 Open My Computer or Windows Explorer A Removable Disk appears in the drive list Double click the Removable Disk icon to view its contents Files stored on the camera are located in the folder named DCIM 3 Co...

Страница 14: ... a landline only Service Support Hotline Germany 0900 1000 042 1 49 Euro min from a German landline only Online Service International contact Not USA Canada support apdc plawa com Designed and manufactured by plawa feinwerktechnik GmbH Co KG Bleichereistraße 18 73066 Uhingen Germany AgfaPhoto is used under license of Agfa Gevaert NV Co KG Agfa Gevaert NV Co KG does not manufacture this product or ...

Страница 15: ...or a Class B peripheral pursuant to Part 15 of the FCC Rules These limits are designed to provide reasonable protection against harmful interference in a residential installation This equipment generates uses and can radiate radio frequency energy and if not installed and used in accordance with the instructions may cause harmful interference to radio communication However there is no guarantee th...

Отзывы: