7
4
Installing the Transparency Module
The Transparency Module is an optional item. The following describes
the procedure for installing the Transparency Module if you have
purchased one for your StudioScan II.
Unpacking the Transparency Module
The first thing to do is to make sure you have everything you’re
supposed to.
1. Open the packing box and take out all the items.
2. Check each item against Figure 5 to make sure that you have
everything.
If something is missing, contact your dealer or representative.
3. Remove the plastic wrapping and the packing materials from
the Transparency Module.
4. Fill out the Warranty and Registration card. You will find the
product serial number on the identity label on the rear of your
Transparency Module.
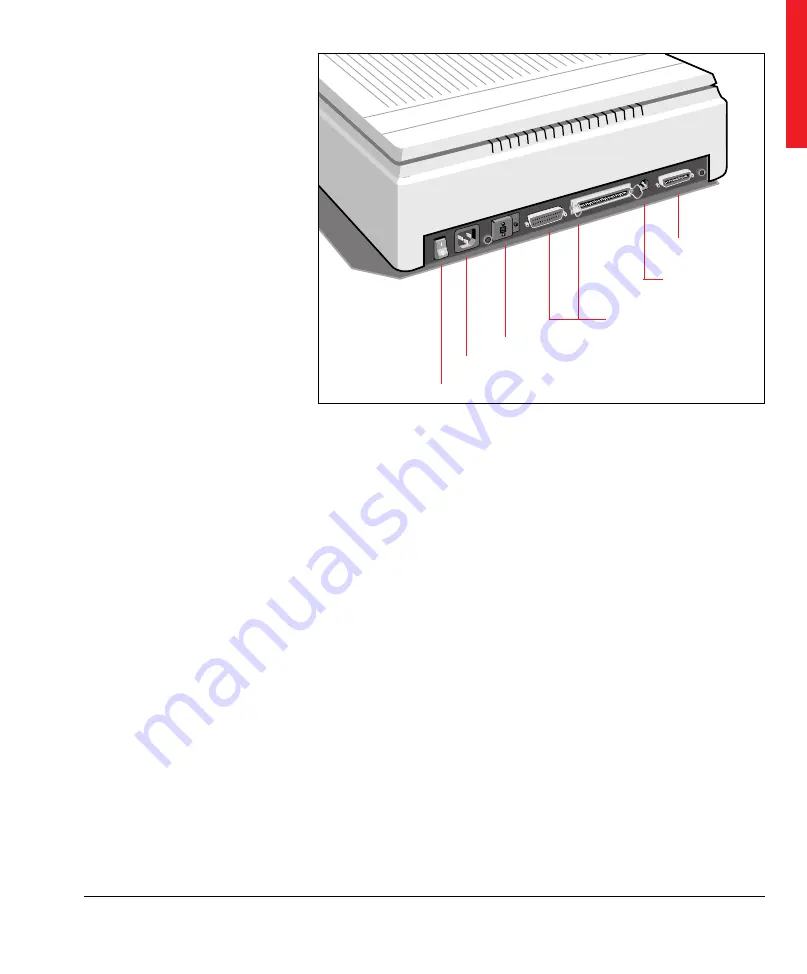
Figure 4
The rear of the scanner
Power switch
Transparency
Module connector
SCSI ID switch
Power input
SCSI interface connector
Power input for
Transparency Module
Taking a closer look
Содержание StudioScan II
Страница 1: ...StudioScan II Owner s Guide ...
Страница 9: ...ix Welcome Introduction ...
Страница 10: ...x Introduction ...
Страница 13: ...Chapter 1 Preparing the scanner ...
Страница 14: ...2 Chapter 1 Preparing the scanner ...
Страница 23: ...Chapter 2 Installing the scanner ...
Страница 24: ...12 Chapter 2 Installing the scanner ...
Страница 32: ...20 Chapter 2 Installing the scanner ...
Страница 33: ...Chapter 3 Using the scanner ...
Страница 34: ...22 Chapter 3 Using the scanner ...
Страница 36: ...24 Chapter 3 Using the scanner ...
Страница 37: ...Chapter 4 Caring for your scanner ...
Страница 38: ...26 Chapter 4 Caring for your scanner ...
Страница 40: ...28 Chapter 4 Caring for your scanner ...


