


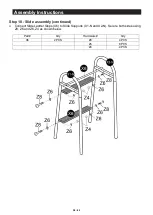


Assembly Instructions
32
/
42
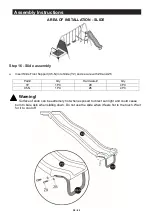
AREA OF INSTALLATION
– GLIDE RIDE ASSEMBLY
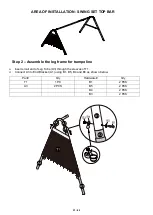
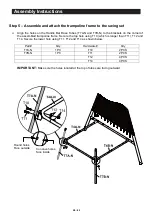
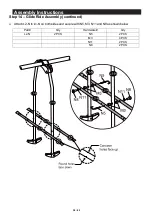
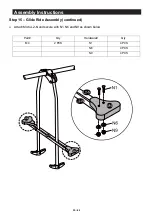
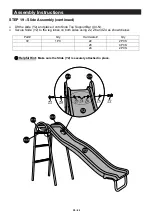
STEP 12
–
Glide Ride Assembly
➢
Attach L4 and L3 to A2 using N3R, L5 and N7. Use special socket wrench and screwdriver to tighten
N3R and N7 as shown below
Part#
Qty
Hardware#
Qty
L4
1 PC
N3R
2 PCS
L3
1 PC
L5
2 PCS
N7
2 PCS
☺
Helpful Hint:
Use the special socket wrench provided to fully tighten the bolts and nuts.
Содержание 164176
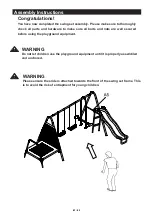
Страница 12: ...12 42 Complete Product View ...


