


72
ADJUSTING THE LCD DISPLAY
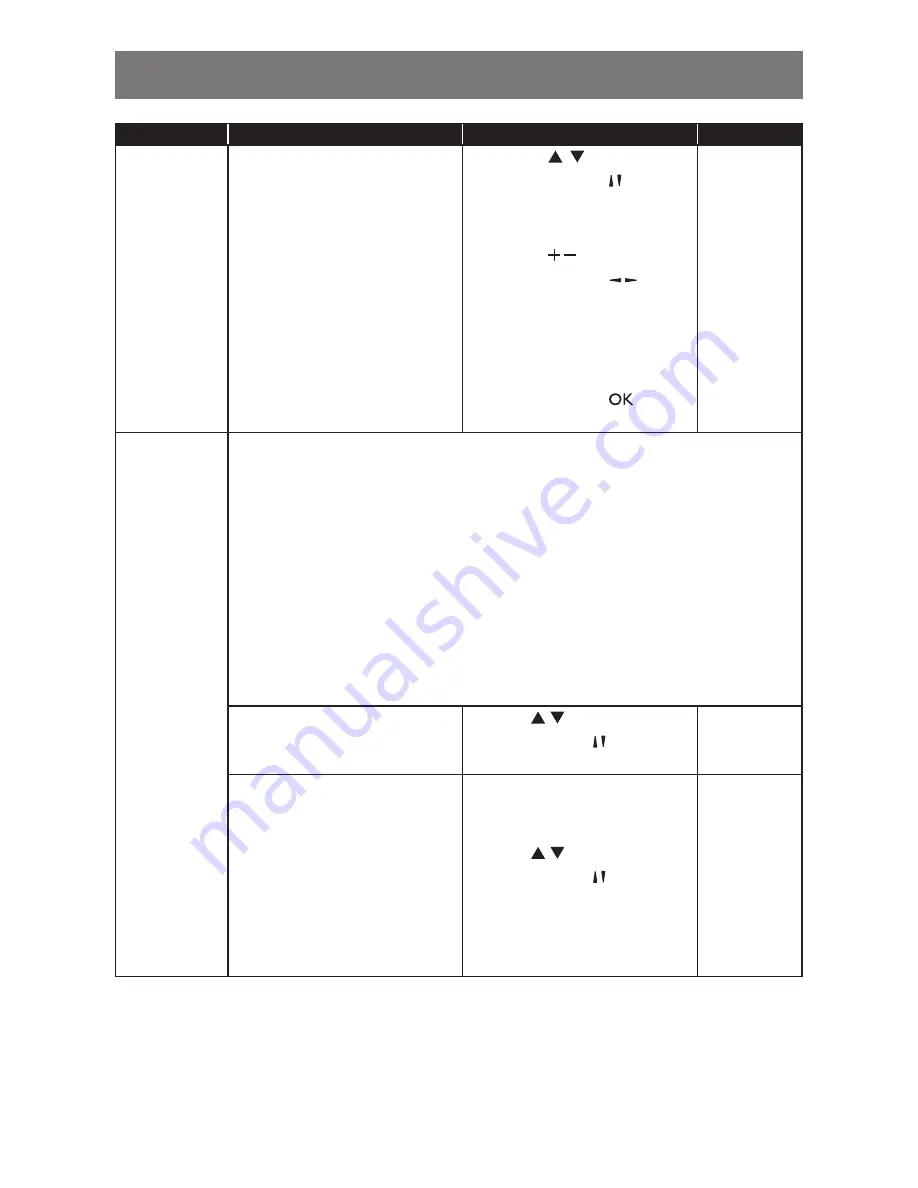
Item
Function
Operation
Range
Clock
• Time
: Set current time.
a) Press the / button on the
control panel or the / button on
the remote control to set hours
and minutes.
b) Press the / button on the
control panel or the / button
on the remote control to navigate
between hours and minutes
fields.
c) Press the
INPUT
button on the
control panel or the
button
on the remote control to confirm.
Cancel
Done
Scheduling
This function allows you to program up to 7 different scheduled time intervals for this
display to activate.
You can set:
• Which input source the display will use for each scheduled activation period.
• The time for the display to turn on and turn off.
• The days in a week for the display to activate.
Note:
♦
We recommend you to set up current date and time in the
Clock
menu before using
this function.
♦
After changing the
Clock
option in the
General settings
menu, you need to set this
Scheduling again.
• Status
: Enable or disable the
schedule.
Press the / button on the
control panel or the / button on the
remote control to select the setting.
Off
On
• Source
: Choose the source for
the schedule.
Note:
The OPS option is only
applicable for RX-42E and RX-55E
models.
Press the / button on the
control panel or the / button on the
remote control to select the setting.
USB
HDMI 1
HDMI 2
Display Port
OPS
DVI-D
YPbPr
AV
VGA
Содержание RX-32E
Страница 1: ...RX 32E RX 42E RX 55E LED Backlit Display User Manual ...
Страница 4: ...TABLE OF CONTENTS CHAPTER 7 SPECIFICATIONS 89 7 1 Display Specifications 89 7 2 Display Dimensions 91 ...
Страница 21: ...17 PRODUCT DESCRIPTION RX 55E MUTE INPUT MENU 1 2 3 4 5 6 7 8 RX 32E RX 42E RX 55E 9 ...
Страница 24: ...20 PRODUCT DESCRIPTION RX 55E 1 2 3 4 5 6 7 8 11 12 13 14 9 10 16 15 17 18 19 20 21 22 ...
Страница 42: ...38 MAKING CONNECTIONS RX 42E AUDIO OUT Audio Device AUDIO IN RX 55E AUDIO OUT Audio Device AUDIO IN ...


