10.4 Permanent Extra Rinse
With this option you can permanently
have one or two extra rinses when you
set a new programme.
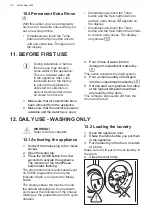
• Simultaneously touch the Temp.
button and the Spin button once to
add one extra rinse. appears on
the display.
• Simultaneously touch the Temp.
button and the Spin button twice to
add two extra rinses. appears on
the display.
• Simultaneously touch the Temp.
button and the Spin button three times
to remove extra rinses. The display
only shows
.
11. BEFORE FIRST USE
During installation or before
first use you may observe
some water in the appliance.
This is a residual water left
in the appliance after a full
functional test in the factory
to ensure the appliance is
delivered to customers in
perfect working order and is
no cause for concern.
1. Make sure that all transit bolts have
been removed from the appliance.
2. Make sure that the electrical power is
available and the water tap is open.
3. Pour 2 litres of water into the
detergent compartment marked by
.
This action activates the drain system.
4. Pour a small quantity of detergent
into the compartment marked by
.
5. Set and start a programme for cotton
at the highest temperature without
any laundry in the drum.
This removes all possible dirt from the
drum and the tub.
12. DAILY USE - WASHING ONLY
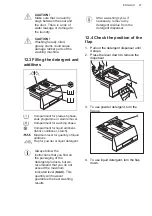
WARNING!
Refer to Safety chapters.
12.1 Activating the appliance
1. Connect the mains plug to the mains
socket.
2. Open the water tap.
3. Press the On/Off button for a few
seconds to activate the appliance.
The indicator of the Start/Pause
button starts flashing.
The programme dial is automatically set
on Cotton programme and only the
indicator Wash is on above the Mode
button.
The display shows the maximum load,
the default temperature, the maximum
spin speed, the indicators of the phases
making up the programme and the cycle
duration.
12.2 Loading the laundry
1. Open the appliance door.
2. Shake the items before you put them
in the appliance.
3. Put the laundry in the drum, one item
at a time.
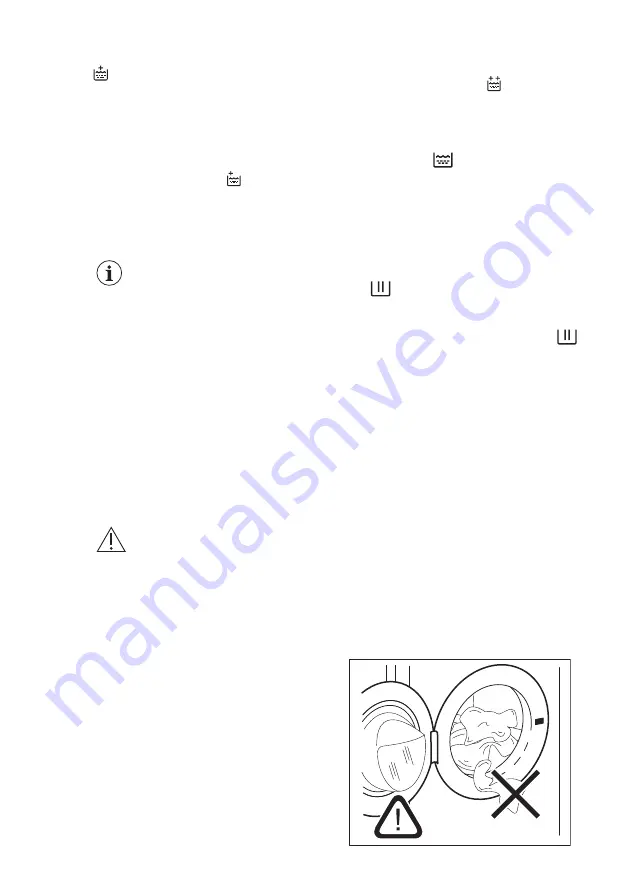
Make sure not to put too much laundry in
the drum.
4. Close the door firmly.
www.aeg.com
26
Содержание L7WBG741R
Страница 1: ...USER MANUAL EN User Manual Washer Dryer L7WBG741R ...
Страница 49: ......
Страница 50: ......
Страница 51: ......
Страница 52: ...www aeg com shop 157024421 A 262020 ...

