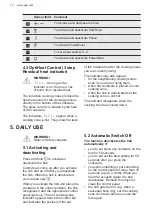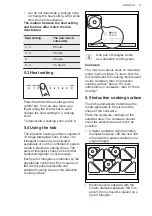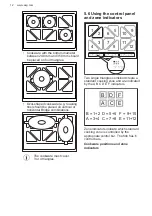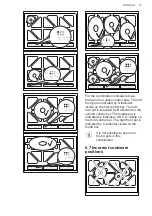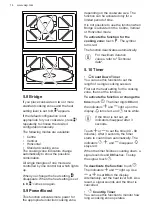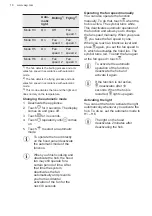
accordingly. You can place the cookware
on the left, centre, or right vertical bridge.
General information:
• For this function, use cookware with
the minimum bottom diameter of 160
mm.
• The zone indicator indicates both
zones in a bridge even if only one of
the zones is used.
• You may adjust the heat setting
manually only if at least one of the
zones is activated automatically.
• You can change the heat settings for
each position separately. When you
deactivate the hob, it remembers your
heat settings and applies it next time
you activate the function.
• If you want to change the heat setting,
lift up the cookware and place it on a
different zone. Sliding the cookware
can cause scratches and
discolouration of the surface.
Activating the function
To activate the function, press . When
the function is activated, the symbol
turns red and the control bar displays the
pre-set power level.
If there is no cookware
detected on the cooking
zones, after 9 minutes an
acoustic signal sounds and
the cooking zones
deactivate automatically.
Press to resume this
function.
Adjusting power level
To adjust the power level, choose the
heat setting on the control bar.
Deactivating the function
To deactivate the function, press .
6.5 OffSound Control
(Deactivating and activating
the sounds)
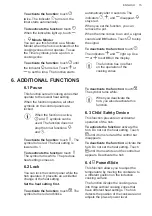
Deactivate the hob. Press for 3
seconds. The display comes on and
goes out. Press for 3 seconds. or
appears. Press of the timer to
choose one of the following:
•
- the sounds are off
•
- the sounds are on
To confirm your selection wait until the
hob deactivates automatically.
When the function is set to you can
hear the sounds only when:
• you touch
• Minute Minder comes down
• Count Down Timer comes down
• you put something on the control
panel.
6.6 Power limitation
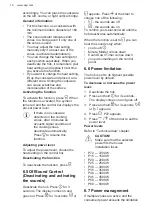
The hob is set to its highest possible
power level by default.
To decrease or increase the power
level:
1. Deactivate the hob.
2. Press and hold for 3 seconds.
The display comes on and goes off.
3. Press and hold for 3 seconds.
or
appears.
4. Press . P72 appears.
5. Press / of the timer to set the
power level.
Power levels
Refer to “Technical data” chapter.
CAUTION!
Make sure that the selected
power fits the house
installation fuses.
• P72 — 7200 W
• P15 — 1500 W
• P20 — 2000 W
• P25 — 2500 W
• P30 — 3000 W
• P35 — 3500 W
• P40 — 4000 W
• P45 — 4500 W
• P50 — 5000 W
• P60 — 6000 W
6.7 Power management
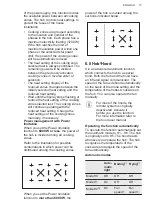
If multiple zones are active and the
consumed power exceeds the limitation
www.aeg.com
16
Содержание IKK86683FB
Страница 109: ......
Страница 110: ......
Страница 111: ......
Страница 112: ...www aeg com shop 867366350 A 152021 ...

