background image

UK

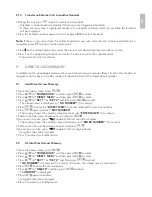
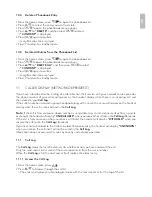
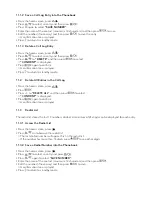
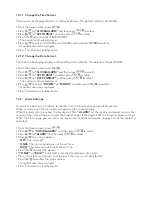
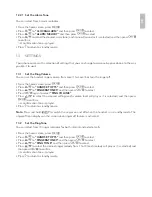
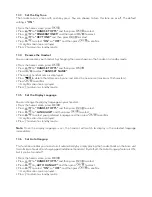
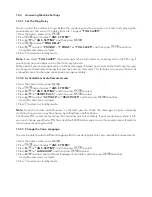
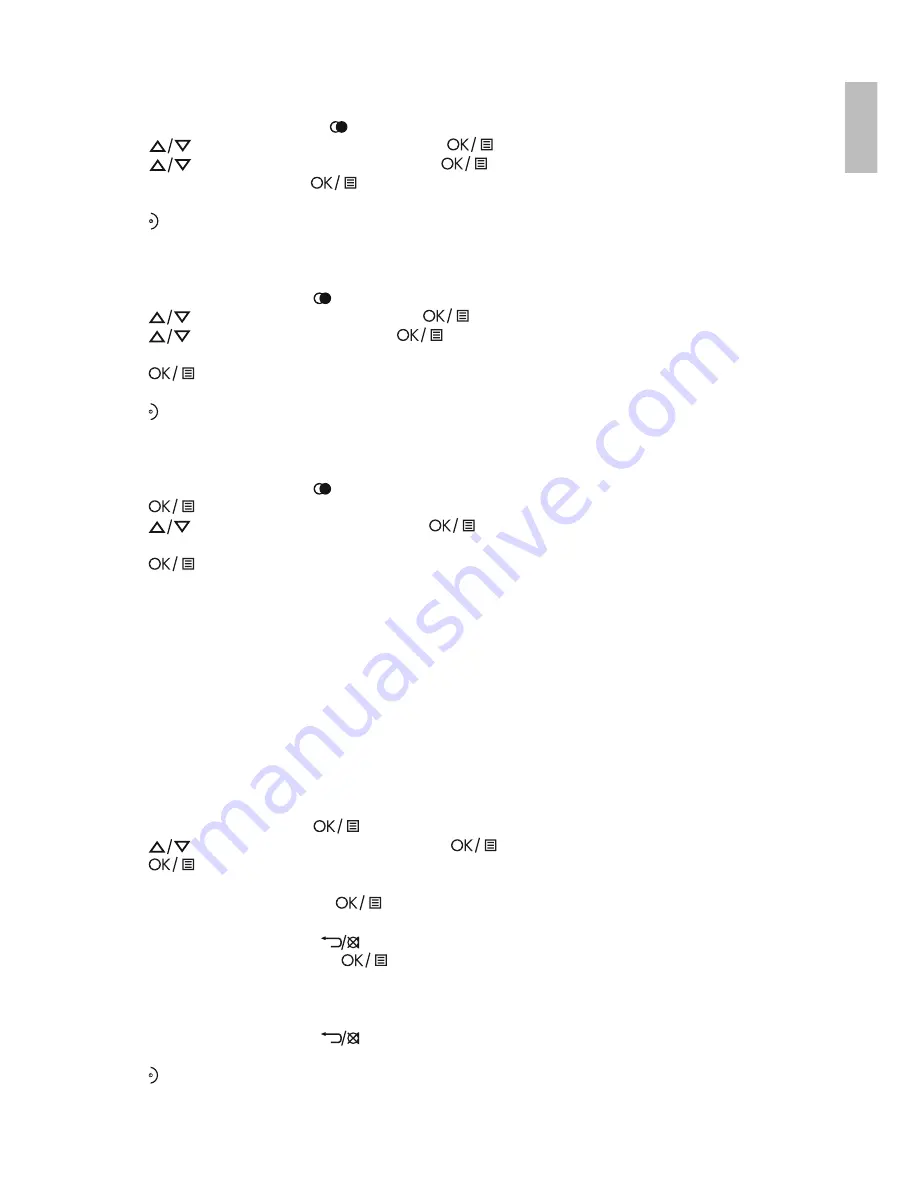
11.3.3  Edit a Redial Number

• From the home screen, press


.

• Press 

 to select an entry and then press 

.

• Press 

 to 

“EDIT ENTRY”

 and then press 

 to select.

• Edit the number and press 

 to confirm.


>A confirmation tone is played.

• Press


 to return to standby mode.

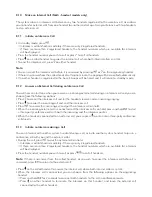
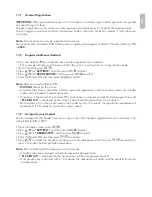
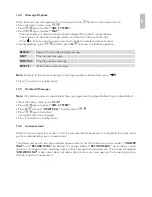
11.3.4  Delete a Redial Number

• 

From the home screen, press  .

• 

Press 

 to select an entry and then press 

.

• 

Press 

 to 

“DELETE”

 and then press 

 to select.


>

“CONFIRM?”

 is displayed. 

• 

Press 

 again to confirm.


>A confirmation tone is played.

• 

Press   to return to standby mode.

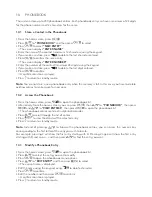
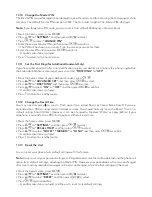
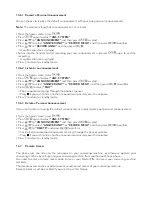
11.3.5  Delete All Entries from the Redial List

• 

From the home screen, press  .

• 

Press 

.

• 

Press 

 to 

“DELETE ALL”

 and then press 

 to select.


>

“CONFIRM?”

 is displayed.  

• 

Press 

 again to confirm.


>A confirmation tone played.

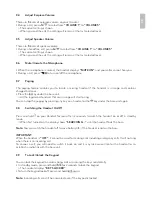
12. 

CLOCK AND ALARM SETTINGS

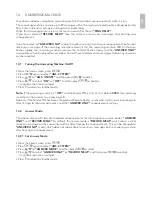
12.1 

Date and Time Settings

If you have subscribed to the Calling Line Identification service, the time and date settings will be 
automatically updated by the network when you receive an incoming call, but you may still need to set 
the correct year.
You can also set the date and time manually.

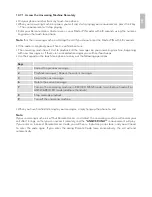
• 

From the home screen, press 

.

• 

Press 

 to 

“CLOCK&ALARM“

 and the press 

 to select.

• 

Press 

 again to select 

“DATE & TIME”

.


>The last stored date is displayed, with the third digit of the year flashing.

• 

Enter the current date and press 

 to confirm. 


>Enter 03 May 2012 as [1], [2], [0], [5], [0], [3].


>If you make a mistake, press 

 to delete the last digit entered.

• 

Enter the current time and press 

 to confirm. The default time format is 24 HOURS. (To change 

time format, see Change the Date Format on page 51.)


>For 24-hour format, enter 1:30pm as [1], [3], [3], [0].


>For 12-hour format, enter the time and then press + to select am , or press- to select pm.


>If you make a mistake, press 

 to delete the last digit entered.


>A confirmation tone is played.

• 

Press   to return to standby mode.

Содержание Boomerang 15

Страница 1: ...USER GUIDE UK V2 DECT PHONE Boomerang 15 ...

Страница 2: ...P1 P3 P2 P4 P5 13 1 7 3 9 10 11 4 5 2 8 6 14 12 15 16 ...

Страница 3: ...ire or electric shock Unplug this product from the wall outlet under the following conditions When the power supply cord or plug is damaged If the product fails to operate normally despite following the operating instructions If the product has been dropped and the cabinet has been damaged If the product exhibits a distinct change in performance NEVER use your phone outdoors during a thunderstorm ...

Страница 4: ...cordance with the normal standards for a DECT phone Maximum range up to 300 metres outdoors or 50 metres indoors Be aware that Large metal objects such as refrigerators mirrors or filing cabinets between the handset and the base unit may block the radio signal Solid structures such as walls may reduce the signal strength Electrical equipment may cause interference and or affect the range Do not pl...

Страница 5: ... observing the correct polarity see markings inside battery compartment Warning Use only the supplied NiMH rechargeable batteries Place the back cover over the back of the handset and press down until it clicks into place Place the handset on the base and charge for 15 hours before using the handset for the first time The handset will give a double beep when it is properly placed on the base and t...

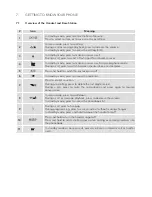
Страница 6: ... hold to switch the key lock on or off 6 In standby mode press to access the redial list 7 Press to cancel an action During pre dialling press to delete the last digit entered During a call press to mute the microphone and press again to resume conversation 8 In menu mode press to scroll down During a call or message playback press to decrease the volume In standby mode press to access the phonebo...

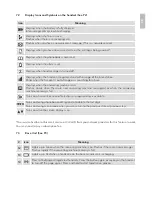
Страница 7: ...w answering machine message s or when the answering machine memory is full Turns on when confirmation of selection or programming is available Turns on during phonebook editing mode to delete the last digit Turns on during menu mode when you can return to the previous state or previous step Turns on when the screen display is on You must subscribe to Voicemail service or Caller ID from your networ...

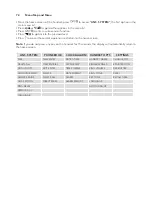
Страница 8: ... If you do not press any key on the handset for 15 seconds the display will automatically return to the home screen ANS SYSTEM PHONEBOOK CLOCK ALARM HANDSET OPTS SETTINGS PLAY NEW ENTRY DATE TIME HANDSET NAME CHANGE PIN DELETE ALL VIEW ENTRIES SET FORMAT RINGER TONES REGISTRATION ANS ON OFF EDIT ENTRY TIME FORMAT RING VOLUME DEREGISTER ANNOUNCEMENT DELETE DATE FORMAT RING TONE RESET ANSWER MODE DE...

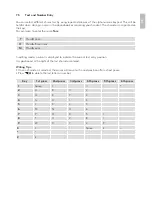
Страница 9: ...Press 6 three times M Press 6 once In editing mode a cursor is displayed to indicate the current text entry position It is positioned at the right of the last character entered Writing Tips Once a character is selected the cursor will move to the next position after a short pause Press to delete the last letter or number Key 1st press 2nd press 3rd press 4th press 5th press 6th press 1 Space 1 _ 2...

Страница 10: ...mber Note You need to subscribe to Caller Line Identification service to be able to see the caller s number or name in the call log 8 1 5 Call from the Phonebook Press in standby mode Press to select the desired entry in the phonebook and then press to dial out the selected phonebook number 8 2 Answer and End a Call When the phone rings press on your handset To end a conversation press on your han...

Страница 11: ... in range will start to ring You can stop the paging by pressing any key on a handset or the key under the base unit again 8 8 Switching the Handset On Off Press and hold on your Handset for more than 2 seconds to switch the handset on or off in standby mode When first turned on the display shows SEARCHING until the handset finds the base Note You can switch the handset off to save battery life if...

Страница 12: ...al incoming ringing Press to answer the incoming call and end the intercom call Press to answer the incoming call and put the intercom call on hold When the incoming external call is connected and the intercom call is on hold press and hold to start a three party conference call with both the incoming and the intercom parties When the handset is connected to an external call you can press to enter...

Страница 13: ... Press to PHONEBOOK and then press to select Press to DIRECT MEM and then press to select Press to KEY 1 or KEY 2 and then press to select The stored name is displayed or NO NUMBER if it is empty Press to enter the DIRECT MEM menu to add edit the name or number Press again to select EDIT NUMBER The display shows the currently stored name or just ENTER NAME if it is empty Edit or enter the name of ...

Страница 14: ...e home screen press to open the phonebook list Alternatively from the home screen you can press then to PHONEBOOK then press and to VIEW ENTRIES then press to open the phonebook list The phonebook entries are listed in alphabetical order Press to scroll through the list of entries Press P to view the details of the selected entry Press to return to standby mode Note Instead of pressing to browse t...

Страница 15: ... along with a name the name will appear on the handset display when the call is received and in the Call Log Note If the call is from someone whose number is unavailable e g an international call or from a private exchange thehandsetwilldisplay UNAVAILABLE whenyoureceivethecallandintheCall Logafterwards If the call is from someone whose number is withheld the handset will display WITHHELD when you...

Страница 16: ... Call Log From the home screen press Press Press to DELETE ALL and then press to select CONFIRM is displayed Press again to confirm A confirmation tone is played 11 3 Redial List The redial list stores the last 10 numbers dialled A maximum of 24 digits can be displayed for each entry 11 3 1 Access the Redial List From the home screen press Press on to browse the redial list The last dialled number...

Страница 17: ...scribed to the Calling Line Identification service the time and date settings will be automatically updated by the network when you receive an incoming call but you may still need to set the correct year You can also set the date and time manually From the home screen press Press to CLOCK ALARM and the press to select Press again to select DATE TIME The last stored date is displayed with the third...

Страница 18: ...ress to return to standby mode 12 2 Alarm Settings An alarm can be set on a handset to sound at a set time only once or repeated each day When an alarm is set the alarm icon is shown on the handset display When the alarm time is reached the handset will flash ALARM on the display and sound an alarm for 1 minute at the same volume setting as the handset ringer If the ringer is off it will ring at v...

Страница 19: ...ct Press to RINGER TONES and then press to select Press again to select RING VOLUME Press to select the desired setting each volume level will play as it is selected and then press to confirm A confirmation tone is played Press to return to standby mode Note Press and hold P to switch the ringer on and off when the handset is in standby mode The ringer off icon displays on the screen when ringer o...

Страница 20: ...ion tone is played Press to return to standby mode 13 5 Set the Display Language You can change the display language on your handset From the home screen press Press to HANDSET OPTS and then press to select Press to LANGUAGE and then press to select Press to select your preferred language and then press to confirm A confirmation tone is played Press to return to standby mode Note Once the display ...

Страница 21: ...icate successful registration and the handset returns to standby mode with its handset number displayed If no base is found with the entered PIN error tones are played to indicate failed registration and PLS REG H S is displayed on the screen You will need to repeat from step 1 above During steps 2 5 if no key is pressed on the handset within 10 seconds the registration procedure will be aborted I...

Страница 22: ...ion tone is played Press to return to standby mode 13 12 Change the Recall Time You may need to press to send a Flash signal also called Recall or Timed Break Recall if you are connected to a PBX or using certain network services You should normally leave the Recall Time at its default setting Short 100ms However it can be changed to Medium 270ms or Long 600ms if your telephone is connected to a P...

Страница 23: ... Press to ANS ON OFF and then press to select Press to select ON or OFF and then press to confirm A confirmation tone is played Press to return to standby mode Note If the answering machine is OFF and the Master PIN is still set at its default 0000 the answering machine will not answer any incoming calls However if the Master PIN has been changed and Remote Access is activated it will answer incom...

Страница 24: ... Deactivate Remote Access From the home screen press Press again to select ANS SYSTEM Press to ANS SETTING and then press to select Press to REMOTE ACC and then press to select Press to select ACTIVATE or DEACTIVATE and then press to confirm A confirmation tone is played Press to return to standby mode Note Once the remote control access is activated you can check the messages on your answering ma...

Страница 25: ...ime press Press to return to standby mode 14 5 Delete All Messages Note Only old messages can be deleted New messages must be played before they can be deleted From the home screen press Press again to select ANS SYSTEM Press to select DELETE ALL and then press Press again to confirm A confirmation tone is played Press to return to standby mode 14 6 Announcement When the answering system answers a...

Страница 26: ...u wish to listen to the announcement privately over the earpiece Press to return to standby mode 14 6 3 Delete a Personal Announcement If you want to return to using the default announcement simply delete your personal announcement From the home screen press Press again to select ANS SYSTEM Press to ANNOUNCEMENT and then press to select Press to select ANSWER ONLY or RECORD MSGS and then press to ...

Страница 27: ...eeps Use the keypad on the touch tone phone to carry out the following operations Keys 1 Repeat the previous message 2 Playback messages Repeat the current message 3 Skip to the next message 6 Delete the current message 7 Turn on the answering machine in RECORD MSGS mode main Eclipse handset or ANSW RECORD mode additional handsets 8 Stop message playback 9 Turn off the answering machine When you h...

Страница 28: ...nnected to an external line at a time If the handset display shows the base is already being used by either the answering machine or another handset When I press on the keys nothing happens Make sure that the batteries are fitted in your handset If the Battery Level symbol on the display shows low put your handset back on the base unit or charging pod to charge When I key in a number it appears on...

Страница 29: ...lls are running low within an hour or two Before you first use the handset you must leave it to charge on the base unit or charging pod for at least 15 hours You may need to replace the batteries Check the connection between the base unit and the mains power socket I try to recharge the batteries but I still get a warning that they are low You need to replace the batteries Dispose of used batterie...

Страница 30: ...ee does not cover any faults or defects caused by accidents misuse fair wear and tear neglect faults on the telephone line lightning tampering with the equipment or any attempt at adjustment or repair other than through approved agents Please keep your sales till receipt this is your proof of guarantee 17 1 While the unit is under Guarantee Disconnect the base unit from the telephone line and the ...

Страница 31: ...tion points in your area Batteries must be removed before disposing of the device Dispose of the batteries in an environmental manner according to your country regulations 20 TECHNICAL DETAILS Standard Digital Enhanced Cordless Telecommunication DECT Frequency range 1 88 to 1 9 GHz bandwidth 20 MHz Channel bandwidth 1 728 MHz Operating range Up to 300m outdoors Up to 50m indoors Operating time Sta...

Страница 32: ...inatone Electronics International Limited All rights reserved Subject to avaibility Rights of modification reserved AEG is a registered trademark used under license from AB Electrolux publ www aegtelephones eu ...

Отзывы: