Advent MP82 Скачать руководство пользователя страница 3

Before Use

-If you see this symbol-

Care and Maintenance 

Do not strongly shake or bump the 

Care of the camera 

camera.

 The camera may stop operating 

normally, pict ures may not be recorded or 

the lens may be damaged.

• Sand or dust may cause the camera to 

malfunction. Make sure that sand or 

dust does not get into the lens or the 

terminals when using the camera on a 

beach etc.

• Make sure that water does not get into the 

camera when using it on a rainy day or on 

a beach.

• If water or seawater splashes on the 

camera, use a dry cloth to wipe the 

camera body carefully.

About the LCD monitor

• Do not press the LCD monitor with 

excessive force. Uneven colours may 

appear on the LCD monitor and it may 

malfunction.

• Condensation may form on the LCD 

monitor in places with large temperature 

differences. Wipe the condensation with a 

soft, dry cloth.

• If the camera is cold when you turn it on, 

the picture on the LCD monitor will be 

slightly darker than usual at first. However, 

the picture will return to normal brightness 

when the internal temperature of the 

camera increases.

About the Lens

• Do not press the lens with excessive 

force.

• Do not leave the camera with the lens 

facing the sun as it may cause the camera 

to malfunction. Also, be careful when you 

leave the camera outside or near a 

window.

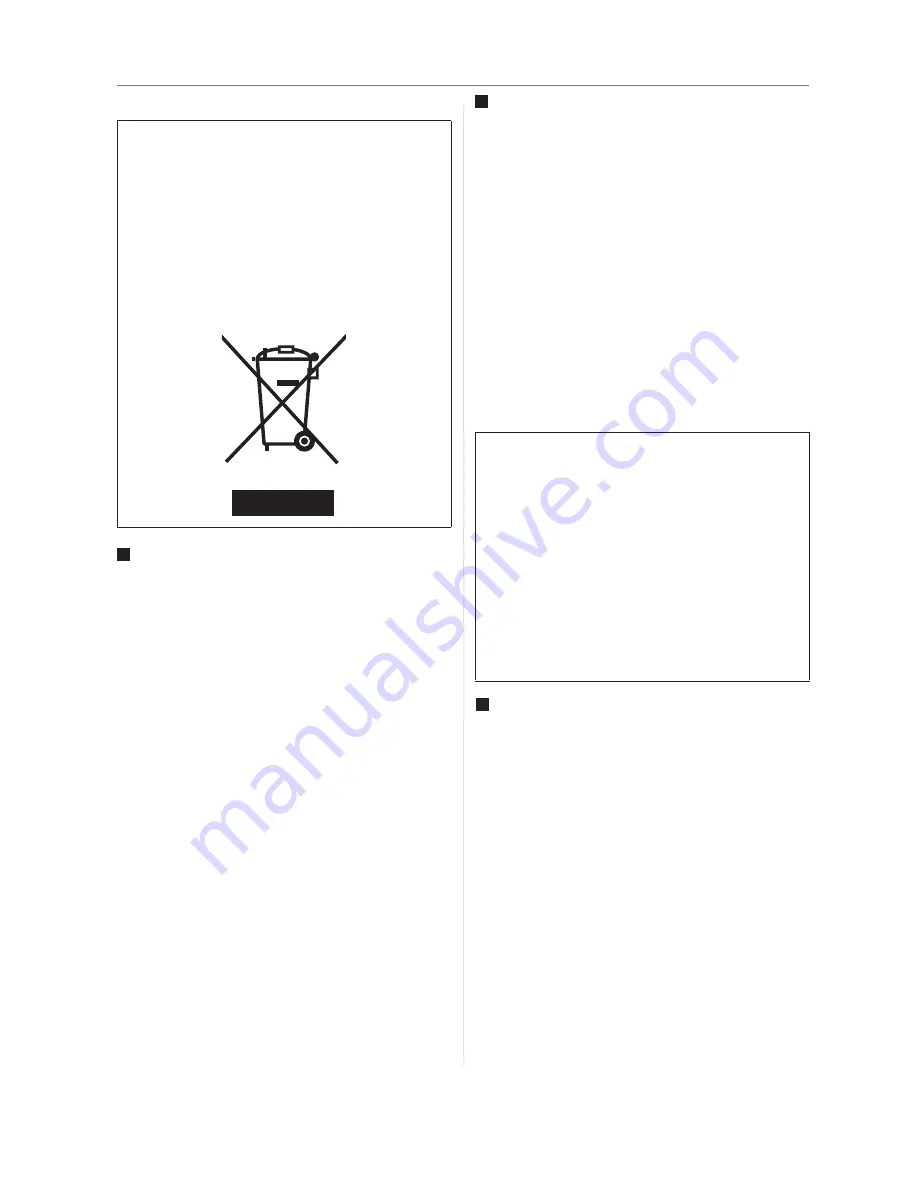
Information on Disposal in other 

Countries outside the European 

Union

This symbol is only valid in the European 

Union. 

If you wish to discard this product, please 

contact your local authorities or dealer 

and ask for the correct method of 

disposal.

Extremely high precision technology is 

employed to produce the LCD monitor 

screen. However there may be some 

dark or bright spots (red, blue or green) 

on the screen. This is not a malfunction. 

The LCD monitor screen has more than 

99.99% effective pixels with a mere 

0.01% of the pixels inactive or always lit. 

The spots will not be recorded on 

pictures on the built-in memory 

or a card.

ii

Содержание MP82

Страница 1: ...MP82 Instruction Manual...

Страница 2: ...ng children Eye damage may result In particular remain at least one meter away from infants when using flash y Keep the camera away from water and other liquids Do not use the camera with wet hands Ne...

Страница 3: ...when you turn it on the picture on the LCD monitor will be slightly darker than usual at first However the picture will return to normal brightness when the internal temperature of the camera increas...

Страница 4: ...fog will disappear naturally when the temperature of the camera becomes close to the ambient temperature When not using the camera for a long period of time Store the battery in a cool and dry place...

Страница 5: ...RDING 19 RECORDING STILL IMAGES 19 USING THE Q MODE 20 SETTING IMAGE SIZE AND QUALITY 21 USING THE ZOOM FUNCTION 22 USING THE FLASH 23 USING THE MACRO 24 USING THE SELF TIMER BURST 25 RECORDING MOVIE...

Страница 6: ...UIREMENTS 44 WINDOWS 44 MACINTOSH 44 INSTALLING THE SOFTWARE 45 INSTALLING THE SOFTWARE DRIVER 46 INSTALLING PRESTO MR PHOTO 46 MAKING CONNECTIONS 47 CONNECTING THE CAMERA TO A TV 47 CONNECTING THE CA...

Страница 7: ...rding images Playback This section explains playback delete and edit functions of still images movies and audio files Making Connections This section tells you how to connect this camera to a computer...

Страница 8: ...ROM Quick Start Guide Battery Charger y Actual accessories may be different y Items marked with are available as optional accessories y Note that the shape of the charger plug depends on the area whe...

Страница 9: ...5 Zoom Button page 22 y Thumbnail page 34 y Playback Zoom page 33 6 Playback Button page 13 7 Menu Button page 15 8 Operation Lamp 9 Mode Button page 13 10 Delete Button page 35 11 LCD Monitor page 9...

Страница 10: ...4 15 Strap Ring 16 Shutter Button page 19 26 17 Power Button page 12 18 Speaker 19 USB AV Terminal page 18 48 21 Battery Cover page 5 22 Tripod Socket...

Страница 11: ...should be replaced promptly when the low battery indicator appears y Risk of explosion if battery is replaced by an incorrect type dispose of used batteries according to the instructions y Be sure to...

Страница 12: ...mage the card or data if removing the card while the camera is Power On y Do not touch the connection terminals on the back side of the card About Camera Memory This camera is equipped with internal m...

Страница 13: ...ubmenu Select a language y Press or to select a language and press or the SET button to apply the setting Press the MENU button to close the menu Setting the Date Time Turn the power on and set the ca...

Страница 14: ...etting y After adjusting the settings press the SET or the MENU button to apply the setting y If the batteries are removed for longer than 48 hours the Date and Time will need to be re set 4 C Ca au u...

Страница 15: ...ing mode page 13 12 Shake warning page 19 2 Flash page 23 13 Shutter speed page 19 3 Zoom indicator page 22 14 Aperture value page 19 4 Shots remaining 15 Exposure page 30 5 Storage media 16 Metering...

Страница 16: ...red date time 3 Voice memo page 28 9 Voice memo control page 28 4 File number Total 10 DPOF page 42 5 Storage media 11 Resolution page 21 6 Recording info page 11 y Some information may not display co...

Страница 17: ...ACK mode D Full OSD E Basic OSD C OSD off y You cannot change the LCD status in the following situation Manual exposure Recording movie clips or audio files Playing movie clips or audio files Playing...

Страница 18: ...5 seconds y Switch between REC mode and PLAYBACK mode page 13 Power Saving Function For saving the battery power the LCD monitor automatically turns off 1 minute after the last control accessed facto...

Страница 19: ...lecting the REC mode Set the camera to the REC mode page 13 Launch the mode palette y Press the MODE button o to show the scene mode palette Select a mode y Use the four way control to select a desire...

Страница 20: ...the subject Snow Use for the beach or snow scenes Fireworks Slow shutter speed to take fireworks exploding Night Scene Shooting the subject while keeping the background night scenery Kids Take a stil...

Страница 21: ...NU button n to display the menu Select an item y Press or o to select a menu item Change the setting y Press or o to change the setting Press the MENU n or the SET o button to save the settings and cl...

Страница 22: ...e 13 Press the MENU button n to open the REC or PLAYBACK menu y The menu displays depends on whether you are in the REC mode or the PLAY BACK mode Open the Setup menu y Press four way control o to sel...

Страница 23: ...ned off automatically for a period of time y The power save feature will not activate in some situation page 12 Date Time Sets the date time page 7 Select a language for display menus and other inform...

Страница 24: ...mat To erase all data stored in the memory card if you are using a card or all data stored in the internal memory if there is no card inserted y A BUSY PLEASE WAIT message displays and the memory card...

Страница 25: ...ecomes green while in focus then shutter speed o aperture value p and ISO value q are displayed y If the shutter speed is slow or the possibility that image may be blurred the shake warning icon may a...

Страница 26: ...4M 2M VGA Drive Mode Off 2 sec 10 sec Double Burst Beep Off On Menu Auto Review Off 3 sec 5 sec Rest of settings will not be controlled as below y Quality S Fine y Highlight Off y Metering Multi y Sha...

Страница 27: ...urpose For details see page 15 Resolution Values Image Size Print Size 3264 x 2448 Printing larger than A4 size 3264 x 2176 3264 x 1840 2816 x 2112 2272 x 1704 1600 x 1200 640x480 Printing to postcard...

Страница 28: ...e the image W zoom out for a wide angle shot T zoom in for a telephoto shot y When the zoom button is pressed the zoom bar appears on the LCD monitor y When the optical zoom o factor is at maximum zoo...

Страница 29: ...lash Flash fires automatically when shooting conditions require extra lighting Red eye reduction Flash strobes to let the subject s eyes adjust to the flash then fires again to take the actual image Y...

Страница 30: ...ng and 40 cm in the maximum telephoto setting Turn the power on and set the camera to the REC mode page 13 Press the macro button n enters the macro mode y The macro icon o displays in the LCD monitor...

Страница 31: ...ect a drive mode then press the SET button Off Record a single image 2 sec The shutter release will be delay for 2 seconds 10 sec The shutter release will be delay for 10 seconds Double Record two ima...

Страница 32: ...o to adjust the image size y The White Balance is set and locked to the settings of the first frame y Sound cannot be recorded while pressing the zoom button y The digital zoom cannot be used in Movie...

Страница 33: ...g Press the shutter button again to end recording y The camera will stop recording automatically when the memory capacity has been reached Playing Back Audio Clips Turn the power on and set the camera...

Страница 34: ...ice Memo and press the SET button Press the SET button to start recording for 30 seconds y Press the SET button again to end recording y The voice memo cannot be added to a movie clip or a protected i...

Страница 35: ...ption Description Automatically correct white balance Ideal for general photography Adjust for bright sun conditions or natural light conditions Adjust for cloudy days or twilight conditions Adjust fo...

Страница 36: ...alent y Higher ISO speeds increase the image noise To take clean images use as low an ISO speed as possible Setting the Exposure Set the exposure value manually to compensate for unusual lighting cond...

Страница 37: ...ode or in Playback mode Option Description Off No effect is added to the image B W Convert image to black white Sepia Recorded image will be stored in a sepia tone Negative Opposite what they were in...

Страница 38: ...s images in a high speed Playing Back Movie Clips Turn the power on and set the camera to the PLAYBACK mode page 13 Press or to select a movie clip that you want to playback Start playing back y Press...

Страница 39: ...ed and trimmed Magnify the image y Press T n to magnify the image and the central portion of the image is displayed You can use the arrow button p to view different parts of the magnified image y Pres...

Страница 40: ...Show Turn the power on and set the camera to the PLAYBACK mode page 13 Enter the slide show y Press the MENU button n use the four way control o to select Slide Show and press the SET button o Change...

Страница 41: ...SINGLE and then press the SET button o Press or o to select the image you want to delete Press the SET button o to delete the image y Repeat step 4 5 to delete images y To quickly delete the current...

Страница 42: ...t this step until all images that you want to delete are displayed with an icon Delete images y Press the MENU button then select Yes and press the SET button All selected images will be deleted y To...

Страница 43: ...CD monitor y Repeat step 4 5 to protect images y To unlock the file press the SET button again in step 5 The will disappear and the file is unlocked Protecting All Files Turn the power on and set the...

Страница 44: ...he SET button y The frame of the selected image turns green Select multiple images y Use the four way control to select the image y Press the SET button toggles the on and off Repeat this step until a...

Страница 45: ...grees in clockwise Press or to select OK and then press the SET button to finish rotating Changing the Image Size Turn the power on and set the camera to the PLAYBACK mode page 13 Press or to select t...

Страница 46: ...de page 13 Press or to select the image you want to add the effect Open the menu y Press the MENU button then use the four way control to select Effect and press the SET button Press or to select an o...

Страница 47: ...en the menu y Press the MENU button then use the four way control to select Copy to card and press the SET button Press or to select Single then press the SET button y To copy all images to a memory c...

Страница 48: ...the SET button y To set the DPOF setting for all images select All in this step y To reset all DPOF settings to initial default select Reset in this step Press or to select the image you want to print...

Страница 49: ...sage Completed appears Set the camera to the Setup Menu page 16 Press or to select S Image then press or the SET button Press or to select a desired option and press the SET button to apply the settin...

Страница 50: ...dows XP 2000 ME 98SE 98 Windows Vista y Minimum 32 MB RAM y USB port y CD ROM drive y 800x600 pixels 16 bit colour display compatible monitor Macintosh y Power Mac G3 or later y Mac OS 9 0 9 1 9 2 and...

Страница 51: ...photos inside hard drive y Install Quick Time Install Quick Time software allows you to playback a range of standard video and photo formats from the camera y Adobe Reader Install the Adobe Acrobat Re...

Страница 52: ...low the on screen instructions to install the drivers Installing Presto Mr Photo Presto Mr Photo Can simultaneously manage and show photos movie clips and sound And adjust photo colour with its unique...

Страница 53: ...8 Turn off the camera and the TV Use the supplied AV cable to connect the camera to the TV set Set the TV input signal to Video In y Refer to the documentation included with your TV for more informati...

Страница 54: ...drive icon that represents the memory card Copy images from the card into a directory of your choice on the computer s hard disk Connecting the Camera to a Computer with the USB Cable Install the USB...

Страница 55: ...ith DSCI and are followed by a 4 digit number that increases in sequence File numbering starts from 0001 when a new folder is created If the highest folder number is 999 and highest file number exceed...

Страница 56: ...or the PLAY BACK mode Open the Setup menu y Press four way control to select SETUP and then press the SET button to display the Setup menu Press or to select FORMAT then press or the SET button Press...

Страница 57: ...as captured Hold the camera steady when shooting picture Image is blurry or out of focus The subject was beyond the range within which the camera can focus Turn the Macro modes on it the subject is wi...

Страница 58: ...Landscape Portrait Snow Fireworks Night scene Kids Food Building Text Sensitivity Auto ISO 50 ISO 100 ISO 200 ISO 400 White Balance Auto Daylight Cloudy Tungsten Fluorescent H Fluorescent L Custom Exp...

Страница 59: ...2000 1 1 2000 1 1 2000 1 1 2000 1 1 2000 1 15 1 2000 Off z z z z z z z z z z z z Macro On z z Auto 3 z z z Red eye z z Force on z Slow sync z Button Flash Force off z z z z 8M 3 16 9 3 2 6M 4M 2M Reso...

Страница 60: ...0 Off 3 2 sec 10 sec Double Drive Mode Burst Off z z z z z z z z z z z z z AEB On Off z z z z z z z z z z z z z Highlight Hard z z z Normal 3 z z z z z z z z z Sharpness Soft Off z z z z z z z z z z...

Страница 61: ...55 3 Factory setting z Default Available Not available Setting is retained even after mode switch or power off Set to OFF after power off...

Отзывы: