


14
Display
Title
Description
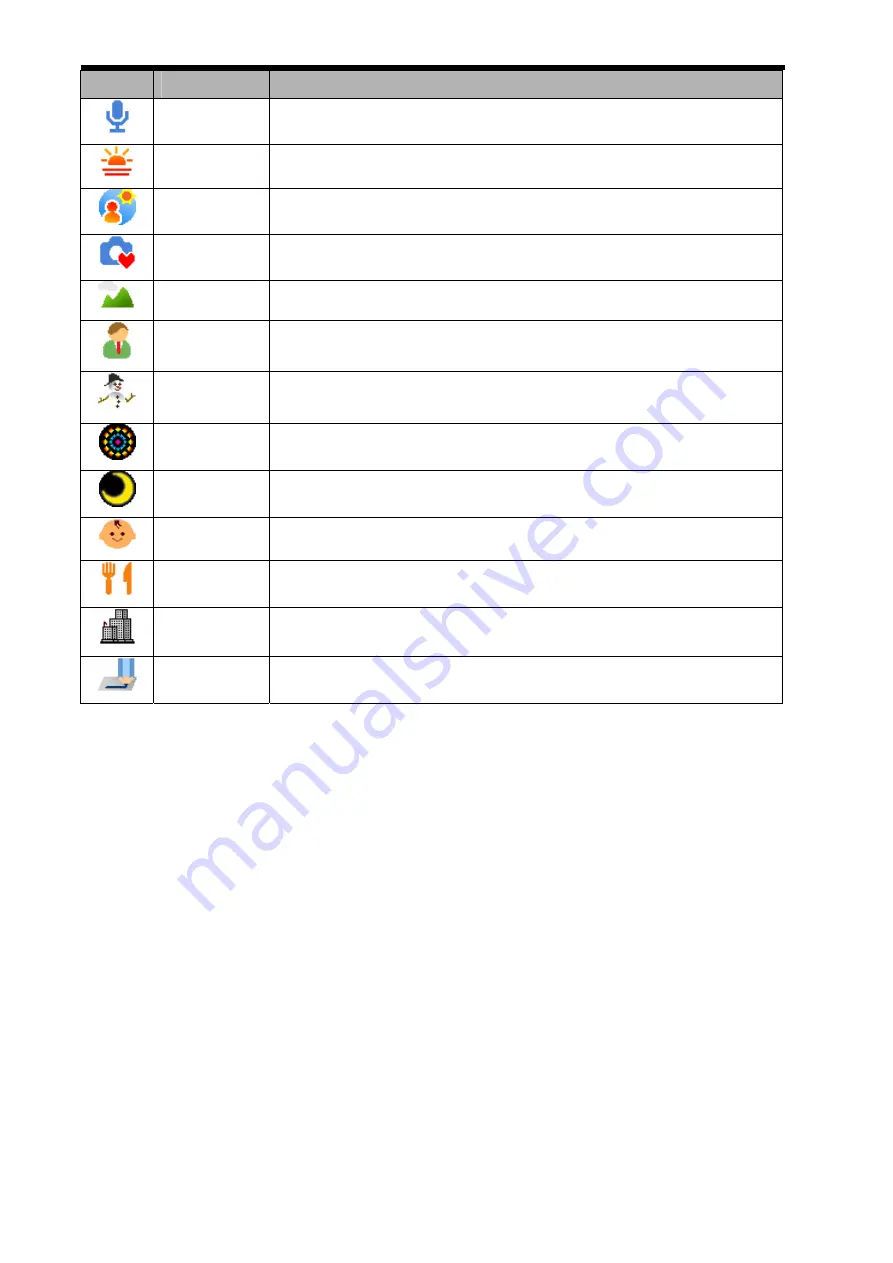
Voice REC
For recording audio.
Sunset
Enhance the red hue for recording sunset images.
Backlight
Shooting the image of backlight object by changing metering.
Q Mode
Allows beginners to take pictures easily.
Landscape
Used for the wide scenic views.
Portrait
Blurring the background to focus on the subject.
Snow
Used for the beach or snow scenes.
Fireworks
Slow shutter speed to take fireworks exploding.
Night Scene Shooting the subject while keeping the background night scenery.
Kids
Take a still image to capture moving kids.
Food
Higher saturation makes food more appetizing.
Building
Enhance the edges of the subject.
Text
Enhance the black & white contrast.
Содержание ADV1172E
Страница 4: ......


