background image


3.


Portable calls will be recorded audio in only. 


PC/Data Application 
 
Part # AT3099. 


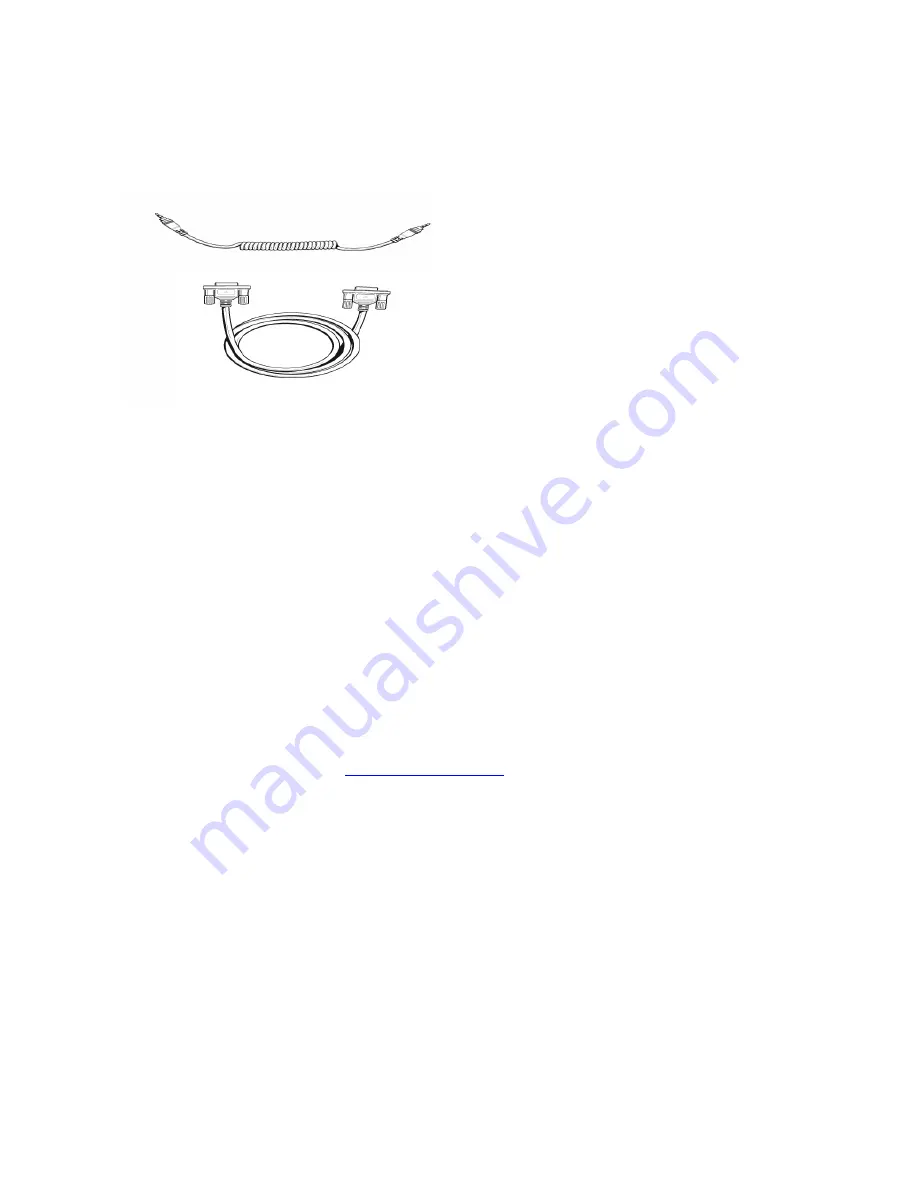
Diagram 3.  Data package cables 


Installing Data Package 
 

1.


Connect  the  Serial  Plug  DB9  Data  Cable  to  an  available 
Serial  socket  on  the  PC  and  then  connect  the  DB15  Data 
Cable  to  the  Data  Port  on  the  back  of  the 
AdvanceCommunicator™.  This  will  allow  for  many 
features of the portable to be controlled, via the Data Cable 
connected to the PC 

2.


 With the portable in the cradle insert the connector pin of 
the ear piece cable  into the receptacle on the left lower part 
of the AdvanceCommunicator™  

3.


Insert the connector “K” in the earpiece receptacle of the 
portable “L”, as seen on Diagram 4. 

4.


Install  the  software  supplied  with  the  Data  Package  or 
down load it from the internet at 

www.advancetec.com

5.


Once  the  application  has  been  installed  on  your  PC,  you 
will be able to: 

o


Upgrade the AdvanceCommunicator™ software 

o


Make and receive Cellular and Dispatch calls (PTT) 

Содержание AdvanceCommunicator AT3060

Страница 1: ...res Hands free operation for both dispatch and phone calls Handset operation for both dispatch and phone calls Rapid Charging facility External antenna for improved coverage and reception Recording facility for both dispatch and portable calls Advanced PC application for controlling the cell portable The AdvanceCommunicator Part AT3060A consists of 1 Part AT3060A Base unit with i570 handset adapto...

Страница 2: ...RJ45 plug at the end of the coil cord of the handset into the corresponding port on the back of the AdvanceCommunicator 3 Plug the power supply into the wall AC power outlet and the round barrel plug at the end of the cord of the power supply into the corresponding plug on the back of the AdvanceCommunicator 4 At this point the LED will flash RED 5 Attach the external antenna supplied onto the ant...

Страница 3: ...ED 3 If the portable is ON the LED will switch from flashing RED to steady GREEN Diagram 2 Installing the portable Making and Receiving calls in Hands Free Mode 1 To make a call in Hands free mode dial the desired number on the portable keypad and press SEND GREEN BUTTON Speak towards the Microphone indicated in Diagram 2 The voice of the person you are calling will be heard via the built in speak...

Страница 4: ...ing the handset place the handset back into the cradle and press the END RED button close the portable s flip cover Use of the AdvanceCommunicator with Dispatch calls 1 To answer a dispatch call in Hands free mode press and hold down the Cradle Switch H and speak towards the Mic I 2 To answer a dispatch call using the handset pick up the handset press and hold down the Handset Switch J and speak i...

Страница 5: ...ontrolled via the Data Cable connected to the PC 2 With the portable in the cradle insert the connector pin of the ear piece cable into the receptacle on the left lower part of the AdvanceCommunicator 3 Insert the connector K in the earpiece receptacle of the portable L as seen on Diagram 4 4 Install the software supplied with the Data Package or down load it from the internet at www advancetec co...

Страница 6: ...Steady RED Portable is connected to the Base with power OFF Steady GREEN Portable connected with power ON Flashing GREEN Earpiece Cable connected between portable and the Base Flashing RED GREEN Data Cable attached and PC applications running Flashing Orange Transition between modes Charging the battery With the portable turned off the AdvanceCommunicator will charge the battery to 60 in approxima...

Отзывы: