2
2
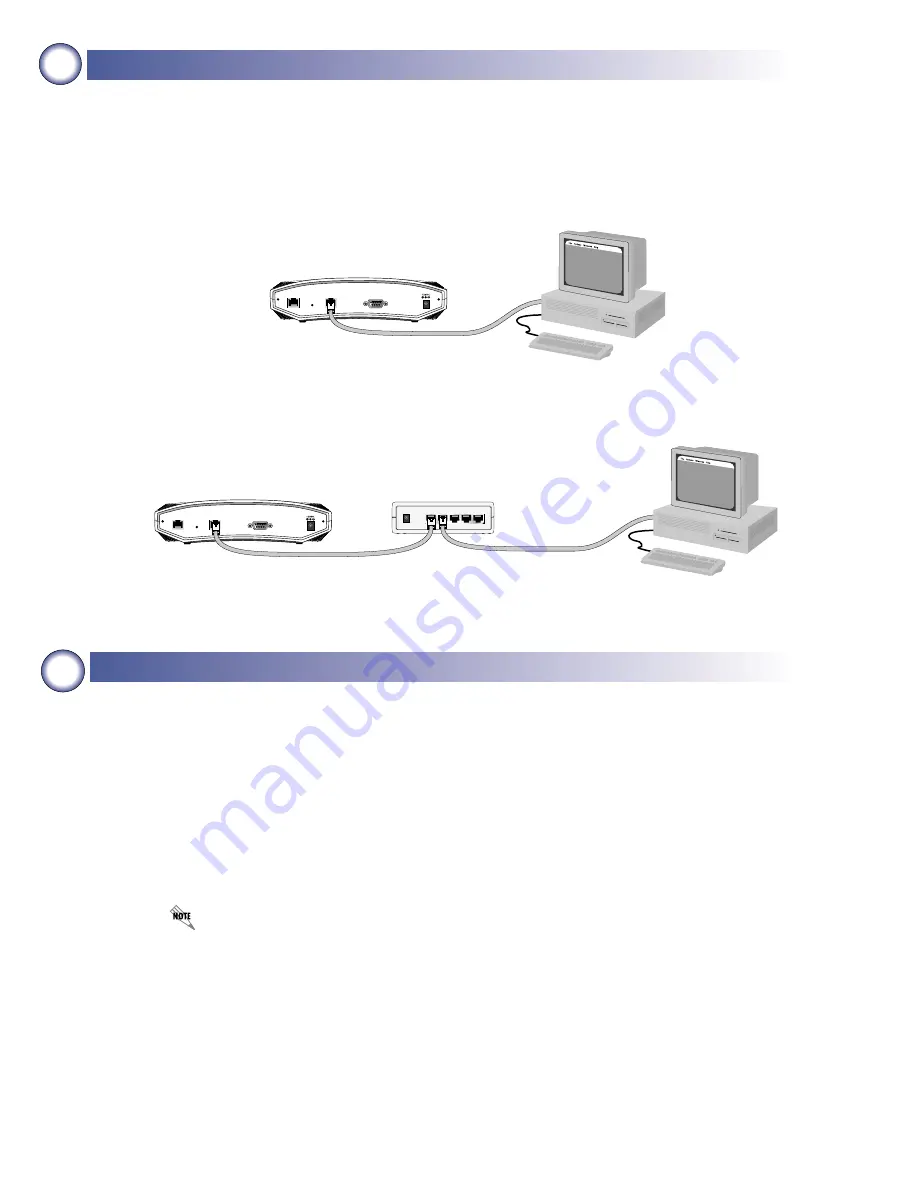
Connecting to the NetVanta
The NetVanta 2000 can be accessed and managed via the LAN interface using an Ethernet crossover cable
(provided with the NetVanta 2100). Alternately, the NetVanta 2000 may be accessed using a hub and two Ether-
net cables (one for the PC and one for the NetVanta). Using a PC with an installed browser (Internet Explorer
5.5 for optimal viewing), the NetVanta can be configured using the web GUI. WAN connections are made in the
same manner and with the same cabling considerations as LAN connections.
3
Configuring the System
1.
Connect the NetVanta 2000 LAN interface to the PC using the appropriate Ethernet cable.
2.
Supply power to the PC and the NetVanta 2000 and begin the operating system boot up process. During
boot up, the PC obtains an IP address from the NetVanta 2000 DHCP server. Alternately, you could manu-
ally change your IP address to 10.10.10.10/24. Refer to your specific operating system’s documentation for
details on that process.
3.
Open your installed browser, and enter 10.10.10.1 in the URL field. The NetVanta 2000 login screen
appears.
4.
Enter admin as the username, enter your admin password (if set), and click the Login button. When con-
necting to the NetVanta for the first time, there is no set password.
5.
After logging in to the NetVanta 2000, the welcome screen appears.
For security purposes, it is important to set up an admin password immediately. Refer to the
NetVanta 2000 System Manual (PN 61200361L1-1) for details.
POWER
WAN
LAN
COM 1
Ethernet Crossover Cable
Netvanta 2000 Series
PC
POWER
WAN
LAN
COM 1
POWER
UPLINK
1
2
3
4
Ethernet ST Cable
Ethernet ST Cable
Ethernet Hub
PC
Netvanta 2000 Series
Direct Connection to PC or DSL/Cable Modem
Connection through Hub


