


In models of gliders, airplanes, just altimeter is placed inside the hull model. In models that do not
have a closed hull, perform a separate container where you put altimeter.
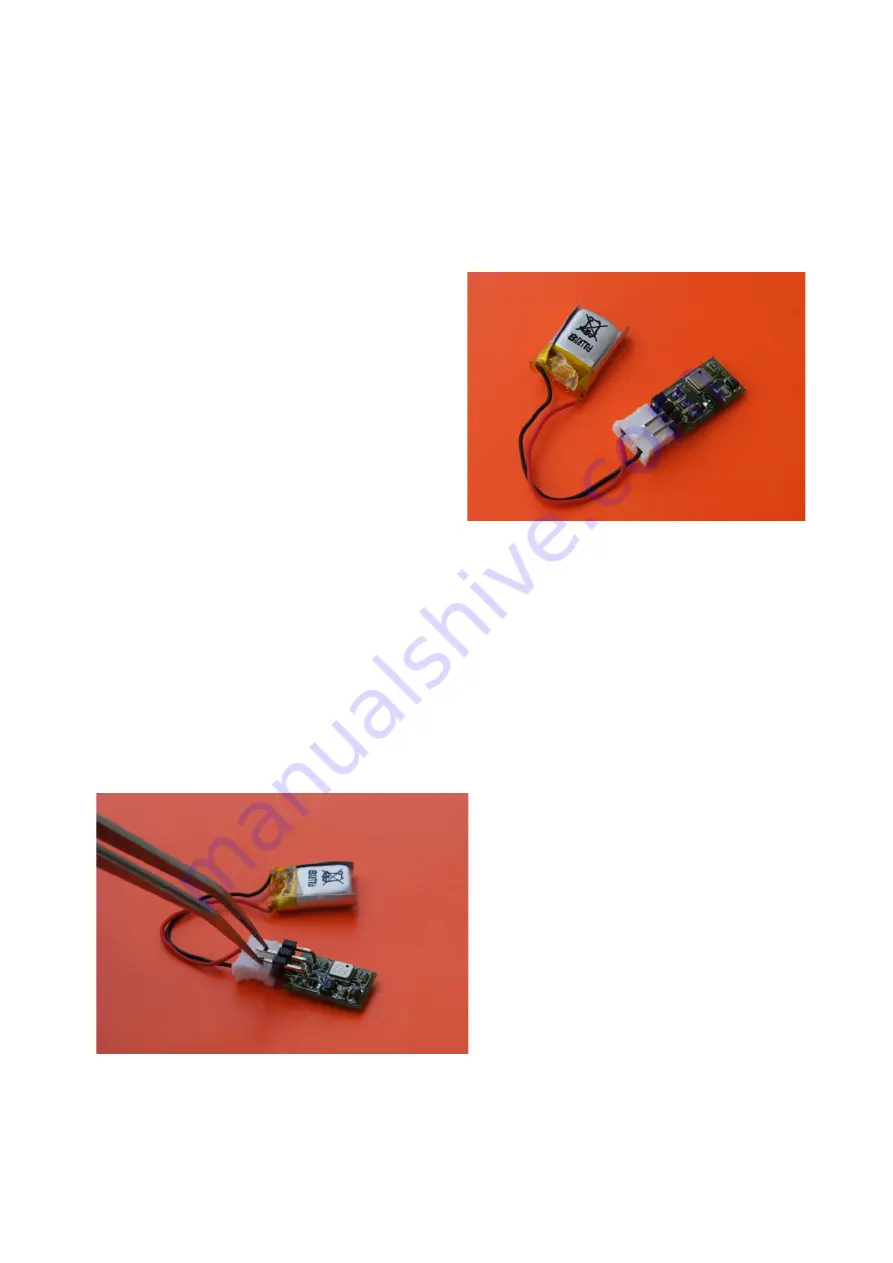
Connecting the battery
Please pay attention when connecting the battery, the battery connector pins should be parallel
to altimeter’s contacts. Inserting the plug under angle does not provide adequate contact and the
battery can be detached from the altimeter. When connecting clear perceptible resistance should be
felt.
After connecting the reset state is signaled by - the
LED should blink single flashes. Three flashes
indicate that the altimeter is not cleared and that it
can be reset manually. Four flashes mean that the
altimeter is not cleared and that it can not be reset
manually. It is possible to reset only by the
computer.
Before inserting into the enclosure, you should
make sure that the LED is blinking single flashes
(altimeter alarm reset). Be careful with any
assembly work, so as not to produce negative
pressure in the chamber of the altimeter. Particular
attention should be paid when removing the head
of rockets. We can create a vacuum in the chamber of the altimeter and thus start the measurement.
The altimeter rejects measurements of pressure changes that last less than 2 seconds. However,
before re-assembly of the model, you need to make sure that the altimeter is reset, and possibly
reset it. Measurements start after about 3 minutes from the power connection.
7.
Altitude measurement.
Altimeter can be powered from any battery with a voltage of 3.3 V to 6V. Altimeter’s
contacts have 2mm spacing, so be sure to use the appropriate plug. At the end of this manual there
are addresses of online shops where you can buy these connectors, and the names of these
connectors. The figure shows the power connection. Altimeter is protected against reverse
connection of power supply.
After connecting the power, LED blink once
or three times. This is a state reset. Altimeter
can be reset without a computer (as far as we
indicated in the settings "Manual reset ' Yes').
We should wait until the LED will blink 3
times (if altimeter is not reset) and then short
for a moment two free contacts of the
connector (marked in the figure as data
contacts or reset). LED will blink with single
flashes.
Altimeter is ready for measurement. Reset
by shorting the contacts does not erase the
previous measurement. The start of the
measurement (indicated by 2 blinks) deletes the previous data.
Measurements are taken 3 minutes after connecting the battery or reset. They are not stored in
nonvolatile memory only in the so-called instantaneous. Only after the detection of previously
programmed measurement triggering value, the last 32 and current measurements are saved.
altitude measured before the launch is regarded as a reference, or the amount of '0 '. Start of
8
Содержание ALT-BMP
Страница 1: ......