Installation
LTPH-UM-1088-02, Issue 2
10
January 3, 2002
ThinMux Chassis
Connect Alarms
6
Connect the alarm relay wires from the CO alarm center to the posts of
the Visible Alarm (CRIT. VIS—NO and COM), Audible Alarm (CRIT.
AUD—NO and COM) and Alarm (FE, MIN, MAJ, CRIT, and COM).
Follow the CO site instructions for connecting alarm relays. The visible
and audible alarm relays do not have an NC (normally closed) position.
7
Connect a 16 AWG chassis ground cable to the ground (GND) post.
C
ONNECTING
P
OWER
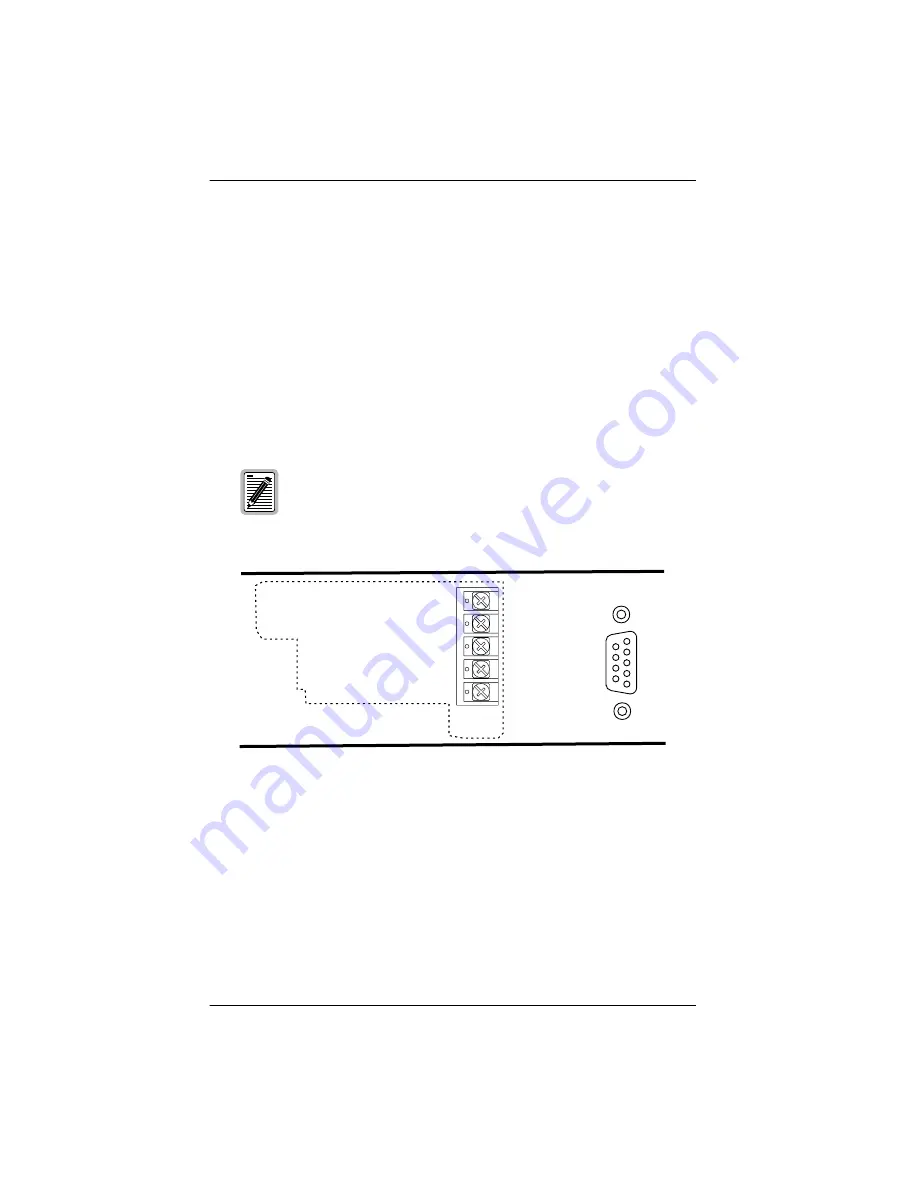
Figure 6.
Battery Supply Connector (rear view)
1
Connect 16 AWG cables to the -48V A, B, and RTN terminals.
2
Connect the other end of the cables to CO battery supply and RTN
terminals.
3
Apply power and check the voltage.
4
Reinstall the common access panel and screw in the hold-down lugs.
The fuse rating for the ThinMux chassis is 2A.
RTN B
-48 B
RTN A
-48 A
FGND
Содержание ACE-COM L1
Страница 1: ...USER MANUAL ThinMux Chassis Product Catalog ACE COM L1 Part Number 150 2263 01 CLEI VAMXHN0F...
Страница 8: ...List of Tables LTPH UM 1088 02 Issue 2 viii December 7 2001 ThinMux Chassis...
Страница 10: ...List of Tables LTPH UM 1088 02 Issue 2 x November 7 2001 ThinMUX Chassis...
Страница 33: ......


