DSL Gateway/Router
—
User Manual
Page 7 Total 21 Pages
When you save the settings, the web page will be refreshed slowly, please wait it finished.
Some settings only take effect after rebooting the router.
3.4 WAN CONFIGURATION
If the configuration is bridge encapsulation, there is no need to configure any more parameters. Only need
to use the third party dial-up software to connect the Internet.
Totally, this router supports
:
PPPoA
、
PPPoE
、
MER
、
IPoA
、
Bridging. For detail configuration information,
please check the following configuration guide.
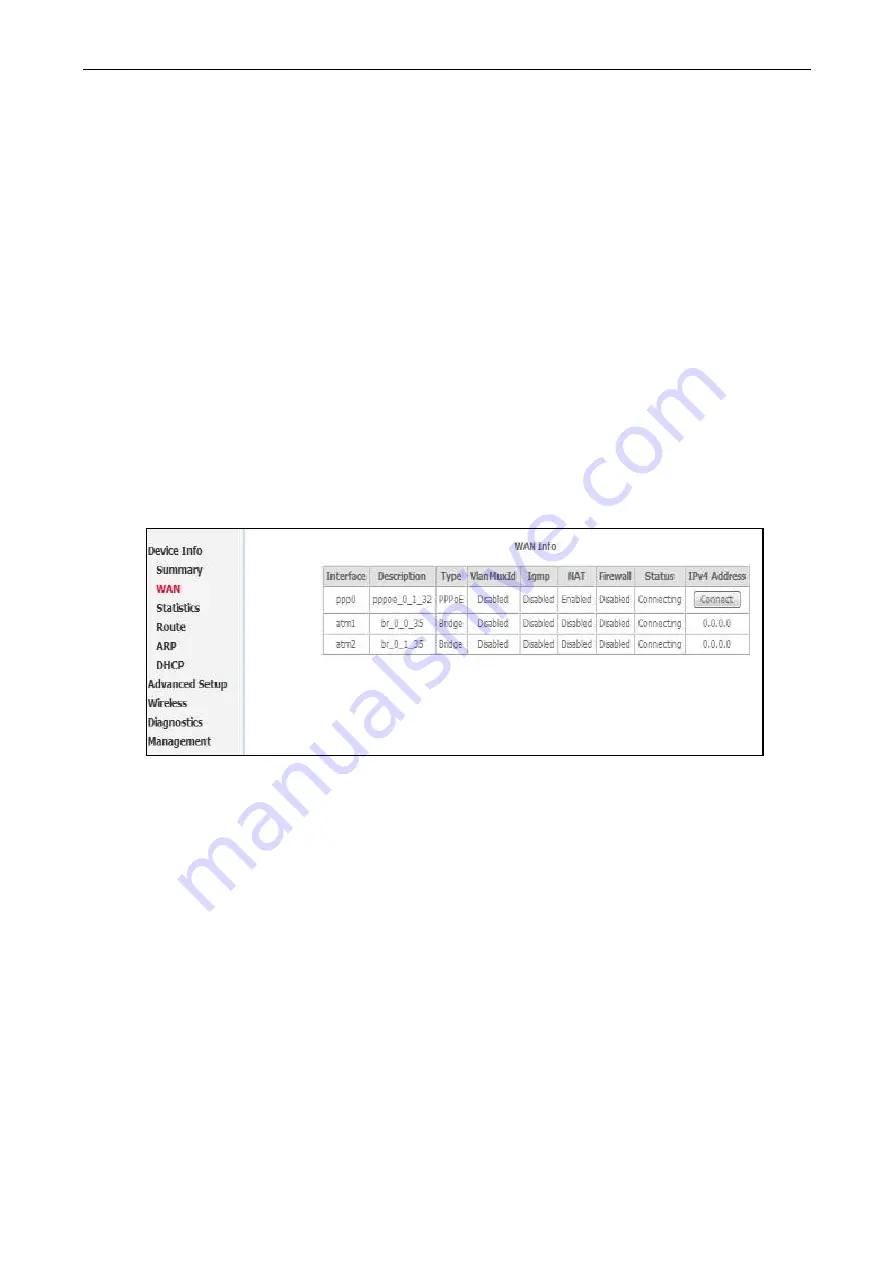
3.4.1 VIEW WAN SERVICE
Click “Device Info” on the left page, enter into “WAN” page.
NOTE: At most we can support eight connections. We will support Edit existed connections later. In
the latest firmware, there no need reboot the device when you add/remove/edit one wan connection.
It will take effect immediately.
Figure 3.2
3.4.2 RFC1483 BRIDGE ON ATM CONFIGURATION
Click “Advanced Setup” on the left page, enter into “Layer2 Interface” configuration page, where we can select
the type of Layer2-Interface,ATM or ETH.
NOTE: ATM interface is our most commonly used mode, which will transport data on DSL line via
Bridge or Route Connections. And, ETH Interface can be used as LAN-UP Interface , the details will
be introduced in subsequent chapters.
Select ATM Interface , then click “Add” button to add one NEW Interface of Layer2.Then input appropriate
VPI/VCI, select EOA used for IPoE , PPPoE, Bridge.Select Encapsulation Mode and Service CateGory,
Connection Mode(Default,VLAN-MUX,MSC).If QOS need, please select “Enable quality Service”. Usually,
you only need to setup VPI/VCI to the value assigned by your ISP .At last click “Apply /Save” button to save
the configuration.


