116
Action
tec DSL Modem User Manual
117
Appendix B
Static IP on the Computer
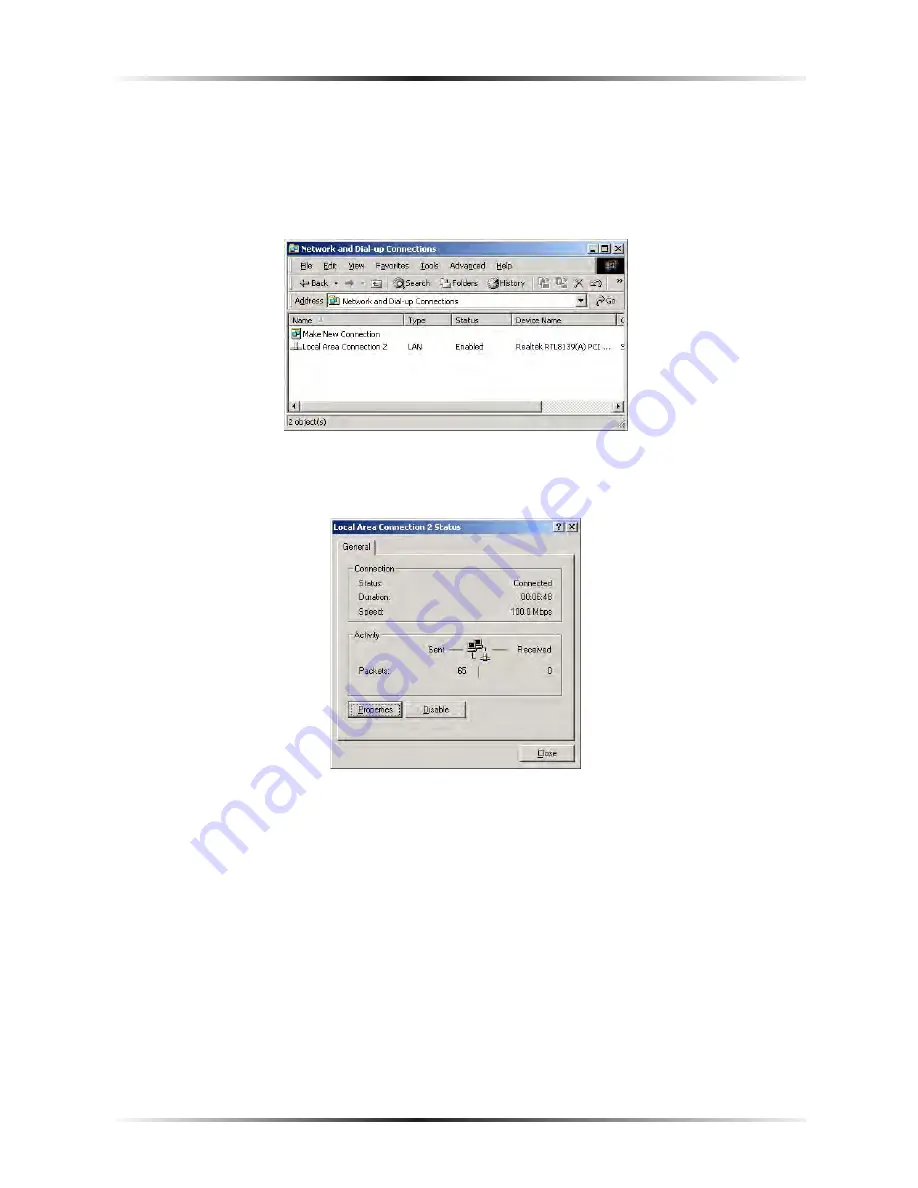
5.
In the “Network and Dial-up Connections” window, double-click
Local Area
Connection
. A number may be displayed after the Local Area Connection. If
there is more than one Local Area Connection listed, locate the one that cor-
responds to the network card installed in the computer by finding the name of
the network card in the
Device Name
column.
6.
The “Local Area Connection Status” window appears. Select
General
, then
click
Properties
.
Содержание GT701R
Страница 1: ...Solutions for the Digital Life User Manual Ver 1 0 DSL Modem Model GT701R...
Страница 5: ...iv Actiontec DSL Modem User Manual This page left intentionally blank...
Страница 13: ...8 Actiontec DSL Modem User Manual This page left intentionally blank...
Страница 51: ...46 Actiontec DSL Modem User Manual This page left intentionally blank...
Страница 105: ...100 Actiontec DSL Modem User Manual This page left intentionally blank...
Страница 109: ...104 Actiontec DSL Modem User Manual This page left intentionally blank...
Страница 128: ...123 Appendix B Static IP on the Computer...
Страница 129: ...124 Actiontec DSL Modem User Manual This page left intentionally blank...
Страница 133: ...128 Actiontec DSL Modem User Manual This page left intentionally blank...
Страница 139: ...134 Actiontec DSL Modem User Manual This page left intentionally blank...
Страница 153: ...148 Actiontec DSL Modem User Manual This page left intentionally blank...