Acesonic DGX-213 Скачать руководство пользователя страница 18

Advanced Operations

17

Create Song List:

1. In the Disc/USB/SD Card mode, you can have a 
create your own song list from current MP3/MP3G 
songs in the disc/USB/SD Card. Press CREATE SONG 
LIST on the remote to start the process.

2. A song list will be created in a text file format and 
stored into either SD card or USB drive. 

3. In the song list, the system will automatically assign 
a song number for each song. If the file has been 
deleted or added into the disc/USB/SD card, the 
previous song number might not work for all songs 
anymore. We strongly recommend recreating the  
SONG LIST again to update the song list.

4. With “sort song by song number” & “sort song by title” 
functions. This song list will be the database for song 
searching. Also, you can use this text file to print out 
your own song book from the PC. 

Song Searching:

Searching  by numbers:

You can search songs by 

inputting song number in USB/SD CARD mode after you 
create the song list file(see Page6, #43 for more detail)

Step by step:
1. Insert an SD card/USB drive into machine, and select 
the SD card/USB mode accordingly.
2. The machine will spend some time to load the 
content.
3. Once it has finished loading, press the CREATE 
SONG LIST button on the remote. Only need to do this 
step once when you put in a new SD card/USB drive or 
the content in the SD card/USB has been changed. As 
long as the song list file has been created and no 
content has been changed, you can skip this step.
4. Use NUMBER INDEX  and NUMBER KEYS on the 
remote to search song by numbers
5. Press ENTER to start playing the desired song or 
press PROG to insert song into the waiting list(only 
works in Song listing mode, see below for more detail).

Searching  by name:

You can search songs by inputting a song name in 
USB/SD CARD mode after you create the song list file 
(see Page6, #43 for more detail)

Step by step:
1. Insert an SD card/USB drive into machine, and select 
the SD card/ USB mode accordingly.
2. Stored machine will spend some time to load the 
content.
3. Once it has finished loading, press the CREATE SONG 
LIST button on the remote. Only need to do this step once 
when you put in a new SD card/USB drive or the content in 
the SD card/ USB has been changed. As long as the song 
list file has been created and no content has been 
changed, you can skip this step.
4. Use NAME INDEX  and NUMBER KEYS on the remote 
to search song by name.
5. Press ENTER to start playing  the desired song or press 
PROG to insert song in the waiting list ( only work in Song 
listing mode, see below for more detail).

Switch Between Two File Viewers (GUI SWITCH)

In the USB or SD card mode, there are two file viewers 
that you can choose. With the first one, you can see all 
the songs listed on the screen. With the second, you 
can see two windows on the screen – in the left window 
see all folders are listed, and in the right window all the 
songs in the selected folder are listed. You can only 
switch folders in Window 2 mode.

Window# 1                                                Window# 2

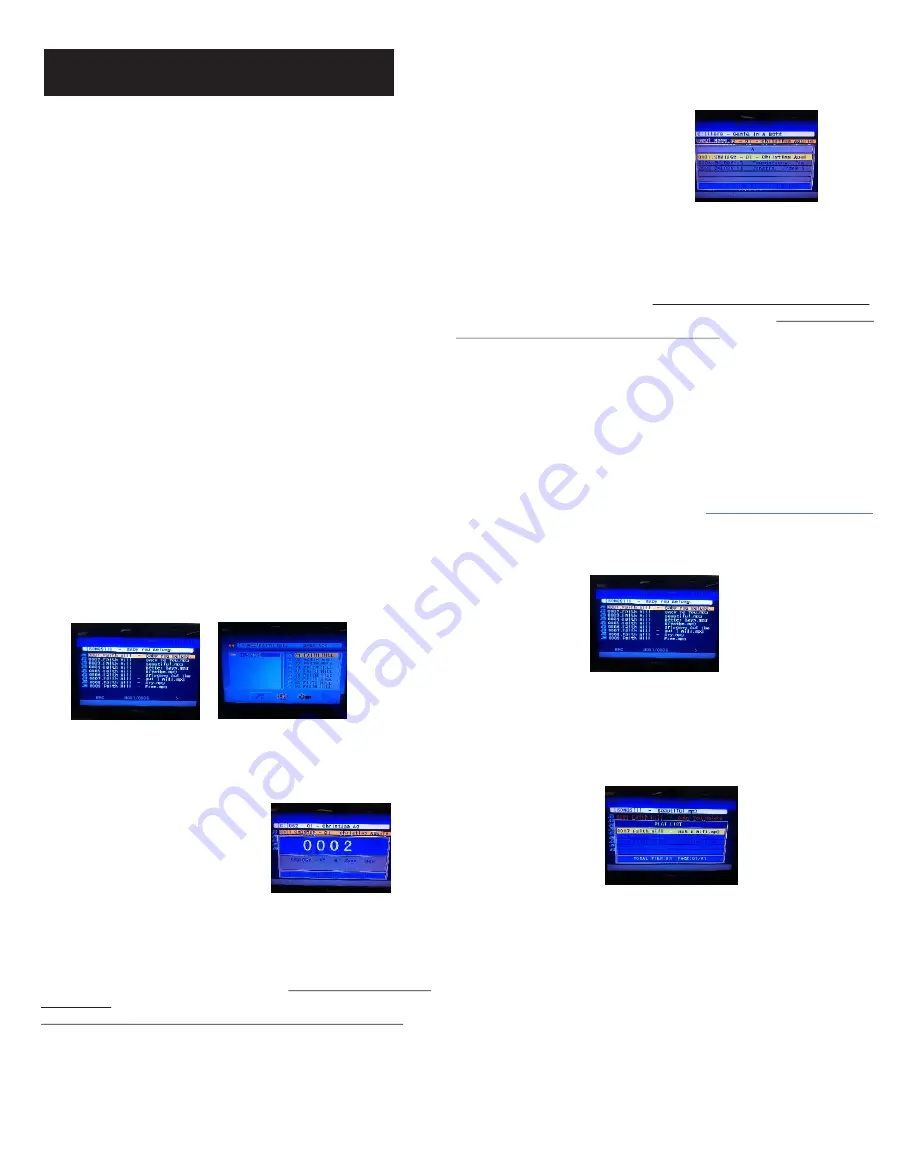
Programming the Playlist 

(only work in Window mode #1)

1.In USB/SD CARD mode, you can have a 
programmable song playlist. First, you need to press 
GUI SWITCH to switch window mode #1. 

2.To add songs into the playlist, you can use either song 
searching by number or by title. After you find the song 
you want. Press PROG on the Remote to add the song 
into the PLAYLIST 

3. Exit song searching window and back to window mode 
#1, then press PROG on the Remote to enter the Playlist 
window(see below)

4. Press PLAY on the Remote to start playing songs in 
the Playlist

5.To leave the PLAYLIST screen, press PROG button on 
the Remote while the PLAYLIST screen is open.

* The PLAYLIST will be erased after turning the player 
power off.

 *Songs in the PLAYLIST won’t disappear after the song 
plays.

Содержание DGX-213

Страница 1: ...7 PQR 8 STU 0 YZ 9 VWX 5 JKL 6 MNO VIDEO REC www acesonic com CAUTION To assure this player will work at its best please read this user s manual carefully before operation and keep for future referen...

Страница 2: ...e of Contents First Things First 1 Important Information Before You Start 2 Compatible Video Formats 3 Front Panel Functions and Operations 4 Back Panel Functions and Operations 4 Remote Control Funct...

Страница 3: ...your dealer for service options Never block the vents on the unit Vents are used to circulate air and keep the temperature of the player down Blocking the vents may result in damage of the unit Impor...

Страница 4: ...Always wipe from the center towards the edges NOT in circular motions DO NOT clean with any other cleaning solution unless it is specifically made for disc cleaning CDs revolve at very high speeds in...

Страница 5: ...gs in the SETUP menu first as follows SETUP AUDIO SETUP SPDIF OUTPUT SPDIF RAM OR SPDIF PCM Note Karaoke does not work with OPTICAL output 5 COAXIAL OUTPUT Connects to digital amplifier or receiver fo...

Страница 6: ...REW to shift the playing location backwards quickly 7 SKIP FORWARD BUTTON Press to go to the beginning of the next track SKIP BACKWARD BUTTON Press to go to the beginning of the current or previous tr...

Страница 7: ...tch audio channel Switch between the left mono the right mono or 32 DVD DISC Press to change to disc mode 33 SETUP BUTTON Open SETUP menu see the following pages for more detail 34 MOVIE BUTTON In USB...

Страница 8: ...213 has a variety of ways to provide you audio and video The RCA Composite cable is included with the unit and you can buy cables from Acesonic USA Inc to access the unit s HDMI S video Component Vid...

Страница 9: ...ING THE CONNECTION BETWEEN the PLAYER and 5 1 CH SURROUND SOUND AMPLIFIERS You can connect this player with 5 1 channel amplifiers as shown below NO Microphone audio will be outputted in 5 1 Channel m...

Страница 10: ...pport large external hard drives and any storage device containing more than 10 000 files For example 2 000 MP3s files or 2 000 MP3G songs each MP3G contains 2 files adding up to 4 000 files cdg mp3 M...

Страница 11: ...continue playing the next song unless you set CUE OFF from the remote controller MP3 MP3G song from Rip MP3G from CDG disc 1 Insert a CDG disc into the disc tray Insert a SD card or USB device as MP3...

Страница 12: ...r 16 9 Some discs can not be played as your selection because that disc was not recording in the same format to show Sub MENU to select TV TYPE TV TYPE 1 Press Direction KEY to choose PASSWORD 2 Press...

Страница 13: ...LANGUAGE SETUP The ub MENU S OSD LANGUAGE AUDIO LANGUAGE SUBTITLE LANGUAGE MENU LANGUAGE OSD LANGUAGE 1 Press Direction KEY to choose OSD LANGUAGE 2 Press Direction KEY to show Sub MENU 3 Press Direct...

Страница 14: ...ress SETUP KEY to open the Setup MENU Press Direction KEY to select the SPEAKER SETUP The Sub MENU DOWN MIX Select from LT RT STERO VSS 5 1CH SUBWOOFER ON OFF CENTER DELAY Select from 0 2 4ms REAR DEL...

Страница 15: ...hear it With your memory card inserted press the PLAYBACK button on the remote A window will open displaying all files that are on the memory card and machine will automatically select the last file y...

Страница 16: ...k all tracks 5 Go to START you will see the ripping information To start the ripping process press ENTER 6 After ripping has finished select QUIT to leave the window and go back to machine playback mo...

Страница 17: ...me information and the time search function may not work This function does not work when there are programed tracks Repeating Playback 1 press PLAY to start playback Each time you press REPEAT the re...

Страница 18: ...de after you create the song list file see Page6 43 for more detail Step by step 1 Insert an SD card USB drive into machine and select the SD card USB mode accordingly 2 Stored machine will spend some...

Страница 19: ...between the remote sensor or player 8 Improper operation of TV Some TVs that have wireless remote control functions set etc occurs may not operate properly with this remote control Audio 9 No audio o...

Страница 20: ...eshooting 19 Convert CDG discs to MP3 files to USB SD card The unit only supports recording from CDG MP3G discs and only records audio from VCD discs Only support CDG format HD video output 19 Video d...

Страница 21: ...bruits radio electriques applicables aux appareils numeriques de Classe B prescrites dans la normesur le materiel brouilleur Appareils Numeriques NMB 003 edictee par le Ministre des Communications Imp...

Страница 22: ...them could be fatal 14 Do not overload wall outlets or extension cord as this can increase the risk of fire power outages or electrical shock 15 When replacement parts are required be sure the service...

Страница 23: ...viewing Weight 3 12Kg Dimensions 430 W X 225 D X 55 H mm Output level 0Vrms 1 5Vrms DA Converter 24 bit Frequency Response DVD PCM 96Khz 2 44Khz 0 5 dB S N ratio 100 dB DVD above 98dB CD Total Harmon...

Отзывы: