English 39
USING THE PROJECTOR
USB
4.
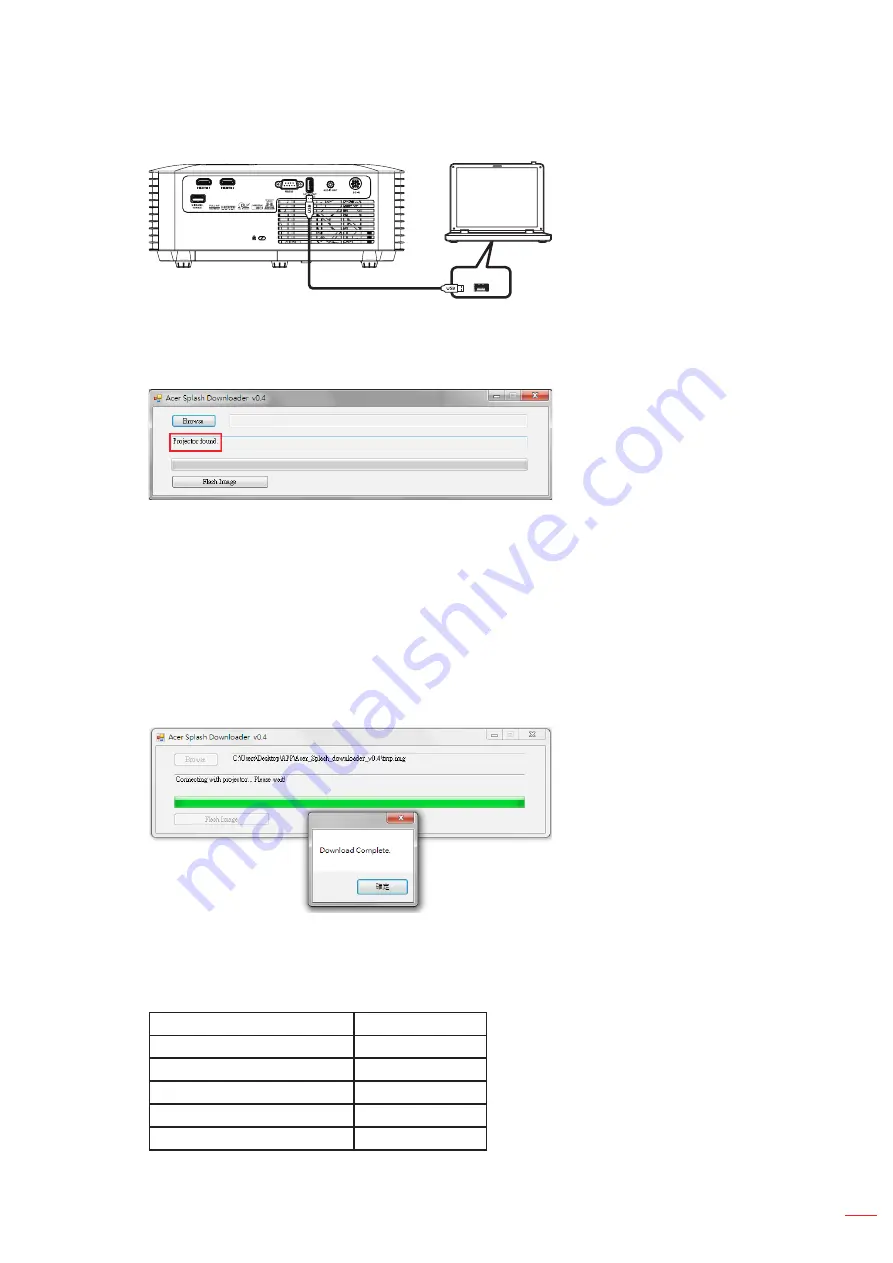
Copy and Click Splash Downloader
Copy the Acer_Splash_Downloader folder from the CD (User’s Guide) to your computer, click the
Acer_Splash_Downloader.exe program, and follow the on-screen instructions.
If the message says
“Projector found”, the projector has been connected successfully.
otee:
If “Error: No Projector found.”, the projector is not connected. Please retry step 2 and step 3.
5.
Select logo file
Click the “Browse” button and select logo file. The recommended resolution of logo should not exceed
the default logo resolution (For example, logo resolution is 1920x1200). The purpose is that keeping
the quality of the image. If not, the logo may be blurred.
otee:
Support “.bmp/.jpg/.png/.gif/.tiff” file format.
6.
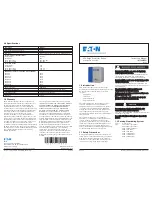
Download logo to projector
Click the “Flash Image” button. If the file was written to projector successfully, the message “Download
Complete” will be displayed on the screen.
7.
Reboot projector
Plug-out the power cord of projector and plug-in it. Please ensure that the logo has been upgraded
correctly.
8.
Operating system compatibility
Operating system platform
compatible
Windows XP
Not support
Windows 7 (64 bit)
Support
Windows 10 (64 bit)
Support
Mac OS
Not support
Windows 11
Support


