


3 Setting up your computer
30
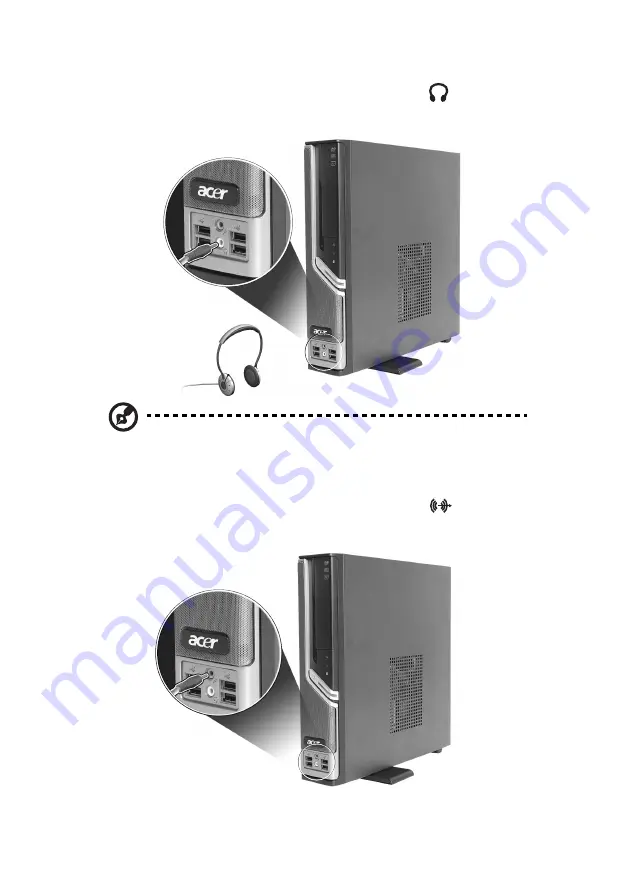
•
Earphones, headphones: Connect to the headphone jack
located on
the front panel of your computer.
Note: To adjust the headphone volume, use the volume control
buttons on the keyboard. You can also adjust the volume by using
the volume icon on the taskbar at the bottom of your screen.
•
External speakers: Connect to the audio-out/line-out jack
(lime-green
jack) located on the rear panel of your computer.
Содержание Veriton 2800
Страница 1: ...Veriton 2800 Series User s Guide...
Страница 4: ......
Страница 8: ......
Страница 9: ...1 First things first...
Страница 10: ...This chapter describes the system specifications and contents of your computer package...
Страница 14: ...1 First things first 6...
Страница 15: ...7 2 System tour...
Страница 16: ...This chapter discusses the features and components of your computer...
Страница 27: ...3 Setting up your computer...
Страница 41: ...4 Upgrading your computer...
Страница 51: ...5 System utilities...
Страница 52: ...This chapter describes applications that are preinstalled on your computer...
Страница 59: ...51 4 Select Factory Default Image...
Страница 63: ...7 Frequently asked questions...
Страница 67: ...Appendix A Notices...
Страница 76: ...Appendix A Notices 68...
Страница 77: ...Appendix B Taking care of your computer...
Страница 80: ...Appendix B Taking care of your computer 72...


