22
Chapter 2
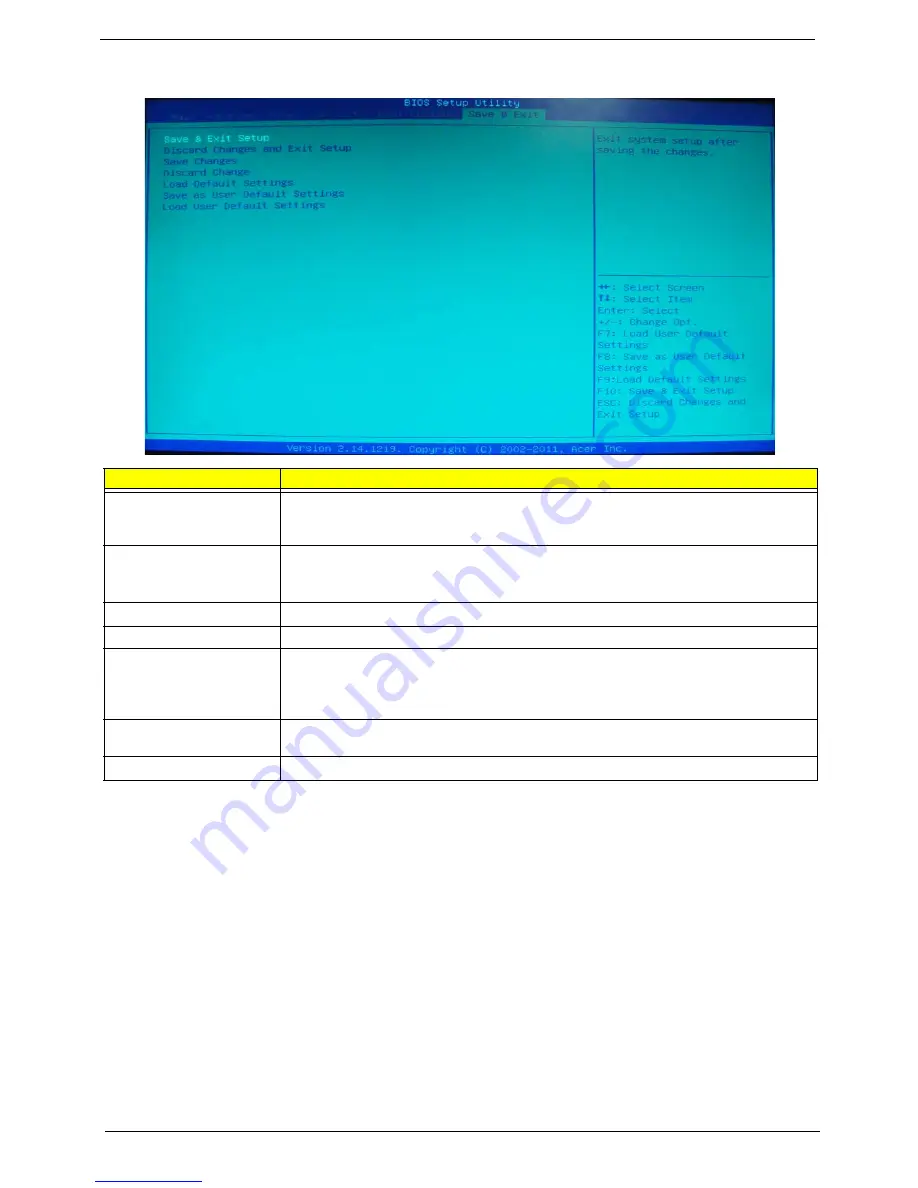
Exit
Parameter
Description
Save & Exit Setup
When you have completed the system configuration changes, select this option to leave the
BIOS Setup Utility and reboot the computer, so the new system configuration parameters can
take effect. Select
Save & Exit Setup
from the Exit menu and press
Enter
.
Discard Changes and Exit
Setup
Select this option to quit the BIOS Setup Utility without making any permanent changes to the
system configuration, and reboot the computer. Select
Discard Changes and Exit Setup
from the Exit menu and press
Enter
.
Save Changes
Select this option and press
Enter
to save all the changes and return to the BIOS Setup Utility.
Discard Changes
Use this item enables you to discard any changes that you have made.
Load Default Settings
To set this feature, select
Load Default Settings
from the Exit menu and press Enter. Then,
select OK to allow the BIOS to automatically load optimal defaults to the BIOS settings. The
Optimal settings are designed for maximum system performance, but may not work best for all
computer applications.
Save as User Default
Settings
Select this option and press
Enter
to save changes that you have made as user defaults.
Load User Default Settings
Select this option and press
Enter
to restore user defaults.
Содержание Revo 70
Страница 1: ...Acer Revo 70 Service Guide PRINTED IN TAIWAN ...
Страница 12: ...4 Chapter 1 Block Diagram ...
Страница 39: ...Chapter 3 31 3 Remove the ODD base cover ...
Страница 40: ...32 Chapter 3 Removing the Sheet Metal 1 Remove the screws secureing the sheet matal 2 Remove the sheet matal ...
Страница 42: ...34 Chapter 3 3 Disconnect fan cable from the motherboard connector ...
Страница 46: ...38 Chapter 3 3 Remove the WLAN module ...
Страница 50: ...42 Chapter 3 Remove the LED Lens 1 Release the two locking tabs 1 and gently pull the LED lens out 2 ...
Страница 54: ...46 Chapter 3 Removing the South Bridge Heat Sink 1 Detach the south bridge heat sink ...
Страница 60: ...52 Chapter 3 Installing the LED Lens 1 Install LED lens on nainboard ...
Страница 63: ...Chapter 3 55 Installing the IR Sensor cable 1 Install the IR Sensor cable as below picture shown ...
Страница 67: ...Chapter 3 59 3 Disconnect fan cable from the motherboard ...
Страница 71: ...Chapter 3 63 4 Secure the ODD bracket to the ODD base cover using two screws 5 Install the ODD base cover ...
Страница 73: ...Chapter 3 65 8 Install the ODD_cover 9 Secure the ODD_cover using the screw ...


