


56
Chapter 3
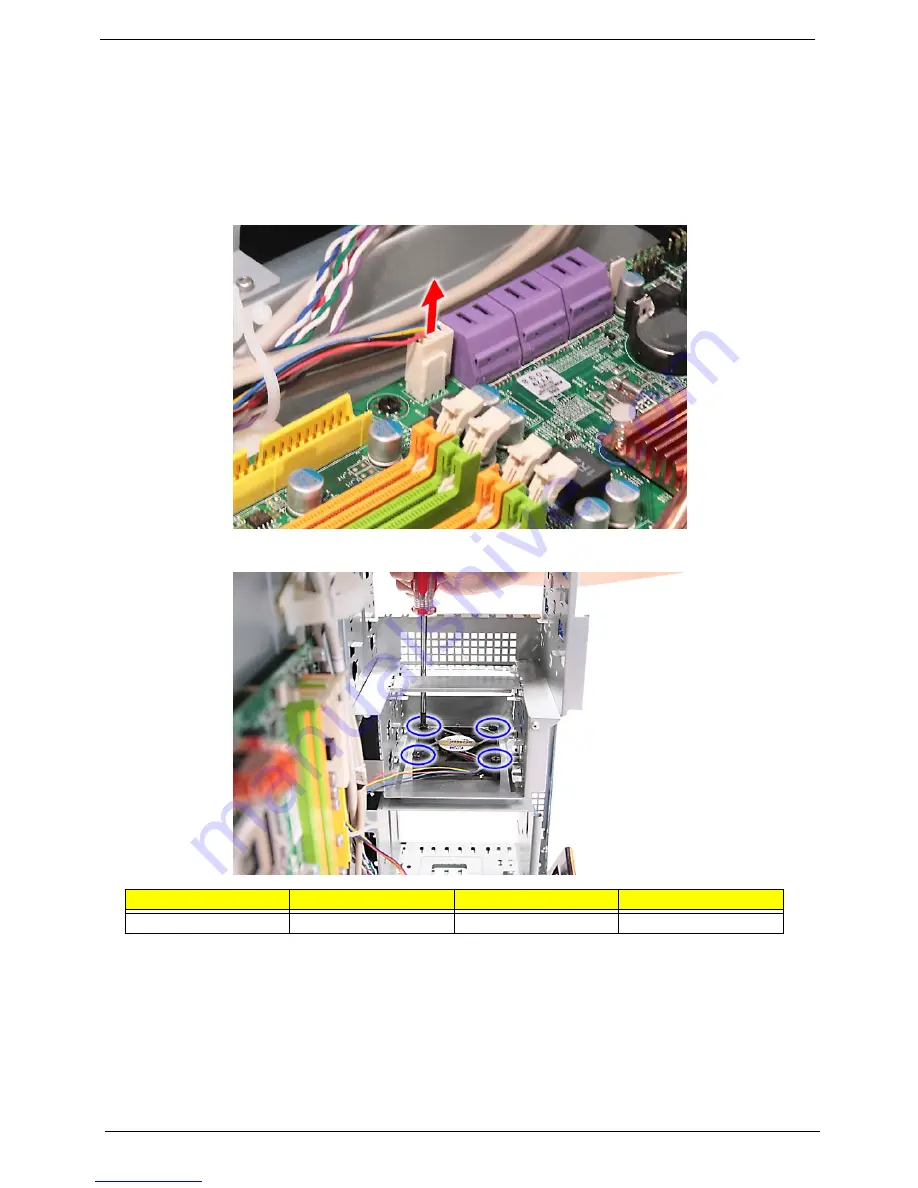
Removing the HDD Fan
1.
See “Removing the Bezel Door” on page 31.
2.
See “Removing the Left Side Panel” on page 34.
3.
See “Removing the Front Bezel” on page 36.
4.
See “Removing the Card Reader Drive” on page 42.
5.
Disconnect the fan cable from the mainboard.
6.
Remove the four screws (H) that secure the fan to the chassis.
7.
Remove the fan from the chassis.
Screw (Quantity)
Color
Torque
Part No.
M#6-32 L20 BZN (4)
Black
N/A
86.00J10.A60
Содержание Aspire G7750 Series
Страница 34: ...26 Chapter 2 ...
Страница 45: ...Chapter 3 37 5 Pull the bezel away from the chassis ...
Страница 48: ...40 Chapter 3 7 Disconnect the power cables from the video cards then remove the cards ...
Страница 55: ...Chapter 3 47 8 Slide the backplane board forward 1 then remove the board from the HDD cage 2 ...
Страница 72: ...64 Chapter 3 ...
Страница 86: ...78 Chapter 4 ...
Страница 87: ...Chapter 5 79 System Block Diagram System Block Diagram and Board Layout Chapter 5 ...
Страница 96: ...90 Chapter 6 Aspire G7750 Series Exploded Diagram ...
Страница 102: ...96 Chapter 6 ...


