


Chapter 3
59
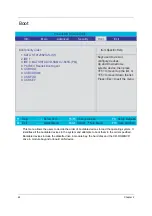
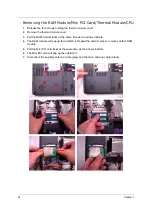
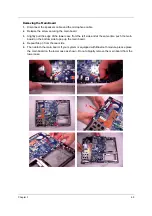
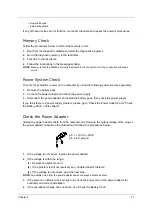
8.
Release the two screws securing the system fan.
9.
Disconnect the system fan cable carefully the remove the system fan.
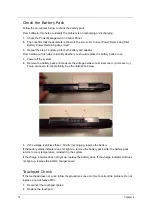
10.
Release the four screws securing the CPU heatsink.
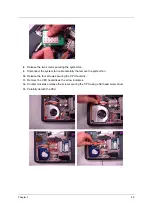
11.
Remove the CPU heatsink as the arrow indicates.
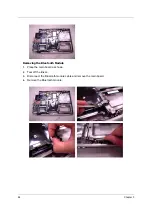
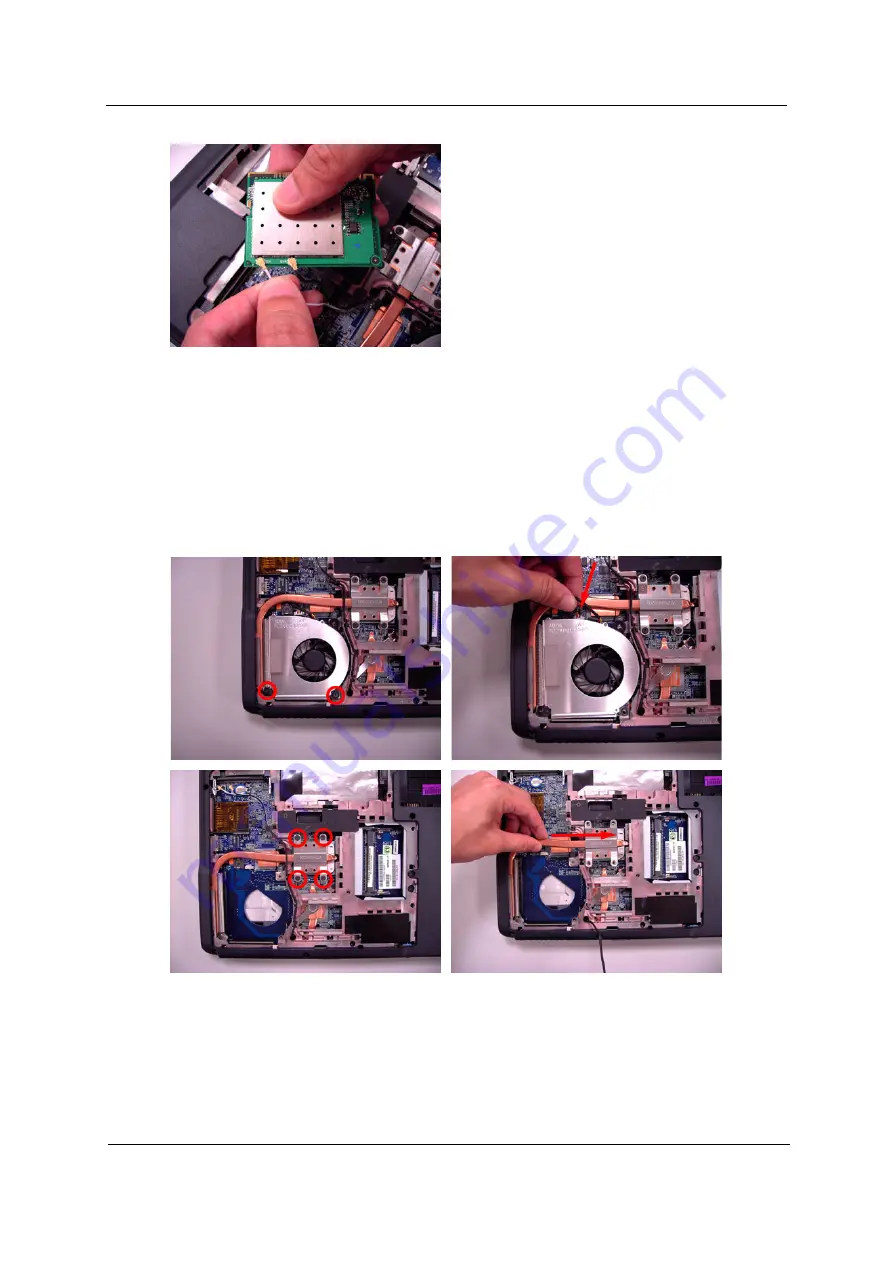
12.
Counter clockwise release the screw securing the CPU using a flat head screw driver.
13.
Carefully detach the CPU.
Содержание Aspire 5110
Страница 28: ...Chapter 1 19 Be sure to safeguard all related passwords ...
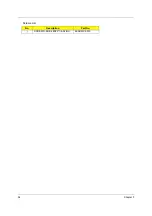
Страница 65: ...56 Chapter 3 j SCREW D SUB 4 X40 1 5 NI NL 86 ADWV5 010 Screws List No Description Part No ...
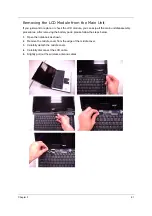
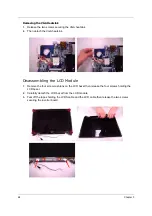
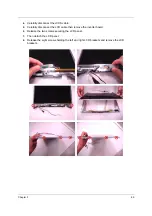
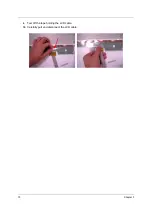
Страница 79: ...70 Chapter 3 9 Tear off the tape holding the LCD cable 10 Carefully pull and disconnect the LCD cable ...
Страница 95: ...Chapter 5 86 Main Board Top Side Jumper and Connector Location Chapter 5 ...
Страница 100: ...91 Chapter 5 Bottom Side Item Description JP2 USB CONNECTOR JP3 USB CONNECTOR JP7 LED BOARD CONNECTOR ...
Страница 113: ......


