78
Chapter 3
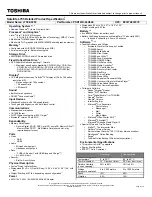
6.
Lift up carefully to remove the CPU.
NOTE: When installing the CPU, make sure to install the CPU with PIN 1 at the corner as shown.
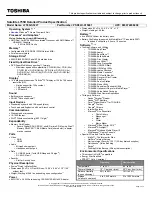
Removing the VGA Board (Discrete Model only)
1.
See “Removing the Battery Pack” on page 60.
2.
See “Removing the Lower Cover” on page 62.
3.
See “Removing the Heatsink Fan Module” on page 75.
4.
See “Removing the CPU and VGA Heatsink Module” on page 76.
5.
Remove the two screws (A) securing the VGA board to the main board.
Step
Size (Quantity)
Color
Torque
1~2
M2 x L4 (2)
Black
1.6 kgf-cm
Содержание Aspire 4730ZG Series
Страница 6: ...VI ...
Страница 10: ...X Table of Contents ...
Страница 14: ...4 Chapter 1 System Block Diagram ...
Страница 48: ...38 Chapter 1 ...
Страница 65: ...Chapter 2 55 ...
Страница 66: ...56 Chapter 2 ...
Страница 111: ...Chapter 3 101 20 Remove the bluetooth module from the lower case ...
Страница 120: ...110 Chapter 3 9 Remove the Web camera from the back cover ...
Страница 134: ...124 Chapter 4 F5h Boot to Mini DOS F6h Clear Huge Segment F7h Boot to Full DOS Code Beeps ...
Страница 141: ...Chapter 5 131 Top and Bottom View Jumper and Connector Locations Chapter 5 ...
Страница 142: ...132 Chapter 5 ...
Страница 146: ...136 Chapter 6 Aspire 5930 5930Z 5730Z Series Exploded Diagram ...
Страница 147: ...Chapter 6 137 ...
Страница 155: ...Chapter 6 145 ...
Страница 178: ...Appendix A 168 ...
Страница 182: ...172 Appendix B ...
Страница 184: ...174 Appendix C ...