5-6
Service and Maintenance
Getting Started
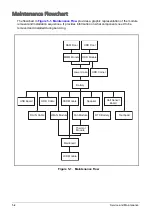
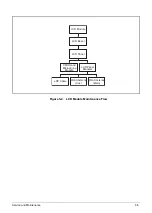
The flowchart (
) identifies sections illustrating the entire removal and
installation sequence. Observe the order of the sequence to avoid damage to any of the hardware
components.
Perform the following prior to performing any maintenance procedures:
1.
Place the system on a flat work surface.
2.
Make sure the system is completely powered down.
a.
If the device is in powered up mode, shut down the system normally.
b.
If the device is in sleep mode, wait for the Home Screen to clear. Then, shut down normally.
3.
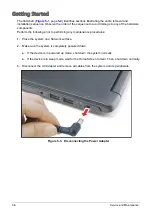
Disconnect the AC Adapter and remove all cables from the system and its peripherals.
Figure 5-3. Disconnecting the Power Adapter
Содержание A315-53G
Страница 1: ...A315 53 A315 53G S E R V I C E G U I D E ...
Страница 12: ...1 5 Hardware Specifications and Configurations Warranty One year International Travelers Warranty ITW ...
Страница 22: ...1 15 Hardware Specifications and Configurations System Block Diagram Figure 1 7 System Block Diagram UMA ...
Страница 23: ...Hardware Specifications and Configurations 1 16 Figure 1 8 System Block Diagram Discrete ...
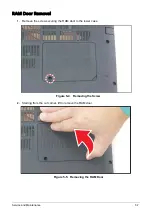
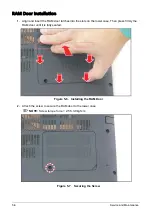
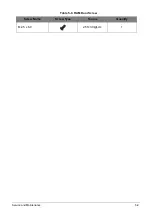
Страница 149: ...Service and Maintenance 5 9 Table 5 9 RAM Door Screw Screw Name Screw Type Torque Quantity M 2 5 x 6 0 2 55 3 0kgf cm 1 ...
Страница 224: ...5 84 Service and Maintenance Figure 5 129 Disconnecting the Cables UMA C A F D B E G H I ...
Страница 230: ...5 90 Service and Maintenance Figure 5 139 Connecting the Cables UMA C A F D B E G H I ...
Страница 301: ...CHAPTER 8 Online Support Information Online Support Information 8 2 Introduction 8 2 ...
Страница 303: ......

