8
©2009 Johnson Level & Tool
5.3 Instrument accuracy adjustment
If the error is more than 3/16” at 100’, it is
necessary to adjust the instrument.
When adjusting the instrument:
1. Remove rubber cover to expose the two
calibration set screws.
2. Using a 1.5mm Allen wrench, loosen the two calibration set screws.
3. Rotate the eyepiece seat to make the crosshair center in the reticle of
instrument on the same level with a known reference point. Then
rotate the eyepiece tube to make the horizontal hair on the reticle of
instrument level by using a known level reference point.
4. Tighten the two set screws and restore rubber cover to its original
position.
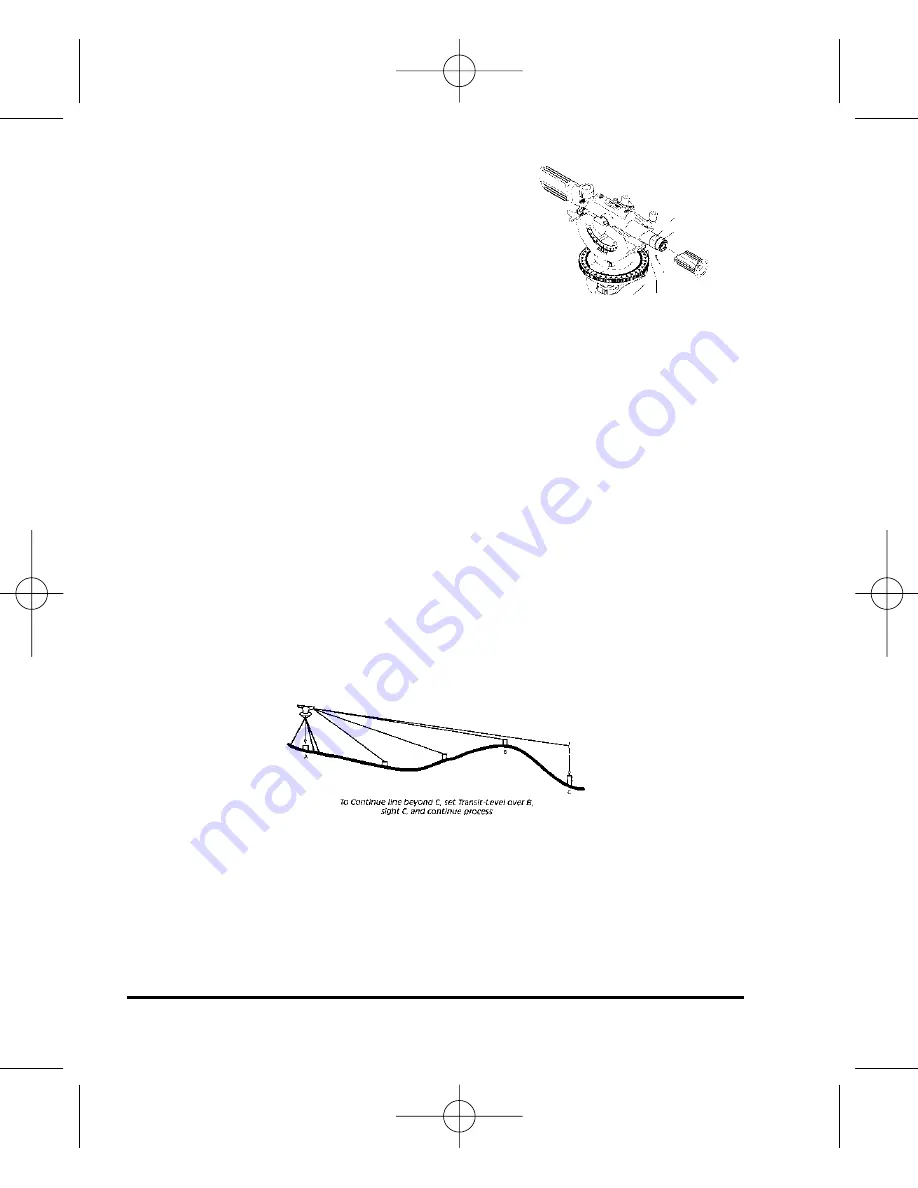
5.4 Setting Points in Line with use of transit-level
Points A and B are two points which are on a line. Center and level your
instrument over point A; sight on point B. Bring vertical hair exactly on
point B by means of the tangent screw. A pencil held vertically at B is
useful to show this point. Depress the telescope to set points between A
and B on line.
If the top of a stake cannot be seen, when you come to set point C, sight
with the aid of a plumb bob: first, to find where to drive the stake, and
secondly, to note the point on the top of the stake. If it is necessary to
continue this line beyond point C, center and level your instrument over
point B, sight point C and continue this procedure.
Eyepiece tube
Eyepiece seat
Set Screws
2595H 7/29/09 10:15 AM Page 8


