Use a screwdriver to insert a screw through
the Wall Mount Bracket and into the anchor.
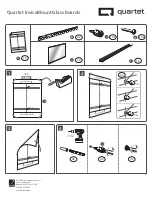
Step 5 – Mount Wall Brackets
Find the center hole on the Wall Mount
Bracket (Part B) and place it over the top
anchor, with the holes toward the bottom
of the bracket.
Repeat these steps for the bottom bracket.
Note:
Do not screw the screw all the way
into the anchor. There should be a small
gap between the Wall Mount Bracket and
the head of the screw.
Rotate bracket to expose pencil marks.
Step 6 – Mark Additional Holes
Steps 7 and 8 – Rotate Bracket
Use a level to make sure the Wall Mount
Brackets are even.
Use a pencil to mark where additional
anchors will be placed.
Mark the holes at each end of the bracket
and in between the middle and end marks.
2x
d
b
2x


