


PCIe-COM232-8 User Manual
9
Hardware Installation
Caution! * ESD
A single static discharge can damage your card and cause
premature failure! Please follow all reasonable precautions to
prevent a static discharge such as grounding yourself by touching
any grounded surface
prior to touching the card.
1. Do not install the card into the computer until the software has been fully installed.
2. Turn OFF computer power AND unplug AC power from the system.
3. Remove the computer cover.
4. Carefully install the card in an available PCIe expansion slot (you may need to remove a
backplate first).
5. Inspect for proper fit of the card and install and tighten the mounting bracket screw. Make
sure that the card mounting bracket is properly screwed into place and that there is a
positive chassis ground.
6.
Install a cable onto the card’s bracket mounted connector
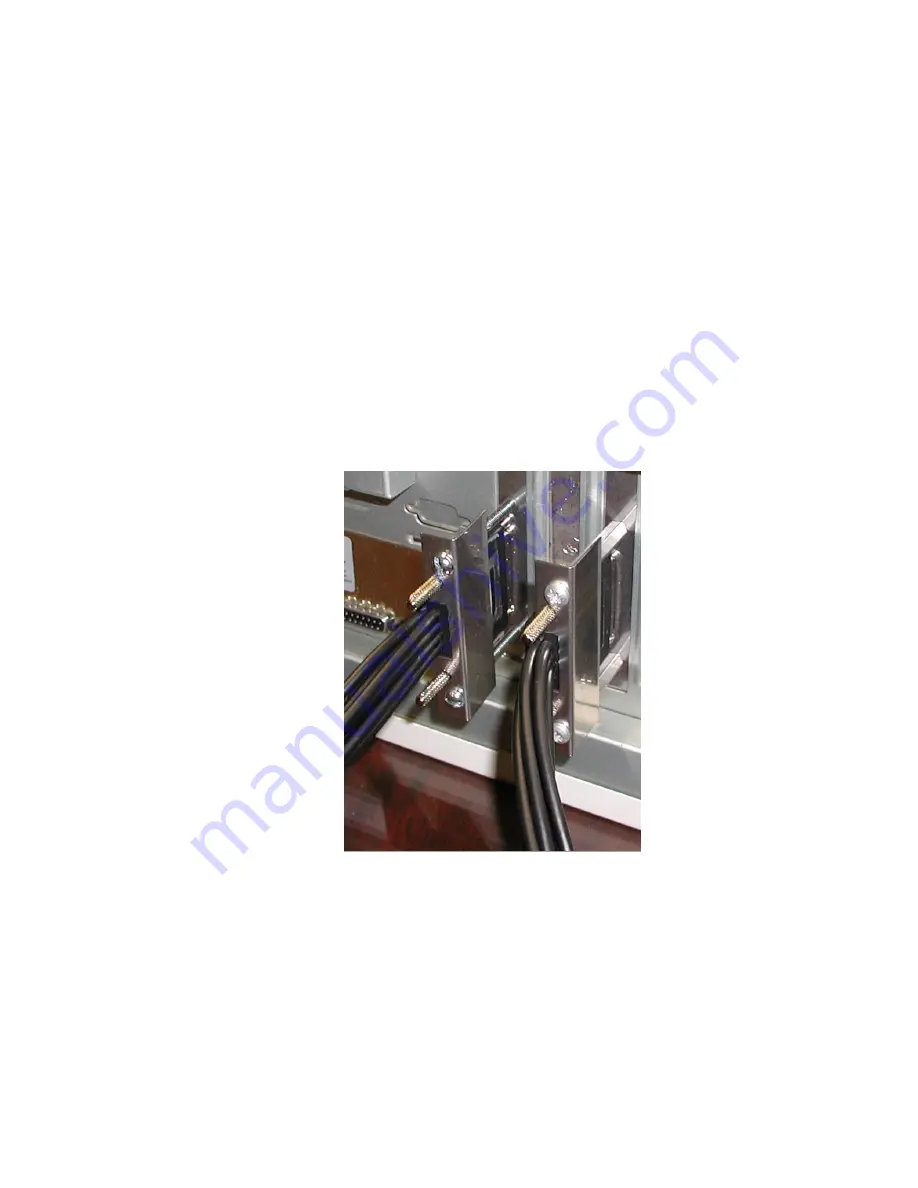
7. If you purchased the optional DB9M breakout cable, you may have also purchased the
connector / cable stabilization bracket, which should be installed at this time
Figure 2-1: Installed Cards with Stability Bracket Accessories
.
8. Replace the computer cover and turn ON the computer.
9. Most computers should auto-detect the card (depending on the operating system) and
automatically finish installing the drivers.
10. Run one of the provided sample programs that was copied to the newly created card
directory (from the CD) to test and validate your installation.
Important: It is necessary to disable "hardware handshaking" (DTR) in your communication
program when operating in RS485 or RS422 mode.


