background image


5


AccessHD® 7” LCD Panel Television


Rev: 09/2009 

Getting Started 

 
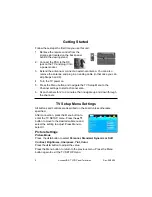
Follow these steps the first time you use this unit: 

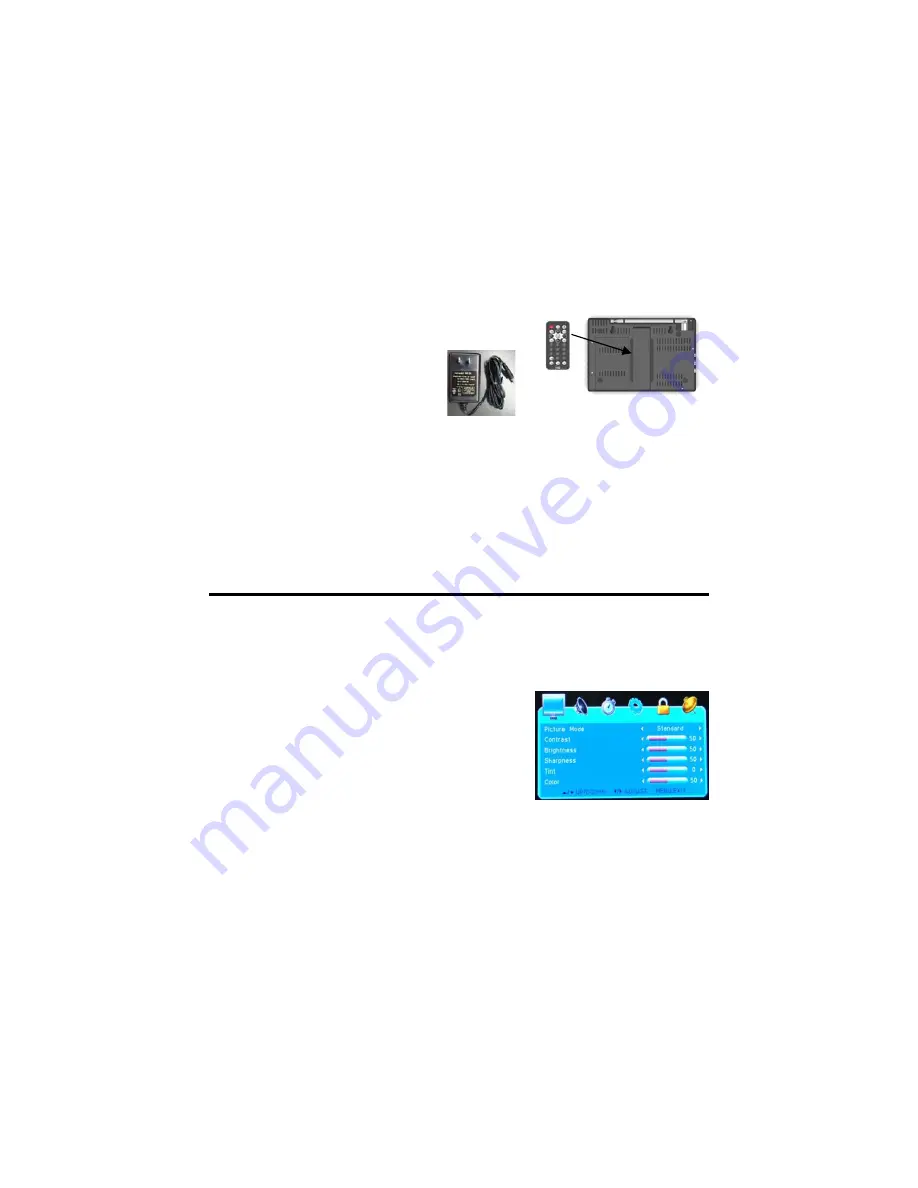
1.  Retrieve the remote control from the 

storage slot located on the back panel 
behind the viewing stand. 

2.  Connect the PSU to the DC 

jack on the TV and plug it into 
a power socket.  

3.  Extend the antenna or connect an external antenna. You can also 

remove the antenna and plug in an analog cable (in that case you can 
skip Steps 5 and 6). 

4.  Turn the TV power on. 

5.  Press the Menu button and navigate the TV Setup Menu to the 

Channel settings to start a channel scan.  

6.  Scan channels for 2 to 3 minutes, then navigate up and down through 

the channels.  


TV Setup Menu Settings 


All buttons and controls are described on the board unless otherwise 
specified. 


After connection, press the Menu button to 
enter the TV SETUP menu. Press the 


button to move to the desired submenu and 
select the setting to adjust. Press Menu to 
select it. 


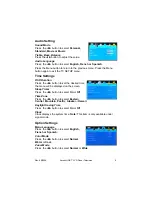
Picture Settings 

Picture Mode 

Press  the 


button to select 

Personal, Standard, Dynamic or Soft

.


Contrast, Brightness, Sharpness, Tint, Color 

Press the 


button to adjust the value.  


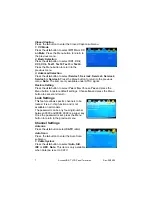
Press the Menu button to return to the previous menu. Press the Menu 
button again to exit the TV SETUP menu. 

Содержание PTV 7000

Страница 1: ... 1 919 585 6435 or go to www AccessHD tv 7 LCD Television Have the following information ready when you call Date of Purchase _______________________ Location of Purchase _______________________ Serial _______________________ Model _______________________ Mailing Address Fax Number 7868 US Hwy 70 Suite C 1 919 550 3277 Clayton NC 27520 ...

Страница 2: ... Charger Adapter CarChrg 19 99 Mounting Bracket MtBrack 24 99 To place an order Visit www AccessHD tv or call 1 919 585 6435 Mailing Address Fax Number 7868 US Hwy 70 Suite C 1 919 550 3277 Clayton NC 27520 AccessHD 7 LCD Panel Television Rev 09 2009 ATTENTION To begin watching this TV you MUST do a channel scan to search for available channels For more information on channel scans see page 7 The ...

Страница 3: ...this publication can be reproduced or distributed without the prior written permission of AccessHD LLC Clayton NC AccessHD is a registered trademark of AccessHD LLC Clayton NC AccessHD LLC reserves the right to discontinue or change specifications or design at any time without notice and without incurring any obligation whatsoever The information and specifications included in this publication wer...

Страница 4: ... being walked on pinched or bent particularly plugs convenience receptacles and at the point where it exits from the device Only use attachments accessories specified by the manufacturer Use only with the cart stand tripod bracket or table specified by the manufacturer or sold with the apparatus When a card is used use caution when moving the cart apparatus combination to avoid injury from tip ove...

Страница 5: ...ew 1 Video In 2 Left Audio In 3 Right Audio In 1 2 3 4 4 Headphone Jack Right View 1 DC In 6 Auto OK 2 Power Switch 7 Channel 3 Mode 8 Channel 1 2 3 4 5 6 7 8 9 4 Volume 9 Menu 5 Volume Rear View 1 Antenna 2 Mounting Holes 3 Viewing Stand 4 Remote Control Storage 1 2 3 4 The remote control storage slot is located on the back panel behind the viewing stand The remote control is shipped in this slot...

Страница 6: ...r that can be plugged into the cigarette lighter in a vehicle is available for purchase as an accessory Built in Lithium Rechargeable Battery Note Be sure to charge the battery fully before the initial use When the charge of the battery is weak a low power indicator will appear on the LCD screen The unit will turn off automatically several minutes later CAUTION Danger of explosion if battery is in...

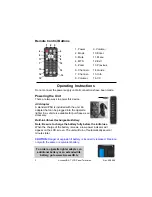
Страница 7: ...hearing Turn down the volume before you connect headphone and then raise the volume to comfortable level Using Remote Control Remove the remote control from the storage slot located on the back panel behind the viewing stand Point the remote control unit at the remote sensor within a range of 5 meters and angles of 60 degrees and without obstacles between remote control and remote sensor Notes Imp...

Страница 8: ...gate the TV Setup Menu to the Channel settings to start a channel scan 6 Scan channels for 2 to 3 minutes then navigate up and down through the channels TV Setup Menu Settings All buttons and controls are described on the board unless otherwise specified After connection press the Menu button to enter the TV SETUP menu Press the button to move to the desired submenu and select the setting to adjus...

Страница 9: ...ings OSD Duration Press the button to set the desired time the menu will be displayed on the screen Sleep Timer Press the button to select On or Off Time Zone Press the button to select Eastern Central Mountain Pacific Alaska or Hawaii Daylight Saving Time Press the button to select On or Off Clock Clock displays the system time Note This item is only available under signal mode Option Settings Me...

Страница 10: ... is only available under ATSC signal Restore Setting Press the button to select Yes or No Choose Yes and press the Menu button to restore default settings Choose No and press the Menu button to cancel and return Lock Settings This feature allows specific channels to be locked It is a V chip function and is not available on all models The password can be any four digit number between 0000 and 9998 ...

Страница 11: ...on to enter the Channel Label submenu Press the button to highlight the label position and then press the button to select the desired character or symbol for that position Press the Menu button to return to the previous menu Mounting Options The TV can be mounted to the L bracket included with the unit or directly to a wall Use a square socket drive and three pan head wood screws recommended size...

Страница 12: ...o type Symptom The remote control does not work Make sure there are no obstructions between the remote control and the player Make sure the remote control is pointing at the player within defined distance and angle ranges Make sure batteries are inserted and the polarity is correct Make sure batteries are not weak Other Notes Static or other external interference may cause the unit to behave abnor...

Страница 13: ...is void if the owner fails to follow the prescribed maintenance installation and operating procedures described in this manual Access HD has the right to recover warranty administration costs from the owner if the root cause of the malfunction was found to be other than defective material or workmanship In particular this warranty does not cover damage caused by not following the prescribed warnin...

Отзывы: