Abus PPDF14520 Скачать руководство пользователя страница 25


25 

English 


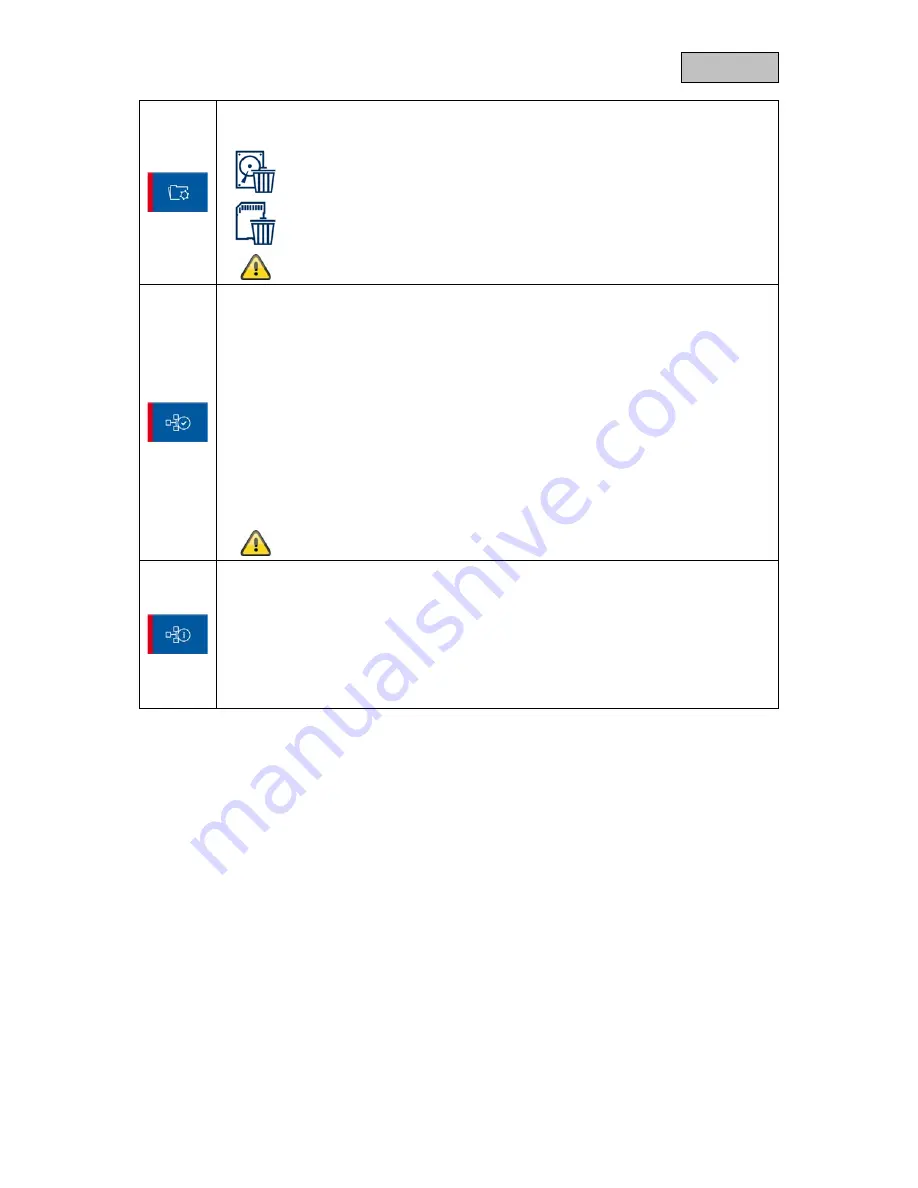
Format storage medium 

Select the storage medium that you want to format. 


Format external USB hard drive 


Format SD card 


During formatting, all existing data on the storage medium is deleted. 


Network settings 

To connect to the internet and access the recorder via the app, connect the recorder to 
your router using the network cable. Choose between static IP and DHCP. 


DHCP: 

With this setting, the DVR automatically receives an IP address from the router. 

Static IP: 

Here you can assign a static IP address. The address must match your existing network 
environment for external access to work. 

Password: 

You can change the device’s password here. 


A change of password is required to connect to the app. 


System information 

Displays the system information. 


Update 

Select Update to update the firmware of the monitor or camera. 

About 

Displays the General Public Licenses (GPL) used. 


Содержание PPDF14520

Страница 1: ...0 PPDF14520 PPDF14520W You can find important information and FAQs about this and other products online at www abus com Version 1 1 English translation of the original German instruction manual Retain for future reference ...

Страница 2: ... dealer Data storage is subject to national data privacy guidelines Warning as required by Section 201 StGB German Criminal Code Whosoever unlawfully makes an audio recording of the privately spoken words of another and uses or makes a recording thus produced accessible to a third party shall be liable to imprisonment or a fine Whosoever unlawfully overhears with an eavesdropping device the privat...

Страница 3: ... Camera PPDF14520 PPDF14520W 10 4 4 Pair camera 11 5 Compatibility 11 6 Bandwidth Recommended settings 11 7 Local user interface 12 7 1 Operation 12 7 2 Live display 12 7 3 Live indicators 13 7 4 Live menu list 15 7 5 Main menu 16 7 6 Camera settings 17 7 7 Recording settings 18 7 8 Event list 20 7 9 Playback 22 7 10 System settings 23 7 11 Storage settings 24 8 ABUS OneLook External operation 26 ...

Страница 4: ...outdoor camera Power supply unit 5 V DC 1 5 A EU UK Antenna Wall bracket Installation material Quick guide PPDF18000 Recorders Power supply unit 12 V DC 2 A EU UK Power supply unit 5 V DC 1 5 A EU UK Antenna Network cable HDMI cable Mouse Wireless outdoor camera Wall bracket Installation material Quick guide PPDF14520W Wireless outdoor camera Power supply unit 5 V DC 1 5 A EU UK Antenna Wall brack...

Страница 5: ...f hardware 2 1 PPDF16000 Monitor 1 Link LED 2 Power LED 3 On Off switch 4 Antenna connection RP SMA 5 USB interface 6 Loudspeaker 7 Stand 8 LAN interface 9 Reset button 10 MicroSD card slot max 128 GB 11 Power supply 5 V DC 3 A ...

Страница 6: ...sh 2 2 PPDF18000 Recorder 1 LAN interface 2 HDMI interface 3 Antenna connection RP SMA 4 On Off switch 5 MicroSD card slot max 128 GB 6 Reset button 7 USB interfaces 8 LAN interface 9 Power supply 12 V DC 2 A ...

Страница 7: ...lish 2 3 PPDF16000 Camera PPDF18000 Camera PPDF14520 PPDF14520W 1 IR LEDs 2 Lens 3 Link LED 4 PIR sensor 5 Mount 6 Power LED 7 Stand 8 Antenna connection RP SMA 9 Pairing button 10 Power supply 5 V DC 1 5 A ...

Страница 8: ... to monitor or recorder Flashes green Camera in pairing mode Firmware update is being transmitted Quickly flashes green Firmware update is being performed Off Camera not connected to monitor 3 2 Audio transmission The monitor or the recorder can each receive an audio signal from a camera If several cameras are paired only the audio signal from the selected camera will be transmitted Audio transmis...

Страница 9: ...ou want to access the device externally connect your router to the monitor with a network cable Then connect the 5 V DC 3 A power supply unit provided 4 2 PPDF18000 Recorder If you want to access the device externally connect your router to the recorder using a network cable The display the local user interface connect a monitor to the recorder via HDMI Connect the 12 V DC 2 A power supply unit pr...

Страница 10: ...fasten the mount in place Next install the camera on the mount by screwing the camera clockwise on to the thread As soon as the camera is fully screwed into position lock the camera further into place by tightening the wing nuts from underneath For alignment purposes loosen the wing screw at the side and align the camera in the desired position Next lock the camera into place once more by tighteni...

Страница 11: ...PDF14520W Up to four cameras can be connected to the monitor or recorder This means that three cameras can be added to the PPDF16000 set The cameras can only be connected to one monitor or recorder They cannot be connected to more than one monitor or recorder 6 Bandwidth Recommended settings The system has a wireless bandwidth of 6 mbit s This bandwidth is available for all cameras If several high...

Страница 12: ... full screen Click again on the full screen to switch back to quad display Smart quad display Click on a channel from the smart quad display to view it in large display mode on the left side of the screen To view a channel in full screen mode it must first be in large display mode To do this click on the image in large display mode to return to the smart quad display click the image again Dynamic ...

Страница 13: ...icking on it Resolution display Camera is transmitting in 720p resolution 1280 x 720 pixels Camera is transmitting in 1080p resolution 1920 x 1080 pixels Channel display Camera channel 1 Camera channel 2 Camera channel 3 Camera channel 4 Network display Network connected UPnP active on the router Network connected UPnP not active on the router Not connected to a network Battery display only PPDF16...

Страница 14: ...the alignment of the antennae on the camera and monitor or recorder If the connection does not improve we recommend our TVAC17520 signal amplification kit https www abus com product TVAC17520 You can hide this display from the system settings Timestamp display Display of the current system time You can hide this display from the system settings Sequence display Indicates whether sequence is active...

Страница 15: ...apse menu list Main menu Quad display Smart quad display Enable manual recording of one channel Disable recording of one channel Enable manual recording for all channels Disable recording of all channels Mute volume Low volume Medium volume High volume ...

Страница 16: ...disable camera Image resolution Image quality Recording settings Schedule Motion detection sensitivity Motion screen Recording duration alarm settings Event list Playback delete and copy events System settings Date and time Language Screen display Idle display Energy saving mode Storage settings Storage medium Storage formatting Network settings password System settings update firmware ...

Страница 17: ... remain unchanged If you want to change the camera to another channel you will have to pair it again Enable disable camera You can enable or disable the camera here Camera enabled Camera disabled Please note that disabled cameras are not registered and are not shown in the smart quad display Image resolution Here you can select the resolution of the camera 1080p resolution 1920 x 1080 pixels 720p ...

Страница 18: ... input Use the next tiles to set the time period Time periods must always be within one day e g 06 00 to 15 00 and must not exceed one day e g 15 00 to 06 00 Please note the following order of priority of the recording types Continuous recording has 1st priority Motion detection has 2nd priority No schedule has 3rd priority If time periods with different recording types overlap the system will swi...

Страница 19: ...ggered Motion screen Select a camera Select the corresponding tile from the grid to enable or disable the detection software for this tile An enabled tile is marked with V The configured motion screen refers only to the detection software of the camera This does not change the settings for detection by the PIR sensor The bottom left tile is permanently disabled and cannot be enabled Recording dura...

Страница 20: ...orrespond to the selection will be displayed Display recordings from camera 1 Display recordings from camera 2 Display recordings from camera 3 Display recordings from camera 4 Display recordings from all cameras Day selection Select the day of the recording Days that contain recordings are marked with a ...

Страница 21: ...ras Select event Click the checkbox to select the event Now you can take further actions Delete event Delete the selected events from the storage medium Copy event Copy the selected events to the SD card If the events are saved on an external USB hard drive you can copy the selected events to the root directory of an inserted SD card If the events are saved to an inserted SD card the selected even...

Страница 22: ...m the other channels are shown to you at the same time You can enter and exit full screen mode by clicking on playback Playback menu list Expand menu list Collapse menu list End playback Pause playback Start playback run playback at normal speed Rewind quickly Fast forward quickly ...

Страница 23: ...lect the same language and exit the menu Screen display Here you can select the screen display for the cameras Show hide the signal strength display Show hide the date time stamp display Idle display Here you can select the behaviour of the display when in idle mode Quad display Smart quad display Sequence with ten second intervals Sequence with five second intervals Idle mode is enabled after two...

Страница 24: ...ode It is switched back on either by manual touch input or when motion is detected 7 11 Storage settings Storage medium Select the storage medium for the recordings and enable disable the cycle recording function External hard drive recording enabled SD card recording enabled Cycle recording disabled Cycle recording enabled The maximum size of the storage medium is 128 GB for SD cards and 2 TB for...

Страница 25: ...able Choose between static IP and DHCP DHCP With this setting the DVR automatically receives an IP address from the router Static IP Here you can assign a static IP address The address must match your existing network environment for external access to work Password You can change the device s password here A change of password is required to connect to the app System information Displays the syst...

Страница 26: ...re or Apple App Store before accessing for the first time 8 3 Differences between Android iOS versions The screenshots in the following points were taken from the iOS app In terms of functionality the Android and iOS versions of the app are identical but differ slightly in terms of their operation Live view menu In the iOS version the live view menu is displayed in a bar with icons In the Android ...

Страница 27: ...r the DID manually or scan the QR code on the device Scan DID Scan the QR code on the device for a simple way to enter the DID To use this function you might have to install a third party app Password Enter the password for your device Important You will not be able to connect to the device using the standard password 123456 Change the password locally on the monitor see Storage settings Save Save...

Страница 28: ...otification menu Event list Opens the event list Manual recording Starts manual recording of the cameras Cancel connection Cancels the connection The device list can only be accessed once the connection is cancelled Establish connection Here you can establish a connection to the device Please note that the live image display will not work in the app if a menu is open locally on the device Snapshot...

Страница 29: ... Image resolution Image quality Recording settings Schedule Motion detection sensitivity Motion screen Recording duration alarm settings System settings Date and time Screen display Idle display Energy saving mode Push notification The Push notification menu is only available in the app A description can be found on the next page Storage settings Storage medium Storage formatting Network settings ...

Страница 30: ...Done to register the smartphone tablet to the device To remove the smartphone tablet open the menu again disable push notification and press Done Check registration Open the Push notification menu item from the system settings on the device Check whether your smartphone tablet appears in the device list under the name you assigned it Interval schedule Select the desired interval for push notificat...

Отзывы: