APC 4000-500 User’s Manual
Version 1.1
11
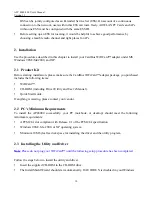
settings, you will need to go to the Windows “Start” button, choose “Run” and type “D:\setup.exe”
in the text box, where D is the drive letter of your CD-ROM drive.
Follow the InstallShield Wizard to install the driver and utility.
Reboot your PC after completing the installation process. (Recommended)
Plug your WiFiCard™. The “Add New Hardware Wizard” automatically loads the driver, and then
a new application (the Configuration & Monitor Utility) icon will be displayed in the task bar.
Go to Section 3 for Configuration.
Note
: In the MS Windows 2000/XP installation procedure, an extra window prompts you to select the
options whether you would like to install the “Digital Signature Not Found” or not. You can
safely select “YES”.
3. Wireless LAN Configuration Utility
The Wireless LAN Configuration Utility is a powerful application that helps you to configure the
APC4000 and monitor the statistics of the communication. Unlike the standard method of configuring
the card via the operating system utilities (e.g. Control Panel), this application permits the dynamic
modification of configuration parameters while the card is operating. This application also offers more
configuration options.
3.1 Icon
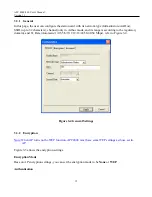
The Wireless LAN Configuration Utility appears as an icon on the system tray of Windows while the
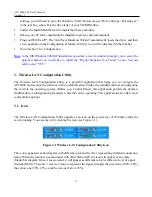
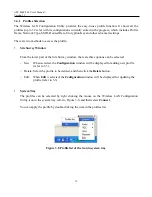
card is running. You can open it by clicking the icon (see Figure 3-1).
Figure 3-1 Wireless LAN Configuration Utility Icon
The icon is appeared as bar diagram with different color and level for representing different connection
status. When the station is not associated with other Station/AP, the icon will appear as an empty
(blank) bar diagram. Once it is associated, it will appear as different color for different level of signal
strength (RSSI). There are 3 levels of icons to represent the signal strength, the green one (100%~50%),
the yellow one (50%~25%), and the red one (below 25%).


