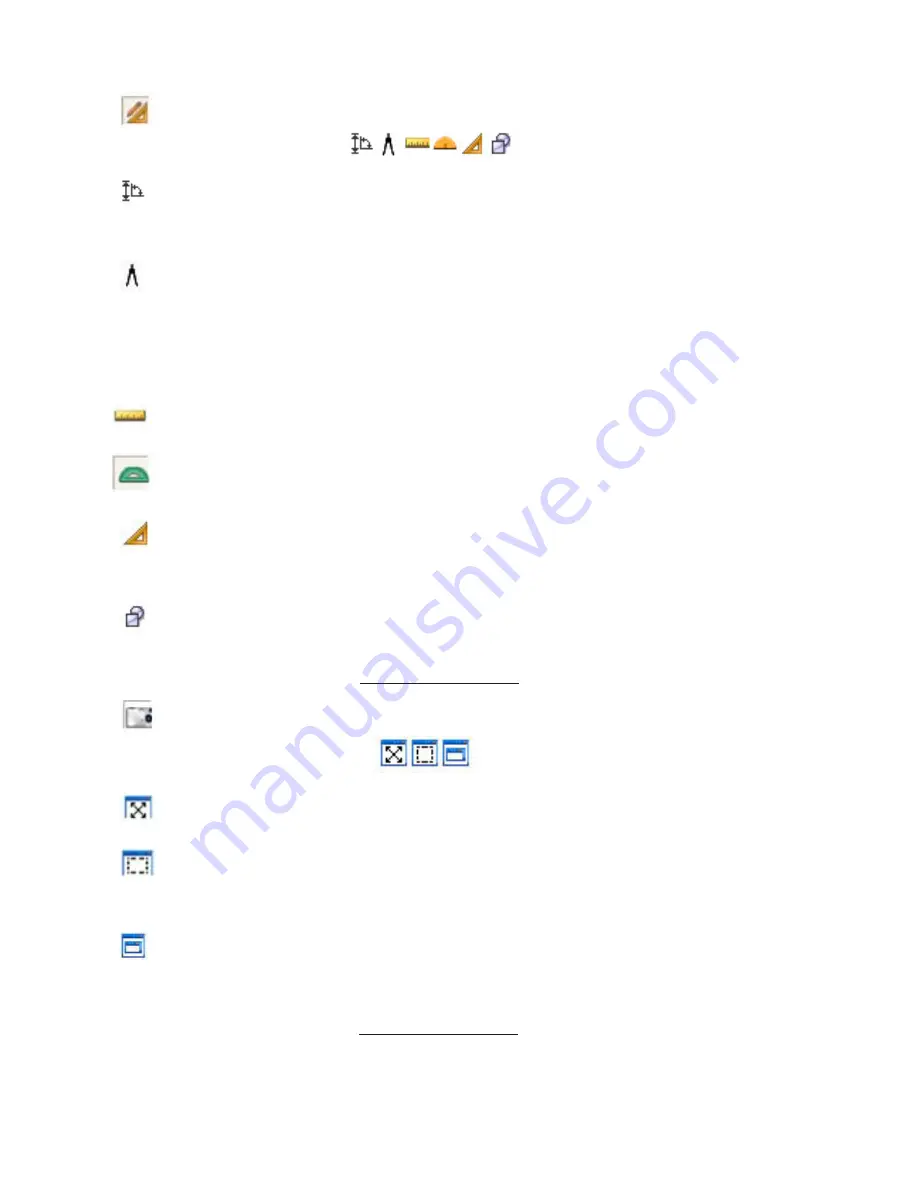
2. Maths Tools:
Click on Maths Tools on top line to display 6 options on bottom
line:
a. Length or Angle Measurement:
Click to display choice option. Length: You can
measure between 2 points and the measurement is displayed on the screen.
Angle Measurement: You can measure an angle and the measurement will be displayed.
b. Dividers:
Provides an interactive set of dividers to use on the work area. After
clicking the icon, click once on the work area to mark the centre of the required circle.
Drag your mouse to measure the radius of the required circle. Click again at the correct
distance to draw the circle based on the parameters you selected. If you move the mouse
along the circle circumference, you can trace the circumference to the desired position, to
either mark out an arc or the complete circle. Click a final time to lock the arc or circle.
c. Ruler:
The
default ruler is 10 units long. It can be rotated in any angle or stretched
to 100 units.
d. Protractor:
Protractor can be rotated about the origin, and can be zoomed in and
out. We also provide an origin-coordinate for more accurate angle measurement.
e. Set Square:
Click on the set square icon, select either the 45
0
or 60/30
0
square,
and click on the work area to place the square. The position, size and orientation of
the square can then be changed using the object tools.
f. Pi Chart/Column Graph:
Click to display choice option. Pi Chart: Input name and
data to create the Pi Chart. Colours of segments & background can be chosen.
Column Graph: Same setup as for Pi Chart, but display as Column Graph.
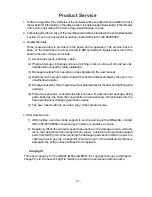
3. Screen Capture:
Click on screen capture on the top line to display 3 options
on the bottom line:
a. Full Screen Capture:
Click to capture the full screen and display in a new
page or the current page.
b. Custom Screen Capture:
Click the button, use your mouse to mark out the
required screen area for capture, and double click within the marked area to capture
the screen and display in a new page or the current page.
c. Current Screen Capture:
Click the button, and a red frame will be displayed to
mark the area of window required for capture. Pull the line to mark out the required
screen area for capture, and double click within the marked area to capture the screen
and display in a new page or the current page.
- 20 -


