Using the OPTURA
SPY
with OPTURA
VIEW
Install Software
1. Install OpturaView on host PC
.
*Ensure that the device is not connected to PC during
installation
System requirements:
• Microsoft Windows 8.1 or higher
• Minimum of 4 GB of RAM
• Minimum 10 GB free hard disk space
• 1280 x 720 resolution (or higher) display
• Available USB communications port
• Microsoft Office for viewing collected data
Components
2. Check system components:
• OPTURA Spy Base Unit
• Power Supply Unit
• USB Data Cable
• Optura Spy Sensor
• Vessel Adaptors
• Optura Spy Sensor Verification Standard
Connecting your system
3. Connect the power supply unit to the appropriate terminal
on the Optura Spy Hub
4. To connect the sensor to the Optura Spy Hub, remove the
protective dust caps from the connector end of the sensor
and the connector on the base unit; Keep dust caps safe.
5. Push the connector into the base unit ports on the front
of the unit until they have clicked into place. Ensure that
the connector face is not touched in the process.
6. Connect your Optura Spy Hub to the host PC via USB
7. Open OPTURAVIEW and click
<Scan for Devices>
8. Select devices, assign a description and check
<Include>
and click
<OK>
9. All connected devices will be displayed in individual tabs
displaying the OPTURA Hub serial number and assigned
description.
Using a system for the first time
When using the system for the first time it is important to
set the probe type within the system as this will set the
correct sensor coefficients and Bubble Filter Algorithm.
1. Under the device you wish to set up, Go to the
<Measurement setup>
tab. Select
<Install New Sensor>
.
2. In the pop-up window, enter the serial number of the
sensor which can be found on the sticker on the sensor
cable and any description you wish to give the sensor.
3. Select the appropriate sensor type which can be found on
a sticker on the sensor.
4. Select the Bubble Filter to use, this is based on what type
of vessel you are using or the vessel wall thickness. Once
you have selected the appropriate Bubble Filter,
select
<OK>
to apply these settings. If you are
unsure of which Bubble filter to use, contact
.
System Checks
1. Under the device you wish to set up, Go to the
<Measurement Setup>
tab and select
<Sensor
Verification Check>
A pop up window for system
verification will appear.
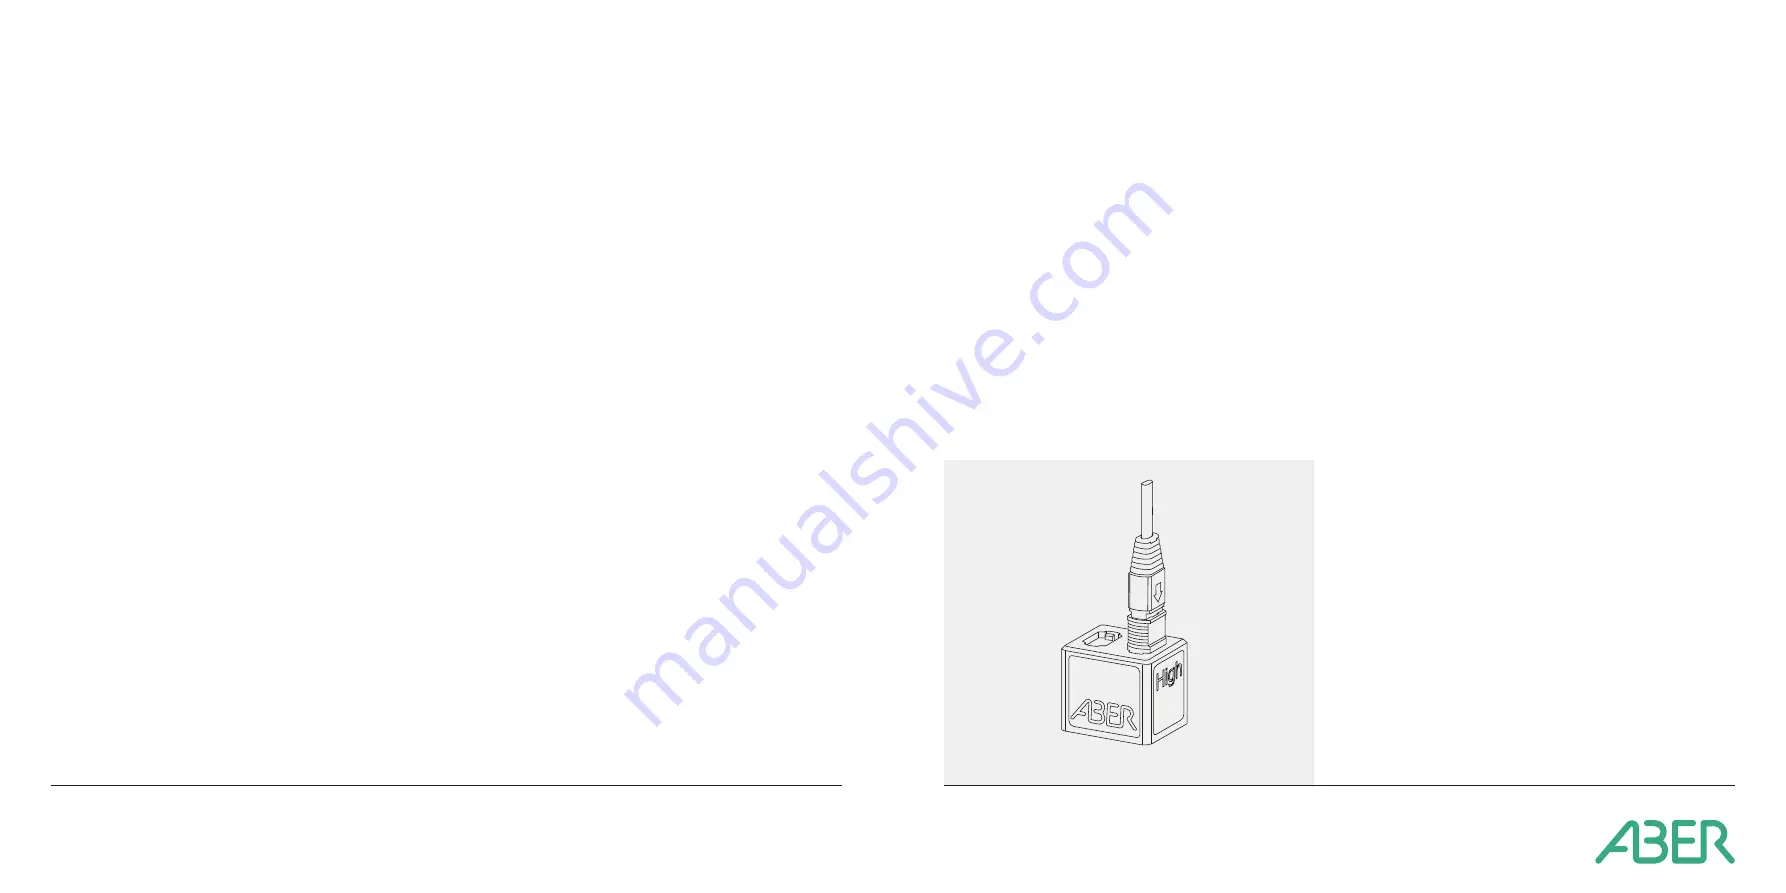
2. Before connecting the SPY sensor to the verification
standard, ensure that no debris is present on the sensor
face.
3. In
OPTURA
VIEW
, follow the guide on the pop up window,
connecting the sensor to the respective high and low
connectors on the verification standard.
System Care
1. Always replace dust caps on the optical terminals
on the base unit, the sensor connector end and the
measurement face when not in use.
2. To clean the measurement face, use compressed air
to remove any light dust/debris. If there are heavier
contaminants, use IPA and a lint free wipe to gently wipe
the surface.
3. To clean the optical connectors, use only compressed
air on both the sensor and the base unit connectors to
remove any dust/debris, do not touch these connectors.
4. When removing the sensor from the vessel adaptor,
ensure to pull the collar away from the vessel adaptor to
disengage the sensor.
5. Never bend the sensor cable beyond the minimum bend
radius of 60 mm.
6. When the system is taking readings, do not unplug the
sensor or move the sensor cable.
7. Ensure that a new vessel adaptor is used for each run.
www.aberinstruments.com
OPTURA SPY
Quick start guide


