Date: 2021-01-13
Version: 1.2
Overhaul instructions
Central lubrication unit
Removing
Page 16 of 50
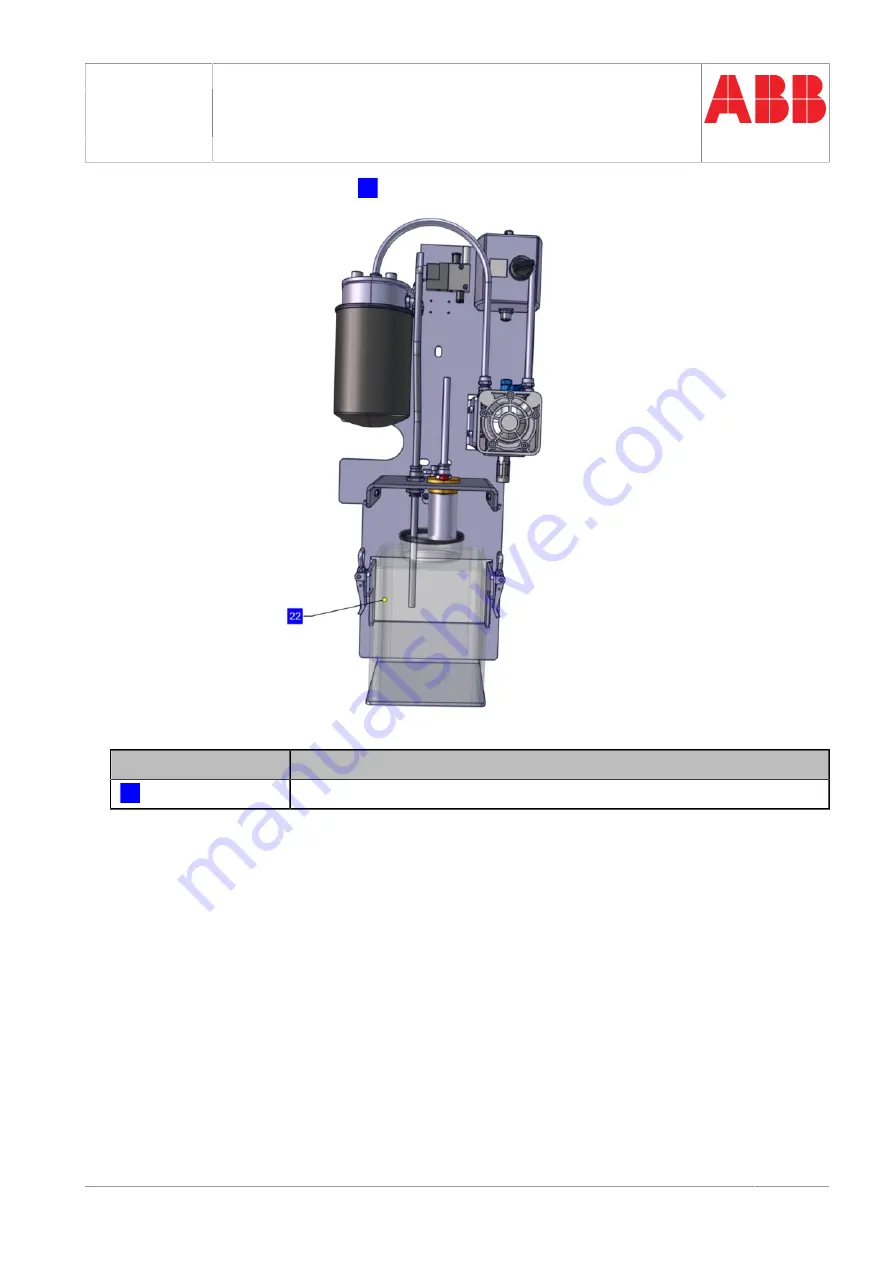
•
Remove the square container (
22
) with the Mesamoll to be replaced.
Figure 2: Removing the container
Item number
Designation
(
22
)
Square container
© 2021 ABB Automation GmbH |
en


