

2
1SFC132004M0201
Quickstart PST30...PSTB1050
A
B
B
A
u
tom
a
ti
o
n
T
e
ch
nol
o
g
ie
s
A
B
, C
e
w
e
-C
o
n
tro
l, S
E
-7
21
61
V
ä
ster
ås,
S
w
ede
n,
Te
le
ph
one
+
4
6
21
32
07
00
, Te
le
fa
x +
4
6
21
12
60
01
Ma
nua
l
1S
F
C
132
00
3M
020
1
J
a
n
u
a
ry
2
0
0
5
ABB Au
to
m
a
ti
o
n
T
e
c
h
n
o
lo
g
ie
s
AB,
Ce
we
-C
o
n
tr
o
l
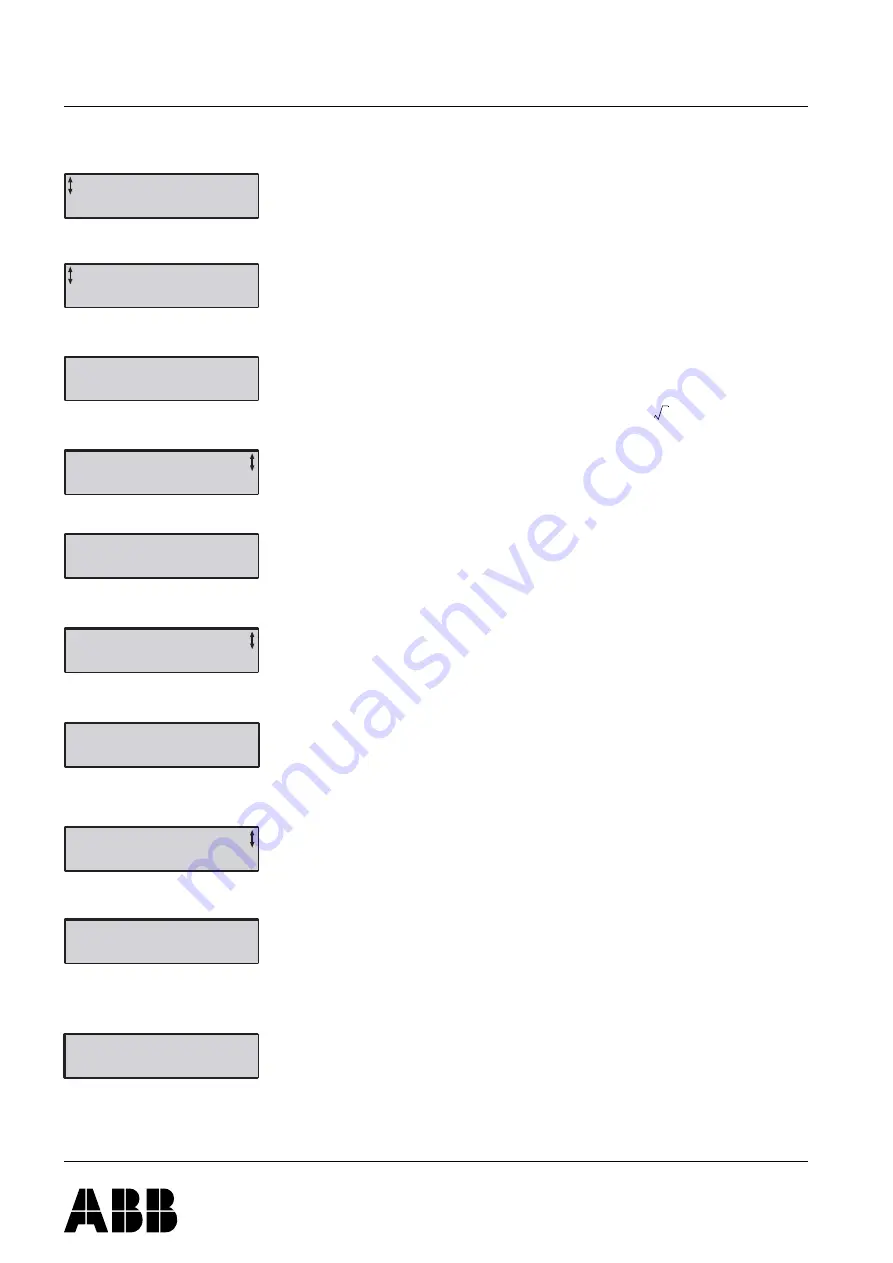
Configuration
1. Enter the Application Setting by pressing left selection key
twice. Press Select using the left selection key. Figure 4.
2. Select the appropriate type of load using navigation keys.
3. Press Store Set and Next to continue or Back to previous
parameter using the selection keys. Figure 6.
4. Set the Setting Ie using the navigation keys.
In Line connected = rated motor current
nside Delta connected = 58% (
) of the rated motor
Icurrent. Figure 7.
5. Press Store and Next to continue or Back to previous
parameter using the selection keys. Figure 8.
6. Set the required overload class using the navigation keys.
7. Press Store and Next to continue or Back to previous
parameter using the selection keys. Figure 10.
8. If an external by-pass contactor is used set Ext ByPass to
Yes using the navigation keys. (PST30...300 only).
Figure 11.
9. Press Store and Next to continue or Back to return to pre-
vious parameter using the selection keys. Figure 12.
10.Select Yes if ready or Tune Set if ramp times, initial volt-
age, current limit etc. needs to be adjusted using selection
keys. Figure 13.
11. To change presentation language, see manual
1SFC132003M0201.
Start of the motor
1. Switch on the main voltage.
2. Give start command to the softstarter.
(To start the softstarter from the keypad, enter the LOCAL
CONTROL menu, select Start/Stop and press Start. The
motor must be stopped before leaving this menu.)
Application
Setting
Select
Back
Figure 4: Application setting menu
Centrifugal
Pump
Store Set
Back
Figure 5: Centrifugal pump
Centrifugal
Pump
Next
Back
Figure 6: Centrifugal pump stored
1
3
(
)
⁄
Setting
Ie
99.0A
Store
Figure 7: Setting Ie
Setting
Ie
99.0A
Next
Back
Figure 8: Setting Ie stored
OL Class
10
Store
Figure 9: OL Class
OL Class
10
Next
Back
Figure 10: OL class stored
Ext ByPass
No
Store
Figure 11: External Bypass
Ext ByPass
No
Next
Back
Figure 12: External Bypass stored
Ready?
Yes
Tune Set
Figure 13: Ready / Tune Set


