14
Registering Aastra 480i
(c) 2003-2010 Bicom Systems
Other fields
Other "options" or "fields" should be left blank or as is by default, they have no
importance for registering the Aastra 480i to PBXware.
3. Click on the "Save Settings" button.
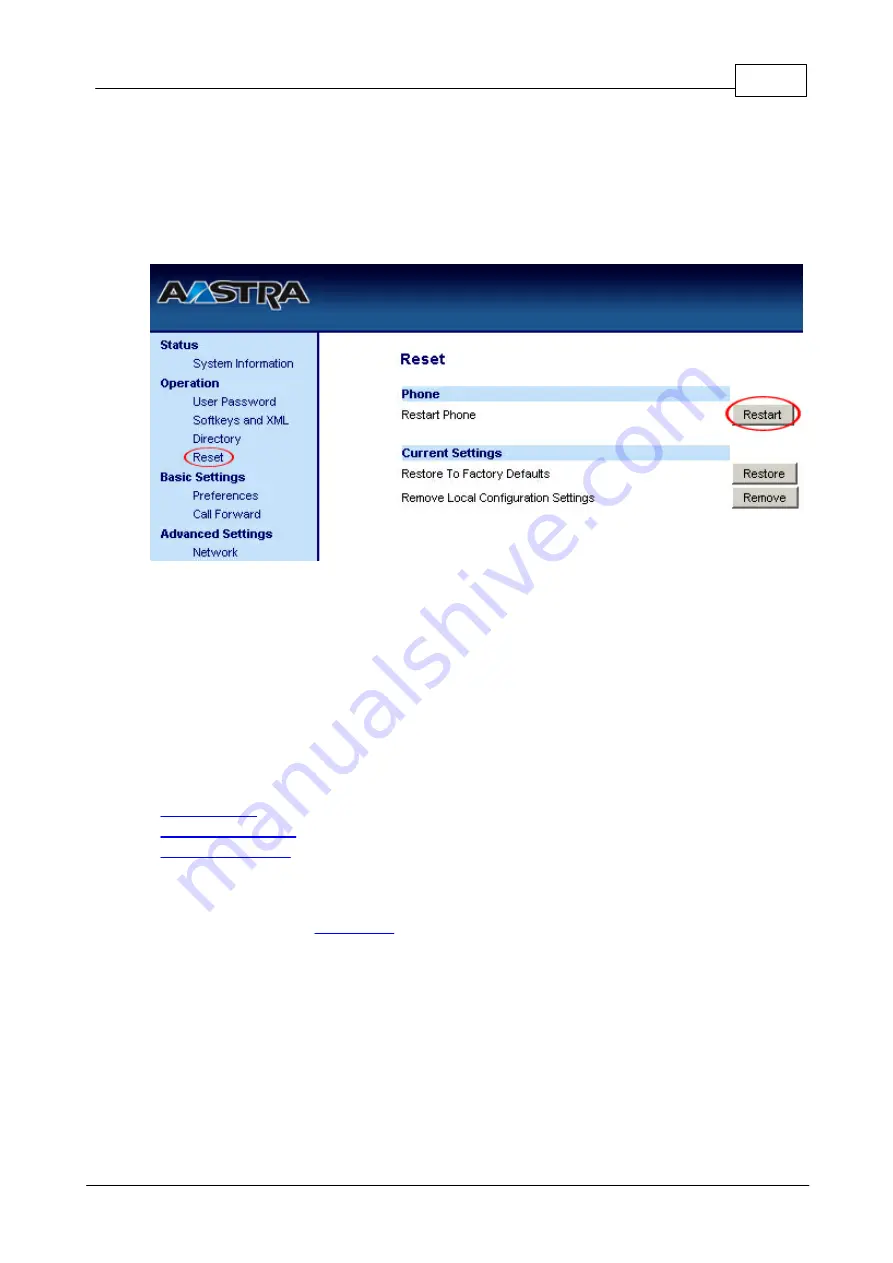
4. Click on the "Reset" link.
5. Click on the "Restart" button to restart your Aastra 480i so that the changes take
effect.
- Conclusion: If everything is done as above described you should have successfully
registered your Aastra 480i to PBXware. Dial
*123
to verify registration.
- For further information, please contact the manufacturer or check their web site www.
aastra.com.
2.3
Auto Provisioning
-
-
-
2.3.1
UAD Settings
STEP ONE:
PBXware
1. Find out the IP address of PBXware server.
STEP TWO:
Login to PBXware.
1. Open a new browser window and enter the IP address followed by "/admin/index.
Содержание VentureIP 480i
Страница 1: ...c 2003 2010 Bicom Systems Aastra 480i How To...
Страница 2: ......
Страница 5: ...Foreword c 2003 2010 Bicom Systems I...
Страница 6: ...Part I...
Страница 8: ...Part II...
Страница 34: ...Part III...
Страница 36: ...Part IV...
Страница 38: ...33 Aastra 480i How To c 2003 2010 Bicom Systems...
Страница 39: ......


