background image

13


Model CM-16 User Guide

Note: 

The volume key can also be used to adjust the right/left cursor to add spaces or 
to erase characters on the display when editing or creating names, key labels etc.

To adjust the receiver volume:

While on a call, press the top of the key to increase the receiver volume and 
press the bottom of the key to decrease the volume. The receiver volume 
icon on display will indicate the current volume level. In absence of a PBX, 
the receiver volume returns to the default setting after each call. However, 
the PBX directive can direct the handset default to the volume.

To adjust the ringer volume:

When the handset is not being used for a call, press the top of the key 
to increase the ringer volume and press the bottom of the key to decrease 
the ringer volume. The handset ringer will sound on each adjustment to 
reflect the new setting and the ringer volume icon on display will also show 
the current level chosen.

STATUS LIGHT

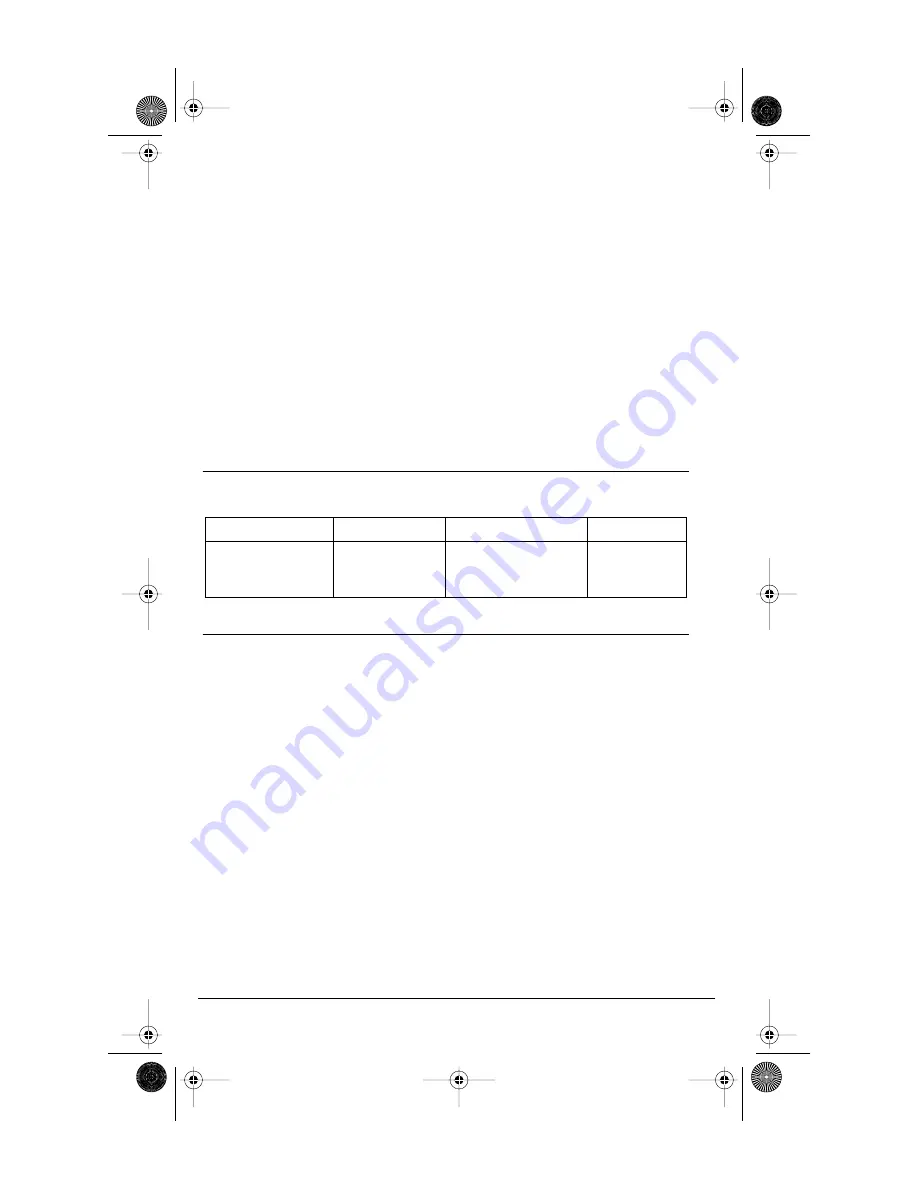
The green LED light on the handset indicates the following conditions:

FEATURES LIST 

There are 14 Meridian features available through the CM-16. The features list 
can be accessed through the Feature 

F

F

F

F

 key of the CM-16. When scrolling 

through the features list, a darker scroll bar highlights the feature that can be 
selected. If the Meridian features are labeled instead of pre-programmed 
and identified on handset, the features list on the CM-16 menu display will 
be identified by item numbers from 00 to 14 with no text (example 

<<<<0

0

0

09

9

9

9>>>>

)

    N

N

N

Noo

o

ottt

tee

e

e    

tt

t

thh

h

ha

a

a

attt

t    MM

M

Mee

e

err

r

riiiidd

d

diiiia

a

a

ann

n

n    KK

K

Kee

e

eyy

y

y    0

0

0

07

7

7

7    a

a

a

ann

n

ndd

d

d    111

15

5

5

5    fff

fee

e

ea

a

a

attt

tuu

u

urr

r

ree

e

ess

s

s    a

a

a

arr

r

ree

e

e    nn

n

noo

o

ottt

t    a

a

a

avv

v

va

a

a

aiiiilllla

a

a

abb

b

bllllee

e

e    oo

o

onn

n

n    ttt

thh

h

hee

e

e    CCC

CMM

M

M-

-

-

-111

16

6

6

6....

Also, the first 

kkkkee

e

eyy

y

y    ((((0

0

0

00

0

0

0))

)

)

 in the list will always be the primary DN.

• Each feature can be labeled manually through the Edit option. See the


“Key Label “

 option in this guide for detailed labeling instructions.

The 

4

 indicates that the feature is activated or flashing during 

the program state.

To activate one of the features press the 

SS

S

See

e

ellllee

e

eccc

cttt

t    

Softkey.

To cancel an activated M1 feature key, press the

    CC

C

Ca

a

a

ann

n

nccc

cee

e

ellll

 Softkey or 

I

I

I

I

 key to end the call.

See your system administrator and your M2600/M2616 user guide for further 
information on Meridian features available.

Incoming call

 flashes 

rapidly

Call on hold 

solid green

Handset muted

flashes rapidly

Features activated

(only while on hook)

 /

message waiting

solid green

CM16.book  Page 13  Friday, June 18, 2004  3:22 PM

Содержание CM-16

Страница 1: ...CM16 book Page i Friday June 18 2004 3 22 PM...

Страница 2: ...adjust the receiver volume 13 To adjust the ringer volume 13 Status Light 13 Feature Key List 13 OPTIONS 14 Language 14 Key Label 15 To edit key label text 15 To delete a single key label 15 To delet...

Страница 3: ...tion Locate the handset and base station near water moisture damp areas heat sources direct sunlight areas with excessive dust vibration or temperature extremes Clean the handset using any chemical or...

Страница 4: ...re Above average temperatures tend to reduce the service life of batteries Do not throw away or incinerate used batteries Take them to an appropriate collection point for recycling or send them back t...

Страница 5: ...ion can be placed on a flat surface or be wall mounted For optimum range performance wall mounting is recommended Location of the base station can have significant impact on performance It is recommen...

Страница 6: ...e strip until it clicks into place Fig C Charging Cradle The charging cradle is designed to be placed on a desk or any similar flat surface in the vicinity of the base station To set up the charging c...

Страница 7: ...display provides at a glance information on the handset battery Note The handset is designed to recharge the batteries automatically when required and placed on the charger stand The battery icon wil...

Страница 8: ...7 Model CM 16 User Guide CM 16 HANDSET KEY FUNCTIONS 1 2 3 4 5 6 7 14 8 9 5 10 11 12 14 13 15 CM16 book Page 7 Friday June 18 2004 3 22 PM...

Страница 9: ...ivates feature or option shown on the display above the keys 6 Call key O O O O Used to obtain dial tone Also used as a Hold key 7 Mute X X X X key When used prevents the caller from hearing you 8 Hea...

Страница 10: ...ction of this guide for more information Note Whenever the display indicates U U U Us s s se e e e sr t t t to o o o v v v vi i i ie e e ew w w w use the E E E E key to scroll up and the L L L L key t...

Страница 11: ...with only the audible alert active Receiver Volume This Icon is available only when the phone is Off hook Displays the receiver audio volume from low to high with the box gradually filling up as the v...

Страница 12: ...OR Return the handset to the charging cradle To answer a call Press the O O O O key to answer an incoming call or lift the handset out of the charging cradle REDIAL To redial the last 10 numbers When...

Страница 13: ...s softkey and the L L L L key once the display shows D D D De e e el l l le e e et t t te e e e a a a an n n nd d d d s N N N Ne e e ex x x xt t t t Press the S S S Se e e el l l le e e ec c c ct t t...

Страница 14: ...ridian features are labeled instead of pre programmed and identified on handset the features list on the CM 16 menu display will be identified by item numbers from 00 to 14 with no text example 0 0 0...

Страница 15: ...show c c c co o o on n n nf f f fi i i ir r r rm m m me e e ed d d d when the selection is changed Pressing the C C C Ca a a an n n nc c c ce e e el l l l softkey will return you to the previous displ...

Страница 16: ...e softkey changes the screen text between Upper and Lower case The S S S Sa a a av v v ve e e e softkey saves changes made Use the I I I I key at any time to exit the option menu Note In editing mode...

Страница 17: ...e e e softkey is also shown and can be used to delete a custom name Use the keypad to type out a new label or use the scroll keys E E E E and L L L L to move the cursor to the desired display positio...

Страница 18: ...tion press the C C C Ch h h ha a a an n n ng g g ge e e e softkey and the display will indicate A A A At t t tt t t te e e em m m mp p p pt t t ti i i in n n ng g g g p p p pa a a ai i i ir r r ri i i...

Страница 19: ...Silent Alert option will activate an internal hardware vibrator instead of a regular ringer during an incoming call By default the Silent Alert is automatically set to Off To activate Silent Alert fro...

Страница 20: ...E E En n n nt t t te e e er r r r n n n nu u u um m m mb b b be e e er r r r 3 Enter the number using the keypad You can enter up to 24 digits Hyphens will be automatically added If you need to enter...

Страница 21: ...ftkey 2 Find the entry you wish to change in the Directory 3 Press O O O Op p p pt t t ti i i io o o on n n ns s s s softkey 4 Press L L L L key once Display shows E E E Ed d d di i i it t t t and s N...

Страница 22: ...l le e e et t t te e e e t t t to o o o c c c co o o on n n nf f f fi i i ir r r rm m m m 6 Press the D D D De e e el l l le e e et t t te e e e softkey Displays I I I It t t te e e em m m m e e e er...

Страница 23: ...ed with all telephone sets returned for warranty repairs Exclusions Aastra Telecom does not warrant its telephone sets to be compatible with the equipment of any particular telephone company This warr...

Страница 24: ...upport for this product This service provides repair or replacement of your Aastra Telecom product at Aastra Telecom s option for a fixed charge You are responsible for all shipping charges For furthe...

Страница 25: ...CM16 book Page 23 Friday June 18 2004 3 22 PM...

Страница 26: ...nding entries in the Directory 20 Dialing from the Directory 20 Changing entries in the Directory 20 Deleting all entries in the Directory 21 Deleting an entry in the Directory 21 F FEATURES KEY LIST...

Страница 27: ...delete an entry in the Redial list 12 Ring Tone 16 S SAFETY INFORMATION 2 SCREEN DISPLAY 9 SCREEN ICONS 9 SCREEN PROMPTS 10 Silent Alert 18 STATUS LIGHT 13 V Vibrate 17 VOLUME CONTROL To adjust the r...

Страница 28: ...owner s manual and still have problems please visit our website at www aastra com or call 1 800 574 1611 for technical assistance Aastra Telecom Inc 2004 41 0071 00 Rev 01 CM16 book Page 22 Friday Ju...

Отзывы: