S-Series Camera Quick Start Guide |
VX-4V-ID-RIAWD
12000 Pecos St., Suite 290, Westminster, CO 80234 | www.3xlogic.com | (877) 3XLOGIC
11
2
Camera Setup
Detecting, Activating Changing the Camera IP Address
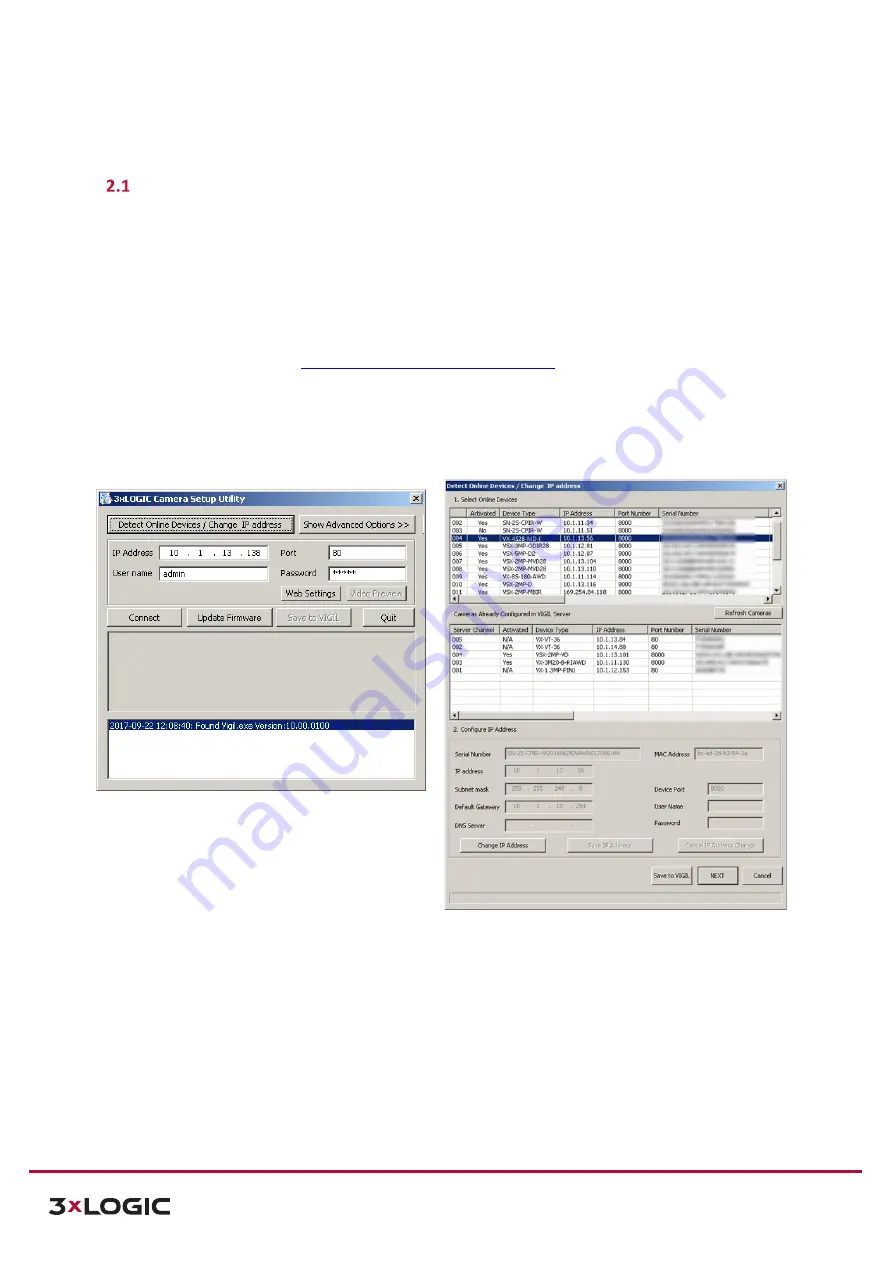
After networking the camera with the LAN, the user must obtain the camera’s IP address to connect to the
device. To obtain the IP address, the 3xLOGIC Camera (VISIC IP) Setup Utility, a software tool which can
automatically detect online network cameras on the LAN, add these devices to VIGIL Server and list the device
information including IP address, subnet mask, port number, device serial number, device version, etc… is
recommended. An example is shown in Figure 2-3.
This utility is installed alongside VIGIL Server or can be downloaded separately. If on a VIGIL Server system,
launch utility from
Start>Programs>VIGIL>Utility
or download the utility from the 3xLOGIC website’s
Software
Support Center > VIGIL Utilities
http://www.3xlogic.com/software-center
) to a Windows PC.
Steps:
1.
Launch the utility.
2.
Click
Detect Online Devices / Change IP Address.
Figure 2-1
3xLOGIC Camera (VISIX IP) Setup Utility
3.
Select the camera from the list of online devices.
4.
If you are configuring the camera for initial setup, click
Activate
to assign a new password. This step is
required for security purposes and must be completed before continuing. If the camera has previously
been configured, skip to Step 5.
5.
Once you have assigned a new password to the camera, click
Change IP Address
and change the IP address
and subnet mask to the same subnet as that of your computer. Save the settings.


