PLEASE READ BEFORE INSTALLING THIS UNIT
Installing into your computer
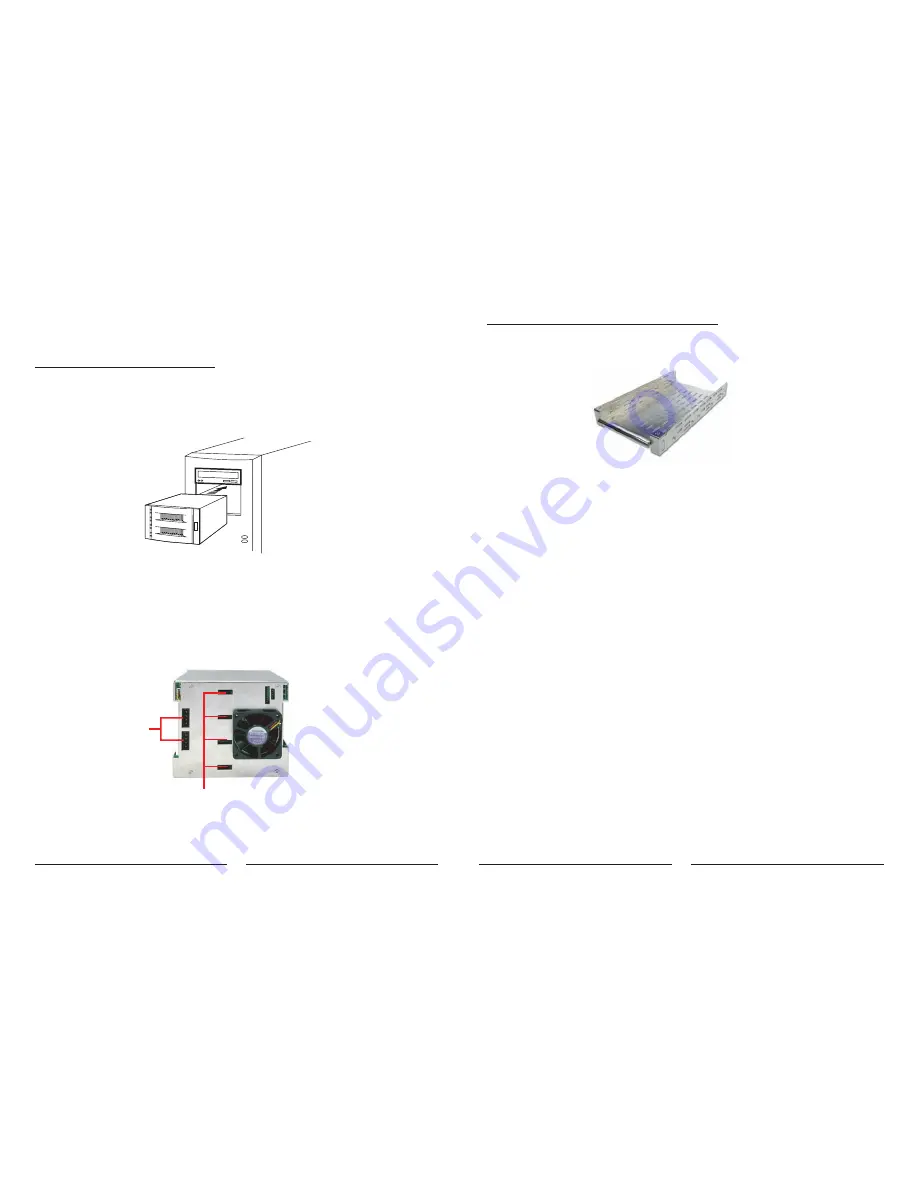
1. First turn the power off and remove cable from power point. Install the disk cage
first, ensure you have the correct fitting kit for your computer if necessary. Insert
the box as illustrated in Figure 1.
2. Connect the power cables to the power connector on the computer.
2
F igure 1
C o nn e c t to S -A T A po r ts
fr o m h o s t s y s te m
T o po we r
Installing a hard drive in the disk tray
1. Pull out an empty disk tray (You can install in any available slot.)
2. Unpack the hard drive.
Static electrical discharge can damage your drive or other
components without causing any signs of physical damage. To provide ESD
protection, ground yourself by touching a metal of the subsystem chassis.
3. Install the mounting screws on each side to secure the drive in the disk tray.
4. Slide the tray into a slot until it clicks into place.
5. Insert the key (included in your package) into the keylock located on the right
of the front panel and turn it clockwise. This will lock the disk tray into the disk
cage providing data security. If you are replacing a new hard drive, make sure
to unlock it by turning the key counter-clockwise.
Place the hard drive in the disk tray.
Warning:
3


