8
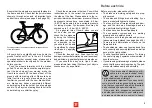
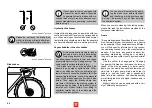
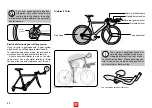
Knee joint of the upper leg at
min. 90°, angle of arm 90°
The knee should be above the axle of the front pedal
Correct seat height
90˚
90˚
90˚
Determining the correct seat height
Set the saddle to what you think is the right
height. Sit on the bicycle. Enlist the help of an-
other person or support yourself against a wall
or a railing.
Bring one pedal down to its lowest position
and place your heel on it. Your leg should now
be fully stretched.
* see page 26
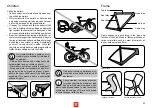
Installing pedals
If your bicycle was supplied without the pedals
pre-installed, these have to be attached with the
correct wrench. Please note that the pedals have
to be screwed in in different directions and se-
cured with a high mounting torque (see page 26).
Apply assembly grease to both threads.
Forwards
Setting up the seating position
Before you use your bicycle for the first time, the
seating position has to be set up to suit your body
size. This is vital for riding safely and securely.
To do this, the seat‘s height, alignment and an
-
gle have to be set up, as do the height and align
-
ment of the handlebars with the stem.
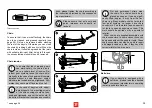
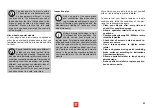
In the case of clipless pedals, you are
able to adjust how much force is re-
quired to release the shoe from the
pedal. Please test this on your first ride with
a setting that releases very easily! Regularly
clean your clipless pedals and keep them in
good condition with a suitable spray lubricant.
Ensure that you read the manufac-
turer‘s instructions before using clip-
less pedals. Practice clipping your
shoes in and out of the pedals‘ locking system
before your first ride in a quiet, safe place.
Clipless pedals which do not properly release
are a safety hazard.
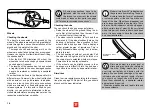
Please read the enclosed instruc-
tions from the respective manufac-
turer if you use pedals feature hook
or strap systems.
Practice taking your feet in and out of the
hooks and operating the strap releases in a
safe place. Tightened straps do
NOT
release
the feet! Possible consequences are falling
and injuries.


