background image

6

OPERATION

Preparation

For  the  first  time  you  use  this  digital  photo  frame,  you need to store some files (music, photo, video) into the
internal memory or insert a card with music, photo files into the card slot.
1. Connect your set to AC power using the attached AC adaptor.
2. Press the POWER button on the speaker to turn on the  set.

3. Connect  the  set  and  your  compute  by  USB  cord.

4. Store  some  picture,  music,  video  files  you  like  into the  internal  memory.

5. You can also insert the card into the card slot if you want  to  play  the  files  on  your  card.

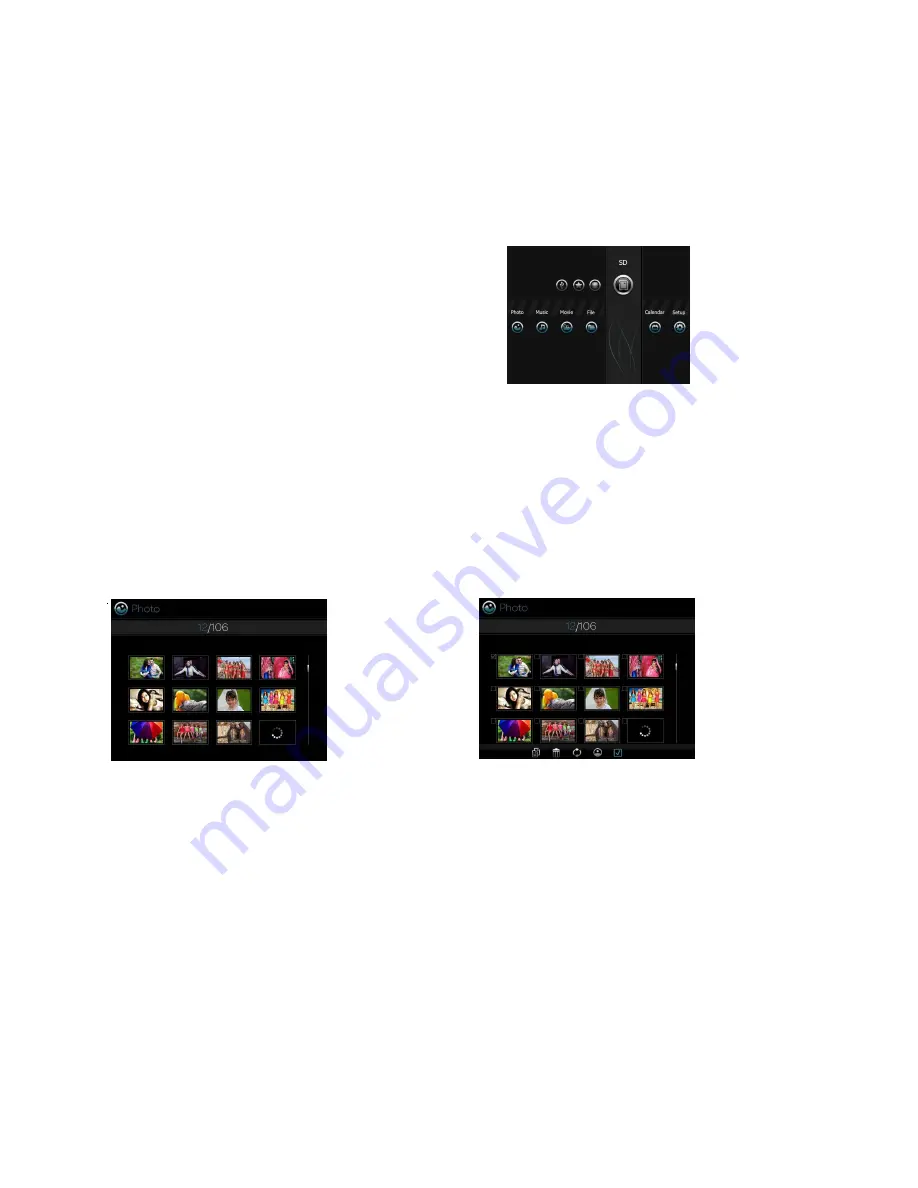
Complete  above  steps,  right

picture will show on the screen,

and  you  are  ready  to  enjoy  this

multifunctional  digital  photo

frame.  You  can  adjust  to  your

favorite watching angle by press

or pull the screen.

The  home  menu  includes  7  selections,  you  can  select the  functions  by  pressing  left  or  right  buttons,  then

press  ENTER/PLAY  button  to  confirm  or  directly  press the  function  buttons  (PHOTO,  MUSIC,  VIDEO,  Calen-

dar) on the remote control to complete your operation. Press ESC button to return to upper menu. Press home

button  to  return  to  home  menu  directly.  Press  up  and down  buttons  to  adjust  the  volume  during  play.

Begin  to  use

Playing  photos

1. Viewing the thumbnails
Enter  the  photo  menu.  The  thumbnails  of  first  12  pho- tos  show  on  the  screen.  You  can  press  left  and  right
buttons to select the photo. Press ENTER/PLAY button to  start  the  slide  show  play.

In thumbnail screen, you can press MENU button on the remote  to  show  the  edit  menus,  then  use  left  and  right
and ENTER/PLAY buttons  to edit the photos. Copy: Copy selected photo to the memory storage you like.
Delete:  Delete  selected  photo.
Rotate:  Rotate  selected  photo.
Photo  effect:  Adjust  the  hue  of  the  photo.
Select:  Select  the  photos  you  like  to  play,  press  enter
again to abstain the selection.
2. Slide show playing
During  pictures  play  by  slide  show, the  music  you stored in the memory will play together. You can press
up or down button to adjust the volume, press ENTER/ PLAY button  to pause or return the play.

Thumbnail

Thumbnail menu

Содержание Boom Boom

Страница 1: ......

Страница 2: ......

Страница 3: ...1...

Страница 4: ...2...

Страница 5: ...fe 1 Playing photos by slide show with music background 2 Playing Music 3 Playing Movies 4 Calendar function 5 Files management 6 2 1 channel stereo Speaker stand can be used as speaker of other Audio...

Страница 6: ...and raising the volume Front view of screen 1 LCD screen 2 Remote sensor Rear view of screen 1 Power button press to switch the set on or off 2 Bulit in speakers For audio out put 3 Aux in jack Conne...

Страница 7: ...lendar button Press to enter calendar mode 4 Mute button Press to turn off the volume Press again to restore 5 Volume and UP button 6 Left button 7 Enter Play button Enter or play your selection 8 Rig...

Страница 8: ...tion buttons PHOTO MUSIC VIDEO Calen dar on the remote control to complete your operation Press ESC button to return to upper menu Press home button to return to home menu directly Press up and down b...

Страница 9: ...ound music on or off Playing Music Enter the music menu Select the music you want to start to play by left or right button press the ENTER PLAY button to play or pause the playback Playing Movie Enter...

Страница 10: ...you use the Photo Music or Video function all the files are from the storage you selected Changing Setting Enter the setting screen Press up or down button to select the item you want to set Press ENT...

Страница 11: ...the set Symptom Remedy The set doesn t work 1 Verify that there are correct files in the internal storage or you have inserted a memory card or other component device into the proper slot Only JPEG B...

Страница 12: ...authorized retailer and used for non commercial purposes We warranty this product against manufacturing and material defects for a period of 90 days from the date of purchase Do not return your produ...

Страница 13: ...thorization Code provided by Customer Service as well as your Name return address and a daytime phone number Return shipments to GiiNii should be insured and sent via Registered Mail with proof of del...

Отзывы: