background image

3D Systems, Inc.

8

•  If you select 

Person

, choose either 

Head

 or 

Full Body

.

The 

Scan

 toolbar provides the following options:

• 

A - Reset View returns the view to the initial position and orientation.

• 

B - Home returns to the initial Start screen.

• 

C - Settings shows the settings for the current scan.

• 

D - Help displays the 

Help menu

.

2.  Tap 

Start Scan


.

3.  Hold the scanner approximately 15 inches away from your subject, and ensure that the image is centered on your screen.
4.  Slowly and steadily move the scanner around the subject while viewing the image on the screen.

Best Practice

•  Remember to keep the image centered on the screen.
• 

Multiple passes on the object are allowed. If there are gaps in the scanned data after a single pass, continue scanning to try to fill 

the gaps.

• 

Holding the scanner still over a portion of the object can also fill data gaps.

• 

Before scanning a small object or one without a lot of distinct features (such as a standard coffee mug), add some items around 

the object. This will help the scanner maintain tracking by giving it more to lock on to.

•  When scanning a human body, begin by aiming at the torso, and then get a whole body contour scan. Finish by scanning the 

head.

5.  To pause the scan, tap 

Pause


.

Tap the 

Start

 icon to resume the scan.

6. 

When you are satisfied with the scan, tap 

Next

 to finish and move to the editing phase.

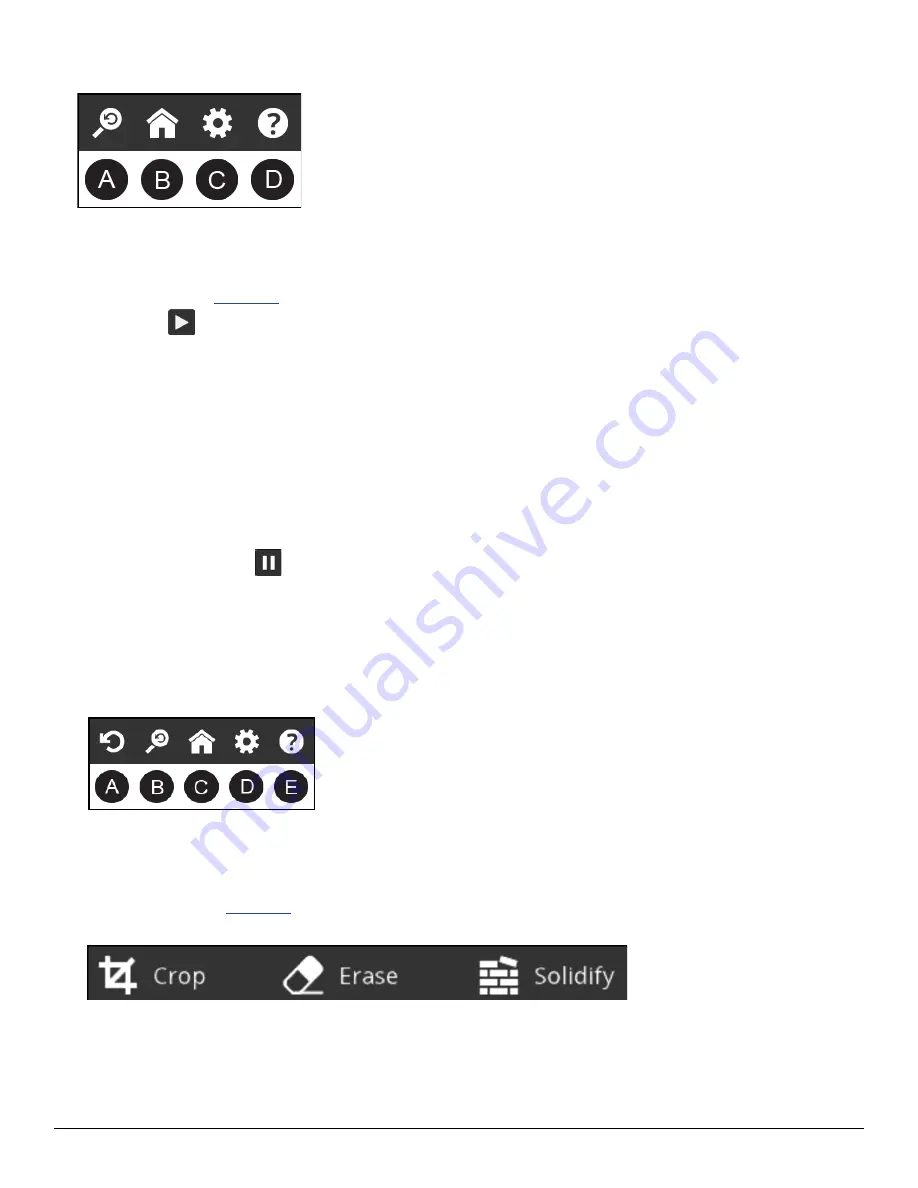
EDIT A SCAN

Several tools are available as you edit a scan:

•  The toolbar at the top of the screen provides the following options when you are editing the current scan:


▪ A - Undo erases the last change done on the scan.


▪ B - Reset View returns the view to the initial position and orientation.


▪ C - Home returns to the initial Start screen.


▪ D - Settings shows the settings for the current work flow.


▪ E - Help displays the 

Help menu

.

•  Edit tools


If you need to crop your scan, tap the 

Crop

 button, and then use your finger to drag a window around the part of the scan that 

you want to keep. When you are finished, the app removes the part of the scan that you want to delete. If an error occurred 

while cropping, simply tap 

Undo

 and your scan will return to its original state. Tap 

Crop

 again to turn off the tool.


Use the 

Erase

 tool to remove unwanted portions of your scan. Tap the tool, and then drag your finger, using the lasso effect, 

over the area that you want to erase; the unwanted portion will be removed. Tap 

Erase

 again to turn off the tool.


The 

Solidify

 tool will make your scan print-ready by filling in all the holes and closing the model to make it solid.

Содержание iSense

Страница 1: ...Take your world from physical to digital with 3D scanning User Guide Original Instructions iSense 3D scanner ...

Страница 2: ...IONS 4 DOWNLOAD THE ISENSE APPLICATION 5 RUN THE ISENSE APP 5 ACTIVATE YOUR SCANNER 6 3 HOW TO SCAN 7 SCREEN NAVIGATION 7 SCANNING BEST PRACTICES 7 SCANNING PROCEDURE 7 EDIT A SCAN 8 Help menu 9 4 SCANNER TIPS AND TRICKS 10 5 SCANNER SETTINGS 11 SCAN SETTINGS 11 EDIT AND ENHANCE SETTINGS 11 EXPORT SETTINGS 11 6 FEATURES AND SPECIFICATIONS 12 ...

Страница 3: ...epth streaming will activate the laser and operate it at a safe level CAUTION Use of controls or adjustments or performance of procedures other than those specified herein may result in hazardous radiation exposure Avoid exposure to the laser if the glass is cracked and the laser projector is damaged or has been exposed to high temperatures for an extended period of time This device complies with ...

Страница 4: ...LUDED The following image shows what s included in the box in addition to the iSense Quick Start Guide NOTE The iSense 3D scanner is approximately 50 charged upon delivery ASSEMBLY INSTRUCTIONS 1 Remove the bracket and scanner from the box 2 Slide the bracket onto the top of your iPad Be sure that the opening in the bracket aligns with the iPad camera 2 ...

Страница 5: ...stalled you link it to a Cubify account RUN THE ISENSE APP When you installed the iSense app a shortcut was created on your home screen Use the shortcut to open the application NOTE If the scanner is not connected to your iPad a message will state Device Not Connected Plug the data cable into the scanner and into the iPad If the connection is not automatically established you may need to close and...

Страница 6: ...he code NOTE If you do not have a Cubify account go to www Cubify com isense Tap My Cubify and then tap Sign up now Fill out the required information and tap Sign Up You must then log in to get the activation code Verify your device serial number and tap Activate After you have the 4 digit activation code tap Back to return to the iSense app Enter the code and tap Activate scanner You re now ready...

Страница 7: ...canning Your subject should be facing the light source in order to minimize shadows and enhance colors Position your subject so that you have 360 degree clearance and can scan from all angles SCANNING PROCEDURE Using the iSense 3D scanner you can scan people or objects 1 Select what to scan a person or an object If you select Object choose the appropriate object size Small objects less than 16 inc...

Страница 8: ...ntour scan Finish by scanning the head 5 To pause the scan tap Pause Tap the Start icon to resume the scan 6 When you are satisfied with the scan tap Next to finish and move to the editing phase EDIT A SCAN Several tools are available as you edit a scan The toolbar at the top of the screen provides the following options when you are editing the current scan A Undo erases the last change done on th...

Страница 9: ... to be located You can upload your scan in order to share and cloud print on Cubify com a Tap Upload b Log in to your Cubify account If you don t already have an account tap SIgnup at the top of the screen and complete the registration process c After your account has been authorized enter a Name for the file and an optional Description d Click OK A message is displayed informing you that your mod...

Страница 10: ...an shows inside the green box on the screen This helps en sure that you capture the entire object while scanning Keep the scanner within its optimal distance range of 15 to 60 inches 38 1 to 152 4 cm Motion Multiple passes on the object are allowed If there are gaps in the scanned data after a single pass continue scanning to try to fill the gaps Holding the scanner still over a portion of the obj...

Страница 11: ...you are scanning The scan data will automatically be cropped to remove everything but the identified object Color toggles the acquisition of color from the scanner Frame Rate toggles the on screen display of frames per second FPS The FPS value is inversely proportional to the resolution setting the higher the resolution the lower the FPS The FPS value is informational only Target Ring toggles the ...

Страница 12: ...n 0 40m Max 3 5m Weight 99 2 grams Field of view Horizontal 58 Vertical 45 Spatial x y resolution 0 5m 0 9mm Depth resolution 0 5m 1mm Operating temperature 0 35 C Maximal image throughput 30 fps Depth image size VGA 640 w x 480 h px Color image size QVGA 320 w x 240 h px Supported devices iPad Air iPad Mini Retina iPad 4th Generation Battery life 3 4 hours of active scanning 1000 hours of standby...

Страница 13: ...3D Systems Inc 13 ...

Страница 14: ...Inc 333 Three D Systems Circle Rock Hill SC 29730 www 3dsystems com 2014 3D Systems Inc All rights reserved The 3D Systems logo 3D Systems Geomagic and iSense are registered trademarks of 3D Systems Inc pn 350316 ...

Отзывы: