TD_QSG_SCALEREO_EN
Rev. 2.0 / 19.04.2022
Page 3 / 4
General Settings
Image Features
Lighting Settings
(only Desk systems)
Headtracking Features
ESC
Quit current menu
Freeze
Image
P
ause / “freeze”
current image
on the screen
Center
Button
Toggle
lighting modes
Mode
Toggle
headtracking modes
Center
button
Enter settings menu
Within the menu:
“confirm”
Photo/Video
SP: Save image
(or stop video recording)
LP: Start
video recording
LED+
Increase
LED brightness
Freeze
Pause / “freeze”
headtracking at its
current position
Z+
Navigate within menu
only on Desk-Systems:
SP: Run AutoFocus
LP: Zoom in
LED-
Decrease
LED brightness
Z-
Navigate within menu
only on Desk-Systems:
SP: run AutoFocus
LP: Zoom out
G+
Increase
camera gain
F+
Navigate within menu
only on Desk-Systems:
Move focus-plane
upwards
G-
Decrease
camera gain
F-
Navigate within menu
only on Desk-Systems:
Move focus-plane
downwards
4. Using the system
4.1 Camera adjustments (available only at SCALEREO-Desk)
•
Short press (< 0,5s) on button
”
Z+
”
or “
Z-
“
will perform an auto focus adjustment
•
Long press (> 0,5s) on button
”
Z+
”
or
“
Z-
“
to zoom in or out
•
Long press (> 0,5s) on button
“
F+
”
to set the focus plane upwards
•
Long press (> 0,5s) on button
“
F-
“
to set the focus plane downwards
4.2 Photo / video documentation
4.2.1 freeze image
•
Press “
Freeze Image
” to temporarily freeze the current image on the screen (“PAUSE”)
•
Press
“
Freeze Image
” again, to go back to “LIVE” image visualization
4.2.2 record photo / video
•
Short press (< 0,5s) “
Photo/Video
” to save the current image as a screenshot
o
Image is stored with timestamp locally on SPU & a short confirmation is displayed
•
Long press (~ 1s) “
Photo/Video
” to start the video recording
•
Short press
(< 0,5s) “
Photo/Video
” to stop the current video recording
o
Video is stored with timestamp locally on SPU & a short confirmation is displayed
4.2.3 transfer records to USB stick
•
insert a USB stick to one of the front USB interfaces of the SPU
•
enter the settings menu (center button)
•
use the rocker switches (left / right / up / down) to navigate within
the settings menu and the center button to confirm your selection
•
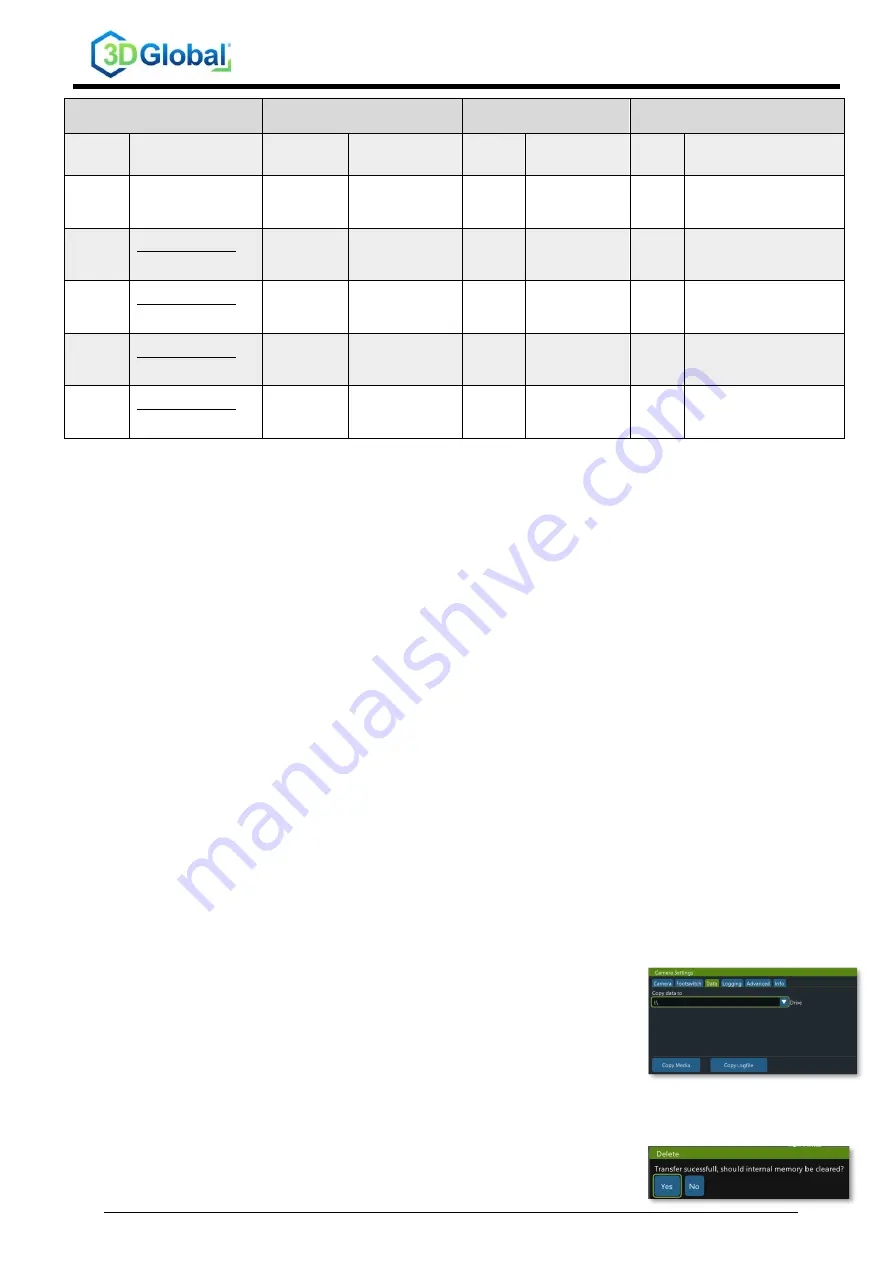
Choose “Data”
•
Select you USB stick
•
Press “Copy” to copy your locally stored records from the SPU to the USB stick
•
Wait until transfer is finished (may take several minutes, depending on amount of data)
•
Choose, if the copied images & videos should be deleted from
local space on the SPU (e.g. for data privacy reasons)


