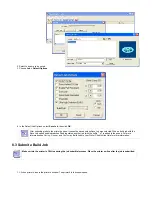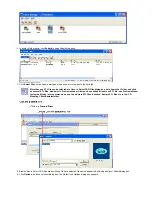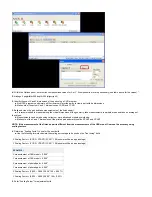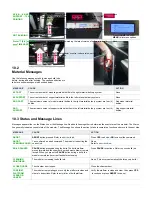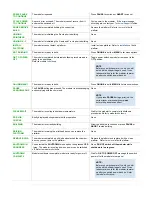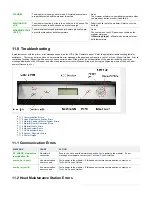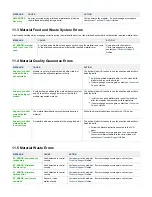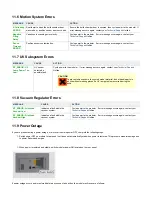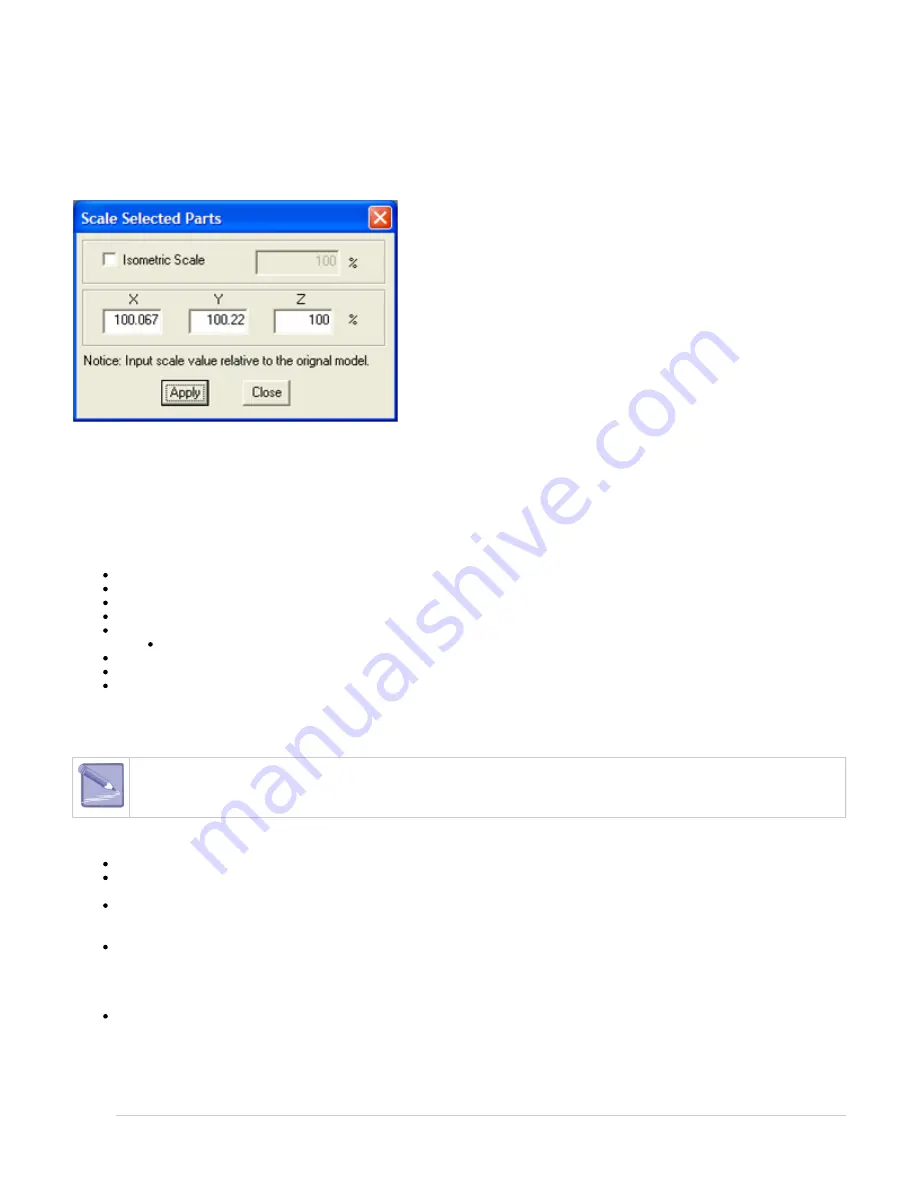
Open ProJet Accelerator Client software and select the desired printer.
a.
Select the part to print
b.
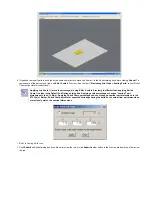
Open Print Preview to view the part. Select the part (color should be yellow)
c.
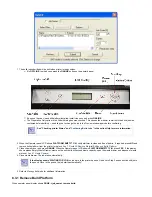
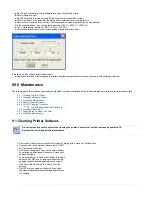
Select the "Scale" Icon and enter the dialog box to enter the above scaling factors.
d.
Uncheck the "Isometric Scale" button. This allows user to make individual x and y adjustments.
e.
In the example above the x scaling factor should be 100% + 0.067% = 100.067%
f.
The y scaling factor should be 100% + 0.22% = 100.22%
d.
Enter these two numbers in the corresponding scaling boxes for x and y.
e.
6. Build Part with Scaling Factors and measure
Additional iterations of adjusting scaling factors and taking measurements may be necessary with certain geometries.
a.
09.0 Maintenance
The following general maintenance procedures provided must be accomplished to help maintain high part yield and low printer down time.
9.1 Cleaning Printer Surfaces
9.2 Cleaning the Waste Drawer
9.3 Preventive Maintenance
9.4 Return Printer for Repair
9.5 UV LED Cleaning Procedure
9.5.1 UVLED Board Removal Procedure
9.6 Cleaning MDM Areas
9.7 Changing the Charcoal Fan Filter
9.8 Printhead Maintenance
9.1 Cleaning Printer Surfaces
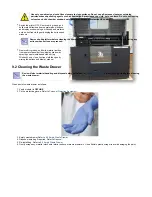
Do not remove any outer panels when cleaning the printer. Panels must only be removed by qualified 3D
Systems Technical Support Representatives.
Remove dust from outer surfaces of the printer by wiping with a clean dry, lint-free cloth.
Dust and clean the outside surfaces only. DO NOT
dust inside the build area.
Remove dirt and grease from on the outer surfaces
by spraying an all purpose cleaner on a clean cloth
and gently wiping.
se only non-abrasive, alcohol-free cleaners to clean
surfaces. DO NOT use all purpose cleaners using
petroleum-based polishing agents such as liquid
wax. Spray the cleaner on the cloth, not on the
surface.
Do NOT use any cleaning solvents on the build
chamber window as this can damage its protective
UV coating.
Содержание ProJet 5000
Страница 34: ...This view point button is a back two dimensional viewpoint Bottom View ...
Страница 36: ...A bounding box for a set of objects is a cuboid that completely contains the set Copy ...
Страница 39: ...Use the de select all triangles to de select the triangular facets on parts Display Support Creation Surface ...
Страница 41: ...This view point button is a front two dimensional viewpoint Help Topics ...
Страница 45: ...This view point button is a right two dimensional viewpoint Rotate ...
Страница 52: ...View selected parts enlarges the selected parts until they fill the viewing area Shaded Display ...
Страница 56: ...Click the undo icon to bring part back to its previous state after changes have been made Undo Zoom ...
Страница 60: ...Using a wire frame allows visualization of the underlying design structure of a part Zoom ...

