


4-4
C
HAPTER
4: C
ONFIGURING
WITH
THE
VT100 I
NTERFACE
13
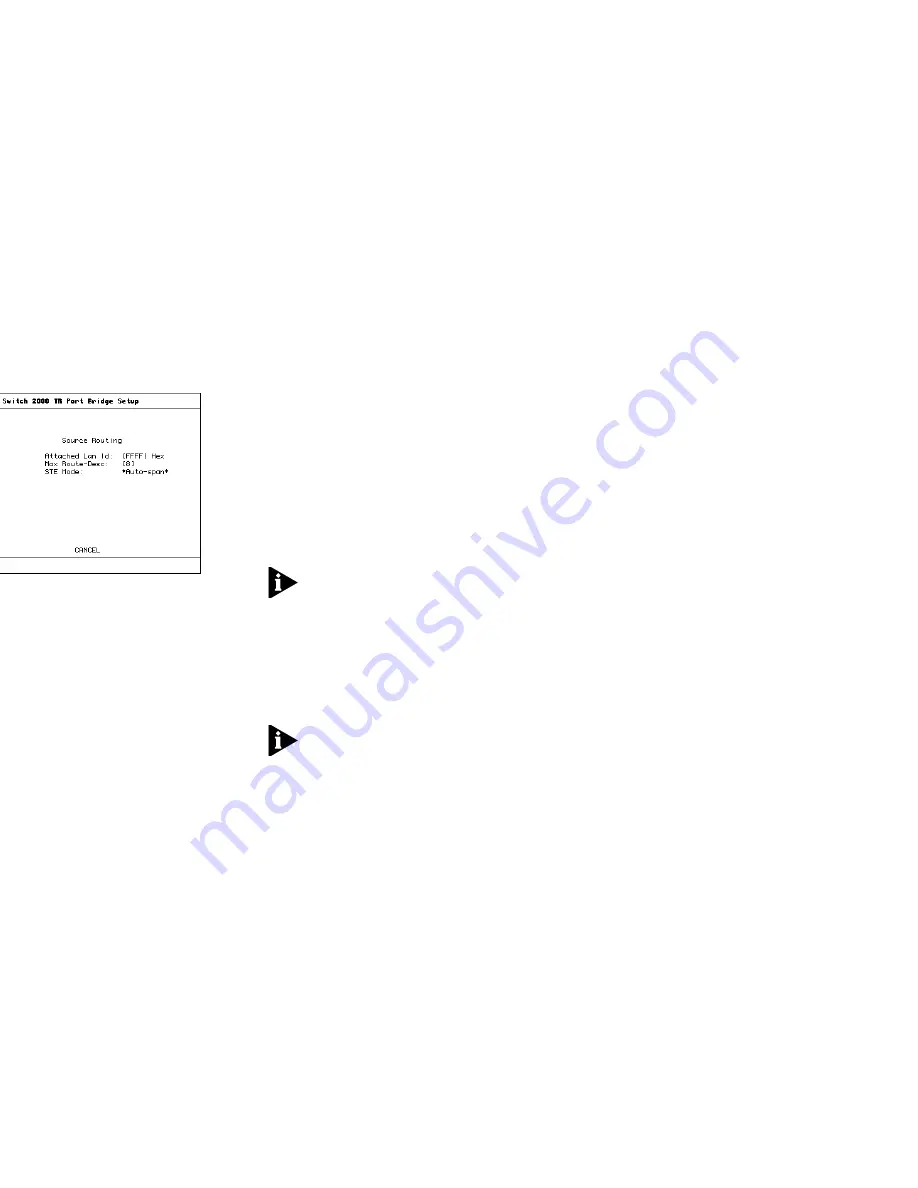
At the bottom of the TR Port Setup screen, select
BRIDGE. The Port Bridge Setup screen appears. See
Figure 4-6.
Figure 4-6
Port Bridge Setup Screen
14
In the Attached LAN ID field, enter the LAN ID in hex.
15
From the STE Mode field, select *Auto-Span*.
16
Select OK. Repeat for all ports as desired.
Setting Source Route Bridging
1
Log on to the Switch 2000 TR.
2
From the Main Menu, select Switch Management.
3
Press [Space Bar] and select *Bridge*.
4
Select SETUP. The TR Bridge Setup screen appears.
5
In the Bridge Type field, select *Source-route only* by
toggling the [Space Bar].
6
In the Spanning Tree Support field, select *IBM*. The
BPDU value is automatically assigned:
C0-00-00-00-01-00
7
Assign a Bridge Number. Enter in Hex from 0 to F.
8
In the Max Age field, type 6.
9
In the Forward Delay field, type 4.
10
Select OK.
11
In the TR Management screen, press [Space Bar] until
*Port* appears. Select SETUP. The TR Port Setup
screen appears.
12
At the bottom of the TR Port Setup screen, select
BRIDGE. The TR Port Bridge Setup screen appears.
13
In the attached Lan Id field, enter a LAN ID in hex
(0-FFF).
NOTE:
A value of FFFF indicates an unassigned LAN
ID. Use FFFF if the port is either unused or attached to
a transparent-only segment.
14
In the STE Mode field, select *Auto-span*.
15
Select OK. Repeat for all ports as desired.
Setting Transparent Bridging
NOTE:
This bridge setting requires that you reset the
switch. Refer to “Resetting the Switch 2000 TR in
Chapter 3 for instructions.
1
Log on to the Switch 2000 TR.
2
From the Main Menu, select Switch Management.
3
Press [Space Bar] and select *Bridge*. The TR Bridge
Setup screen appears.
4
In the Bridge Type field, select *Transparent-only*.
Содержание SUPERSTACK II 2000 TR
Страница 1: ...SUPERSTACK II SWITCH 2000 TR USER GUIDE Version 4 0 ...
Страница 8: ......
Страница 36: ...NG STARTED ...
Страница 53: ...Setting Up BOOTP 3 17 p Screen BootP Setup ter a sysname for the stack pace Bar to Enable or Disable BootP ...
Страница 104: ...AL LANS ...
Страница 112: ...AL PORT CABLE PIN OUTS ...
Страница 124: ...1 2 work 7 4 ols 7 4 es 7 4 8 e ion 3 2 e description 2 6 2 5 3 12 1 ...


