6
C
HAPTER
1: B
EFORE
Y
OU
B
EGIN
6
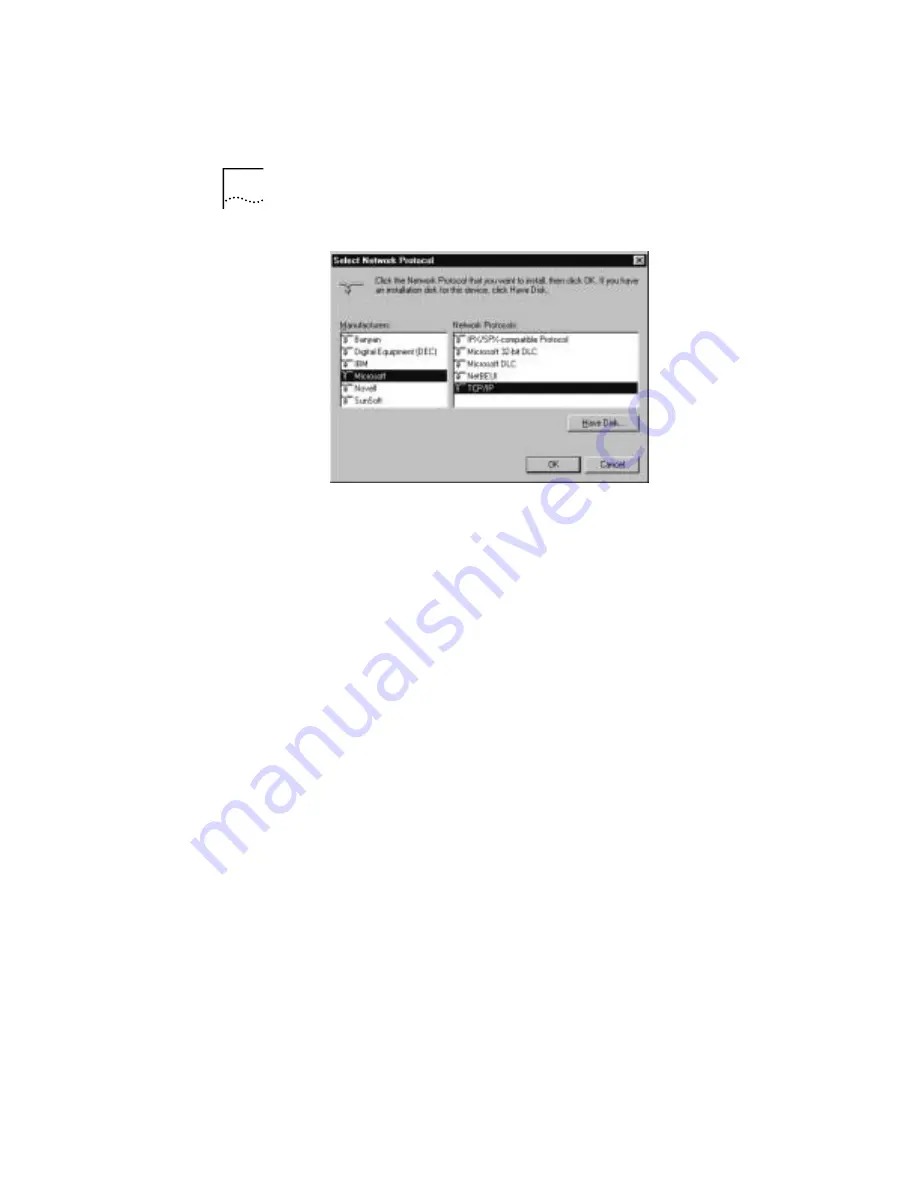
"TCP/IP" will appear in the list of installed network
components. Click
OK
.
7
Windows will now ask you if you would like to restart your
computer. Click
No
.
8
Right-click on the
Network Neighborhood
icon on your
desktop then click
Properties
in the drop-down menu that
appears.
9
Double-click the entry in the "Configuration" menu that
reads "TCP/IP -->" followed by a description of your NIC or
dialup adapter.
10
Click the “Advanced” tab and then make sure the box next
to "Set this protocol to be the default protocol." is
checked. If it is not, click the box to put a check in it. (If this
option is grayed out, then you do not have TCP/IP installed
properly.)
11
Click
OK
and then click
OK
again.
12
Click the Windows
Start
button and then click
Run
.
13
When the “Run” screen appears, type
winipcfg
in the text
field and click the
OK
button.
14
The "IP Configuration" window will appear. Click the
Release
button. A line of zeros will appear in the "IP
Address" and "Subnet Mask" fields.
Содержание 3CR292B-TR56
Страница 5: ...Governing Law 47 6 WALL MOUNTING TEMPLATE ...
Страница 6: ......
Страница 24: ...18 CHAPTER 2 HARDWARE INSTALLATION ...
Страница 26: ...20 CHAPTER 3 CABLE MODEM CONFIGURATION ...
Страница 42: ...36 CHAPTER 3 CABLE MODEM CONFIGURATION ...
Страница 46: ...40 CHAPTER 4 TROUBLESHOOTING AND SUPPORT RESOURCES ...
Страница 54: ...48 CHAPTER 5 REGULATORY INFORMATION AND LIMITED WARRANTY ...
Страница 56: ...50 CHAPTER 6 WALL MOUNTING TEMPLATE ...


