Copyright © 2004, 3Com Corporation. All rights reserved.
3Com, the 3Com logo, NBX, and SuperStack are registered trademarks and NBX NetSet and VCX are trademarks of 3Com Corporation.
Part Number: 900-0217-01 Rev AA
Published: October 2004
9
Replace the NBX V3000 cover and rack
mounting brackets and reinstall the system
in the rack.
10
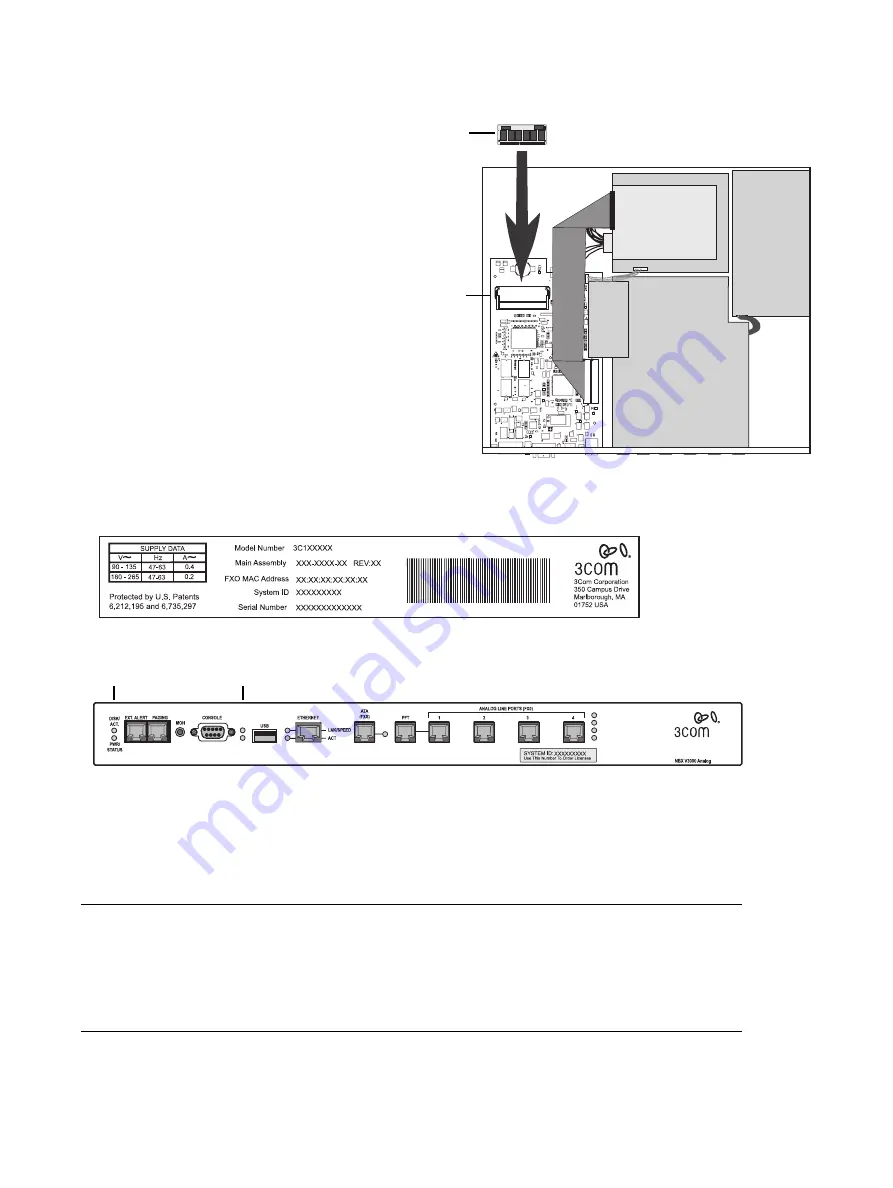
Attach the power cord and then turn on the
power switch. You can verify a successful
boot operation by viewing the status lights
on the front of the NBX V3000. See
Figure 4.
Important Licensing Note:
Your NBX
licenses are based on the System ID number of
your old chassis. You should make a note of the
System ID that appears on the labels on the front
and the back of your old chassis. (Figure 3.)
3Com suggests that you write the old System ID
number on the label of the new chassis. You
must
use your original chassis’ System ID
number when you order new product licenses.
The System ID number also appears on the label
on the disk drive assembly. (Item 5 in Figure 1.)
Figure 3
NBX V3000 Rear Label Showing the System ID Number
Figure 4
NBX V3000 System Status LEDs
1
DISK ACT. — Disk activity. Flashing indicates disk activity.
PWR./STATUS:
■
Blinking green — System is booting.
■
Blinking red — System boot has failed.
■
Green — System is operational.
2
Status lights S1 (bottom) and S2 (top) show boot status:
■
S2 flashing green — A system boot sequence has started.
■
S2 green — The disk drive initialization process is complete.
■
S1 and S2 flash alternately — A file system check (FSCK) is running due to a previous improper system
shutdown. (Do not turn off the system until you have run the system shutdown operation through the
NBX NetSet utility (
Operations > Reboot/Shutdown
).
Memory
module
Memory
socket
Memory
module
Figure 2
Transferring the Optional Memory Module
1
2


