background image

3600 Series Programmable Power Supply

VERSION 2.0  2004.6

 3600 SERIES USER MANUAL


23

4.9 Query the Report

                                           Fig 4-13                                           Fig 4-14

1) Using the rotary knob: Move the mouse to the icon      and then rotate the knob.

2) Using the keypad: Select the “A” button, enter the data and then select the “ENTER” button.

 Explanation:   User must have the authority above the “General” to do set it.

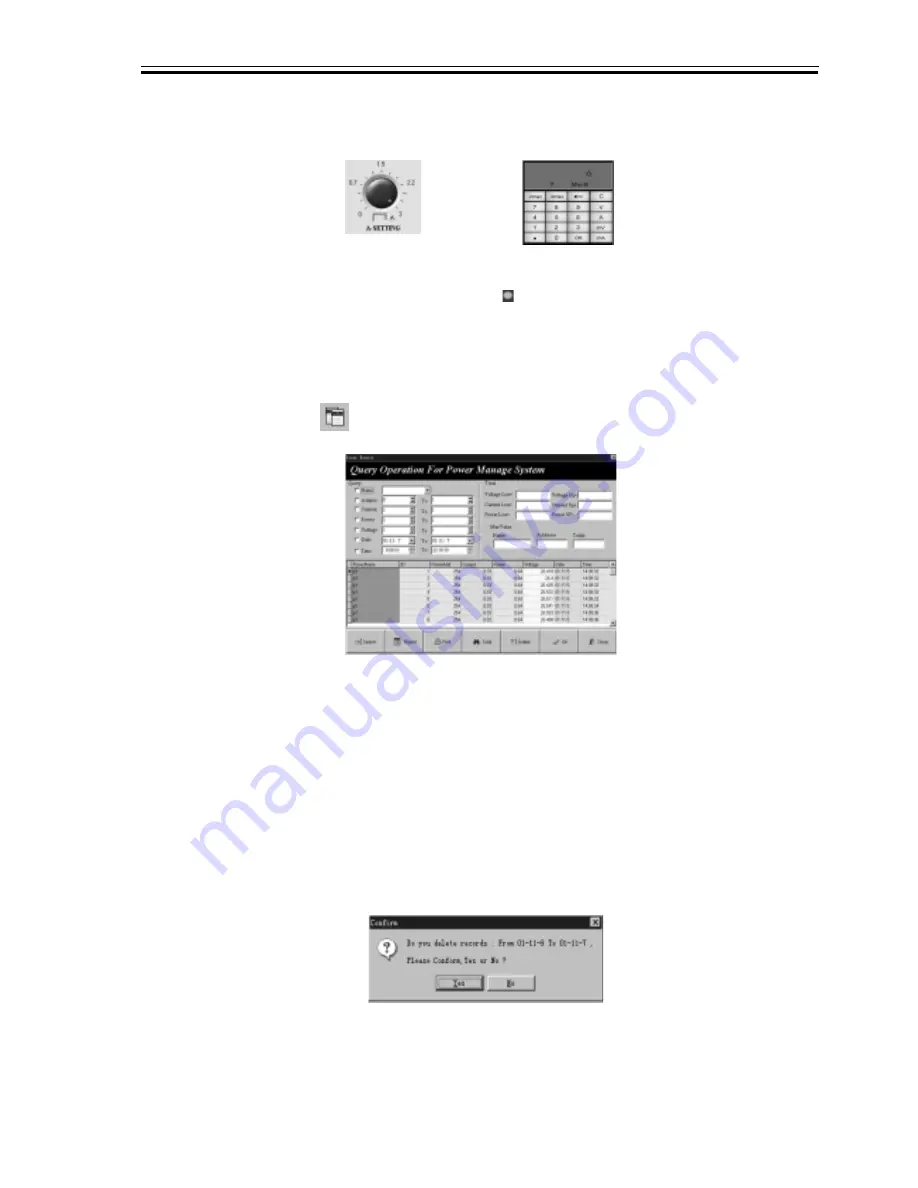
     Select the button            and the diagram as shown in Fig. 4-15 will be displayed.

                                                           Fig 4-15 Query the Report

1.) Set the Query Conditions: Set the parameters in the “Query” frame.

2.) Query: After setting the conditions, select “SEARCH” button and all the records compatible with the condi

     tions will be listed.

3.) Set the Report: Select “REPORT’ and it will be OK.

4.) Print the Report: Select “PRINT” and it will be OK.

5.) Query Totally: Select “TOTAL” and it will be OK. The data range must be selected and the other conditions

      cannot be selected. Its main function is to analyze several POWER so as to list the POWER that overflow the

        most data. The overflowing data includes the voltage overflowing, the current overflowing and the power overflowing.

6.) Delete the History Record: Select “DELETE” and the diagram as shown in Fig. 4-24 will be displayed. If you

      confirm to delete, select “YES” and it will be OK.

                                                      Fig 4-16 Delete the History Data

Содержание 3644A

Страница 1: ......

Страница 2: ...utput voltage 13 2 3 6 2 Set up the maximum output power 13 2 3 6 3 Enable disable the rotary knob 14 2 3 6 4 Set up the initial out state 14 2 3 6 5 Save voltage setting 14 2 3 6 6 Set up communication speed 14 2 3 6 7 Set up communication address 0 31 15 2 3 6 8 Lock the keypad 15 2 3 6 9 Clear saved parameters 15 2 3 6 10 Exit 15 Chapter 3 Installation of PowerMS Software 16 3 1 System Installa...

Страница 3: ...It indicates that if appropriate precautions are not taken injuries or losses of properties will take place Note Reminds you to pay particular attention to the important information related to the products disposal of products or the specific part of documents Warning Only qualified personnel are allowed to debug and operate this equipment The qualified personnel are specified as those personnel w...

Страница 4: ...er cable with the third wire firmly connected to an electrical ground safety ground at the power outlet 5 KeepAway From Live Circuits Operating personnel must not remove instrument covers Component replacement and internal adjustments must be made by qualified service personnel Do not split the components when power cable connected Under certain conditions dangerous voltages may exist even with th...

Страница 5: ... the voltage input and the fuse 2 Before changing the voltage and fuse please be sure that the AC power is switch ing off and be sure that there is no other equipment connected to this instrument 3 Put a screwdriver into the fuse mounting press it and the fuse mounting will pop up 4 Pull out the fuse change it according to the label beside the power input plug Warning To avoid damaging the instrum...

Страница 6: ... Voltage 0 2 20mV 0 19 999V 0 2 20mV 0 19 999V 0 2 20mV 20 36V 0 2 100mV 20 72V 0 2 100mV Current 0 2 20mA 0 2 20mA 0 2 20mA Program resolution Voltage 0 3 999V 1mV 0 3 999V 1mV 0 3 999V 1mV 4 18V 10mV 4 36V 10mV 4 72V 10mV Current 1mA 1mA 1mA Readbackresolution Voltage 10mV 0 19 999V 10mV 0 19 999V 10mV 20 36V 100mV 20 72V 100mV Chapter 1 General Introduction 1 1 General Introduction TheARRAY 360...

Страница 7: ...sion Fig 1 Dimension of 3600 Series Programmable DC power supply Current 10mA 10mA 10mA Protection Over voltage Over current Over power ACInput 110V 220Vac 15 47 to 63 Hz Operatingenvironment 0 to 50 C 80 RH Weight 6 00kg Dimensions 212 6mmW x 88 1mmH x 250mmD Software PowerMS Power Management System software ActiveX and DLL tools support VB VC DELPHI LABVIEW StandardAccessories User s manual AC c...

Страница 8: ...value Flashing power value means the over power The Right upper Corner The output current value The Right bottom Corner The state value In common state the keypad will execute the prompting functions of the black words And in special mode it will change into the functions of the blue color words 1 4 2 Structure 1 4 2 1 Front view Front panel is for users to operate Please see the right picture for...

Страница 9: ...key Right Operation The right moving key ESC Can be used to exit from any working state OK Confirmation key Rotary knob The rotary dial Fig 5 Rotary knob and function keys 1 4 2 2 Back view Fig 6 Back view The fuse can be changed easily by using a small screwdriver fan wrap AC input switch PC connection interface Power supply plug Wire rack Fuse ...

Страница 10: ... functions 1 Set up the maximum output voltage 2 Set up the maximum output power 3 Enable disable the rotary knob 4 Set up initial output state 5 Save voltage setting 6 Set up the communication speed 7 Set up the communication address 8 Lock the keypad 9 Clear saved parameters 2 3 The operation of the function There are 5 main functions and 9 sub functions of this power supply please refer to the ...

Страница 11: ... LCD you can move the cursor to the first number second number etc by using and buttons and then rotate to change each number and let it stay at 24 3 V then confirm the value by pressing V A button 2 If the keypad is locked by password Step1 Press V set button Step2 Enter the password by using the number keypad Step3 Press Enter button if the password is wrong please do step2 for reentering Step4 ...

Страница 12: ...5A Set up current procedure as follows 2 3 3Enable disabletheoutput By default the power supply is disabled after power on users can change the output status by using ON OFF button The button is a turnover button When the original output is ON press Procedure Operation details LCD display Step 1 Press I set ENTER PASSWORD Step 2 Enter the password Or jump to step 4 if the ENTER PASSWORD keypad is ...

Страница 13: ...e set up the voltage 15V current 2A Maximum output voltage 18V keypad locked Maximum output power 25W Baud rate 9600 communication address 05 after done the setup users can store all the above setup as a set of data such as the 01 or 02 etc set data Procedure The operation Methods LCD display Step 1 Press Store button ENTER PASSWORD Step 2 Enter the password Or jump to step 4 if the keypad ENTER P...

Страница 14: ...The function of the Menu 3600 series power supply provides a Menu operation for some special functions The opera tion and functions are as follows Procedure The operation Methods LCD display Step 1 Press Recall button CALL 1 Step 2 Enter the password Or jump to step 4 if the keyboard ENTER PASSWORD is unlocked Step 3 Press Enter button it will return to step 2 if your ENTER PASSWORD password is wr...

Страница 15: ...alue by pressing Enter button You can set the maximum output power value by using the number keypad or totating the ROTARYknob Then confirm the value by pressing Enter button Procedure The operation Methods LCD display Step 1 Press Menu button MAX OUT VOLTAGE KEY SOUND SET Step 2 Enter the password Or jump to step 4 if the keyboard ENTER PASSWORD is unlocked Step 3 Press Enter button it will retur...

Страница 16: ...lect BAUDRATE SET function the LCD will display as BAUDRATE 4800 BAUDRATE 9600 BAUDRATE 19200 BAUDRATE 38400 You can select SW ENABLE Def to enble the rotary switch or select SW DISABLE to disble it Select INI OUT SAVE to save the output data before switching off the unit select INI CLEAR Def to clear the output data before switching off the unit Select SAVE OUT VOLT to save the last output volt a...

Страница 17: ... and the ROTARY knob This function is for the safety of the using of power supply When you select the KEY LOCK function the LCD will display as ENTER PASSWORD 2 3 6 9 Clear saved parameters When you select CLEAR SAVE DATAfunction the LCD will display as CLEAR 2 3 6 10 Exit Select Exit to exit the menu refers to the serial number of the saved parameters Users can change the communication address by...

Страница 18: ...e Installation Initial Interface 3 1 2 Then it will enter the interface as in Fig 3 2 Press NEXT to continue Fig 3 2 The Installation Interface 2 3 1 3 In Fig 1 3 there is some explanation to some products introduction Read it and press YES to continue otherwise there will be no way to install Fig 3 3 The Installation Interface 3 3 1 4 In Fig 3 4 click BROWSE to select installation directory path ...

Страница 19: ...t name is POWERMS Generally it is not needed to enter and it is just need to click NEXT Fig 3 6 The Installation Interface 6 3 1 7 Click NEXT and the installation system will enter the files copy state Please wait patiently for the end of the files copy Then the PowerMS system installation finished Fig 3 7 The Installation Interface 7 3 2 System Start 3 2 1 In Fig 3 8 select the file folder of Sta...

Страница 20: ...Interface 1 Once the PowerMS system is started it will be automatically in the minimized state And this time the icon is in the state bar on the desk Click the right key of the mouse on the icon the menu as shown in Fig 3 11 will be displayed Fig 3 11 Show Show the interface Hide Hide the interface Start Communicate Start the communication Stop Communicate Stop the communication About PMS Show the...

Страница 21: ... the modification select Save and it will be OK Query Select Query and then wait for the name of the power supply to be queried Show Select Show and it will show all the records Print Select Print and it will print all the current records Notes When selecting the Add function item to add POWER the name and address of the POWER cannot be repeated After selecting the inputs click OK and the dialogue...

Страница 22: ...And click the OK button and the page key ADDRESS are out of work And vice versa And users must be in the identity of the Manager otherwise the ADDRESS cannot be used 4 2 The COM Port and Lower Machine Power Supply Address Set Fig 4 4 COM Port Failure Opening frame Set Default POWER Address The system will automatically be in the networking state after the start according to the default COM port an...

Страница 23: ...r to communicate correctly Set the parameter and select OK and it will enter into the common communication The default COM port is COM1 and the default POWER address is 0 After the COM port and ADDRESS set select the button and the system will start the communication If the communication is normal the prompt information as shown in Fig 4 7 will be displayed And if the commu nication is failure the...

Страница 24: ...TER button There are two methods to set the voltage range one is by using the rotary knob and the other is by using the keypad If you want to set accurately please use the keypad In general you can use the rotary knob 1 Methods 1 As in Fig 4 11 there are four control instructions in total CLOSE POWER Close the power output OPEN POWER Open the power output PC CONTROL ontrolled by PC POWER SELF Cont...

Страница 25: ...e 2 Query After setting the conditions select SEARCH button and all the records compatible with the condi tions will be listed 3 Set the Report Select REPORT and it will be OK 4 Print the Report Select PRINT and it will be OK 5 Query Totally Select TOTAL and it will be OK The data range must be selected and the other conditions cannot be selected Its main function is to analyze several POWER so as...

Страница 26: ...Diagram The Current Running Diagram 3 Keypad Explanation Number Keys 0 9 the point key C the cleared key the backspace key V the voltage setting key Unit V A the current setting key Unit A mV the voltage setting key Unit mV mA the current setting key Unit mA Vmax input the max voltage value 36V Amax input the max current value 3A OK the confirmation key Panel Part V presents the current voltage se...

Страница 27: ...wer max value Sending represents the communication state 1 Overloading current indication Blue presents normal Red presents overloading 2 Overloading power indication Blue presents normal Red presents overloading 3 Power supply ON OFF state Blue presents OFF Red presents ON 4 Power supply control type Blue presents CONROL SELF Red presents PC CONTROL Select the icon to exit the system 4 12 Power S...

Отзывы: