4
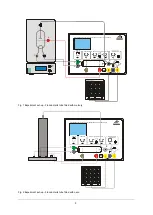
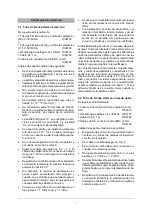
Gradually increase the decelerating voltage
until the measured curve (of signal against ac-
celerating voltage) is near horizontal.
Increase the gain till the maxima of the
Franck-Hertz curve can be seen on the oscil-
loscope screen.
4.3 Critical potential tube
Additionally required:
1 Critical potential tube S with He-filling
1000620
or
1 Critical potential tube S with Ne-filling
1000621
1 Tube holder S
1014525
1 Analogue oscilloscope, 2x 30 MHz
1002727
1 HF lead, 1 m
1002746
2 HF leads, BNC / 4-mm plug
1002748
Safety leads for experiments
Observation of critical potentials
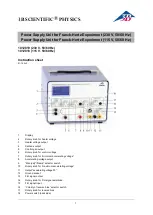
Fit the critical potential tube into the tube
holder, ensuring that the contact pins of the
tube are correctly and fully engaged in the
tube socket of the holder. The central guide
pin of the tube should project slightly at the
back of the holder.
Start with the voltage supply unit switched off,
and with all the voltage setting knobs fully to
the left.
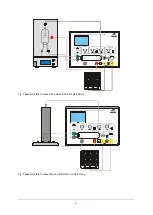
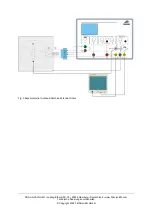
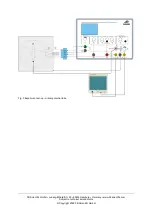
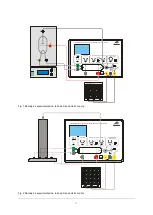
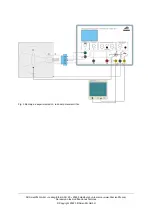
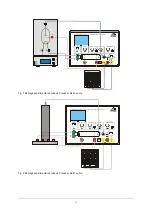
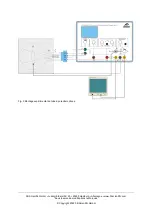
Connect terminal F3 on the tube holder with
output F of the control unit, connect C5 to out-
put K (C5 and F4 are connected together in-
ternally inside the tube) and A1 to output A (re-
fer to Fig. 3).
Fit the screening frame over the tube, push its
folded edge into the opening in the tube holder
and connect it to the earth socket on the con-
trol unit.
Connect the lead from the collector ring to the
F/H signal input socket E.
Connect the “FH Signal
U
Y
-
out” terminal of the
control unit to the Y input of the oscilloscope
and terminal “
U
X
” to the X input.
Set up the oscilloscope initially with settings of
x = 1 V/div and y = 1 V/div.
Set the minimum acceleration voltage to about
15 V and the maximum acceleration voltage to
about 28 V.
Set a filament voltage of 2.7 V.
Increase the filament voltage slightly and opti-
mize the minimum and maximum acceleration
voltage
U
A
.
In the spectrum, identify the 2
3
S peak at
19.8 eV and determine its position
t
1
on the
time axis.
Identify the ionisation threshold at 24.6 eV.
Observation of ionisation
In order to observe ionisation change the sign
for the polarity of the counter voltage.
5. Storage, cleaning, disposal
Keep the apparatus in a clean, dry and dust
free place.
Before cleaning the equipment, disconnect it
from its power supply.
Do not clean the unit with volatile solvents or
abrasive cleaners.
Use a soft, damp cloth to clean it.
The packaging should be disposed of at local
recycling points.
Should you need to dispose of the equipment
itself, never throw it away in normal domestic
waste. Local regulations for the disposal of
electrical equipment will apply.


